
8.15 HP Utility Meter User's Guide (January 2010)


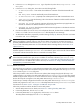


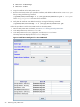


Table Of Contents
- HP Utility Meter User's Guide for version 8.15
- Table of Contents
- About This Document
- 1 Introduction
- 2 Installing and Configuring the Utility Meter Software
- 2.1 Overview
- 2.2 Skills Required
- 2.3 Before Going to the Customer Site
- 2.4 Configuring the HP-UX System Parameters
- 2.5 Obtaining and Installing the Utility Meter Software
- 2.6 Configuring the Utility Meter Parameters
- 2.7 URS XP Only – Installing the CV XP AE CLI Software
- 2.8 URS EVA Only – Installing the CV EVA SSSU Software
- 2.9 URS HP/Brocade SAN Switch Only – Installing the SMI-S Agent Software
- 2.10 URS Cisco SAN Switch Only – Enabling the CIM Server
- 2.11 Email Hostname Masquerading
- 2.12 Configuring PPU Partitions and URS Devices
- 2.13 Verifying the Utility Meter Operation
- 2.14 Completing the Utility Meter Installation and Configuration
- 2.15 Upgrading the Utility Meter Software to Version 8.15
- 3 Performing Utility Meter Tasks
- 4 Verifying Utility Meter Operation
- 4.1 Verifying the Utility Meter Hardware is Operational
- 4.2 Verifying the Utility Meter Software is Operational
- 4.3 Verifying the CIM Server Software Is Operational
- 4.4 Verifying Connectivity from the Utility Meter to HP
- 4.5 Verifying the Data Acquisition Server is Running
- 4.6 Verifying the Utility Meter Data Transport Method
- 4.7 Verifying a PPU Partition
- 4.8 Verifying a Storage Device
- 4.8.1 Verifying a Device is Configured in the Utility Meter
- 4.8.2 Verifying a Device is Connected to the Utility Meter
- 4.8.3 Verifying the Connection from the Utility Meter to HP
- 4.8.4 XP Only – Verifying the Correct Version of CV XP AE CLI is Installed
- 4.8.5 EVA Only – Verifying the Correct Version of CV EVA SSSU is Installed
- 4.9 Verifying a SAN Device
- 5 Troubleshooting the Utility Meter
- A Site Preparation Form for Pay Per Use
- B Site Preparation Form for Utility Ready Storage
- C Data Fields Sent from the Utility Meter to HP
- Glossary
- Index
3. In the Utility Meter GUI Tasks (right) pane, click the Add Device button.
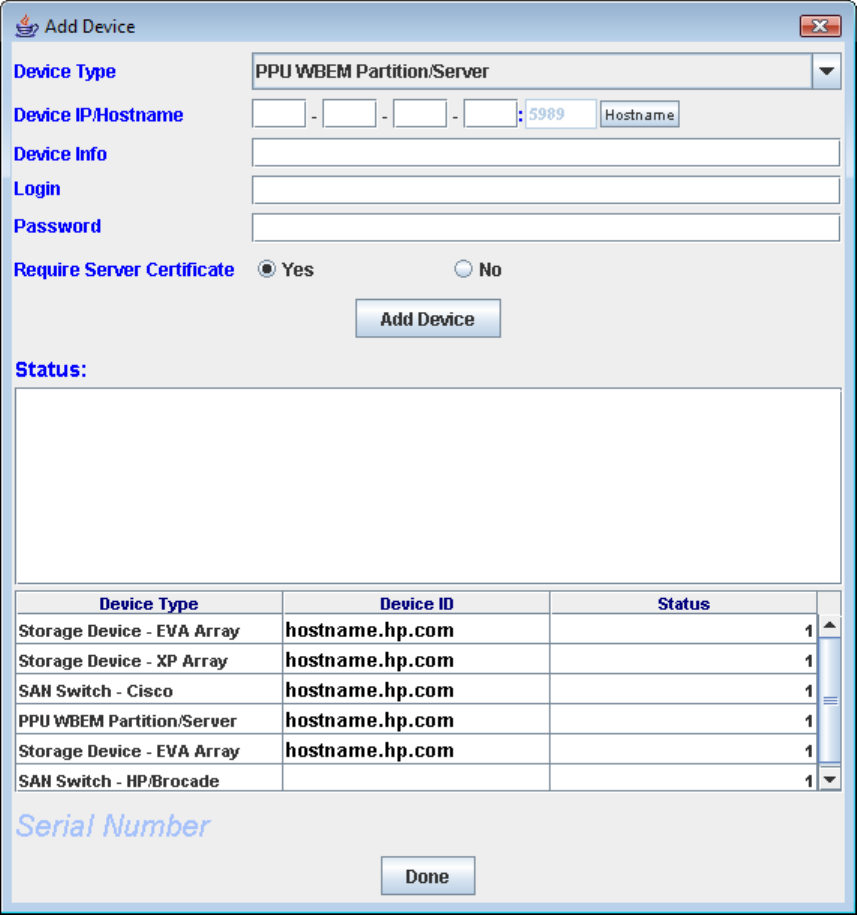
The Utility Meter GUI displays the Add Device dialog box.
Figure 3-12 Add Device Dialog Box for PPU WBEM Partition/Server
4. In the Add Device dialog box's Device Type drop-down list, select the PPU WBEM
Partition/Server item.
5. In the Add Device dialog box, enter values into the following fields:
• Device IP/Hostname – Enter either the IP address or hostname of the PPU WBEM
Partition/Server.
• Device Info – (Optional) Enter a description for the PPU WBEM Partition/Server.
• Login – Enter the username of the PPU WBEM Partition/Server.
• Password – Enter the password of the PPU WBEM Partition/Server.
• Require server certificate – Select Yes (default) if you want to require a server certificate
when the server is accessed or No if you don't want to require a server certificate. See
Section 3.5.1.3: “Add a PPU WBEM Partition/Server” for information about adding the certificate
to the servers.pem file. Note that this should be done before the PPU WBEM Partition/Server
is added to the Utility Meter.
56 Performing Utility Meter Tasks