
Neoview Database Administrator's Guide (R2.4)

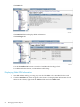

2. Click the Database tab, then navigate to the schema and table you want to change.
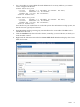
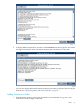
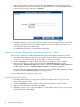
3. Right-click the table name and select Alter, then Add Column(s) or click the Columns tab,
then the Add Columns button in the right pane. Provide information for the new column
and click OK:
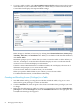
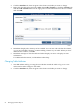
4. DB Admin displays the column you have added. You can now edit or delete the column,
or you can click Add Column to continue adding columns to your table. When you have
added all the columns, click OK.
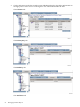
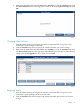
5. DB Admin attempts to alter the table and either displays an error or displays its new
information.
For additional information, see DB Admin online help.
Changing Table Attributes
1. Start DB Admin and log on using the user ID that created the table or log on as a user
authorized to make changes to that table.
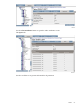
2. Click the Database tab, then navigate to the schema and table you want to change.
58 Managing Database Objects