
A.05.80 HP Insight Remote Support Advanced Managed Systems Configuration Guide (June 2013)
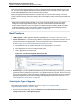
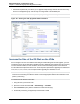
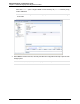
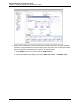
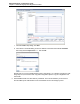
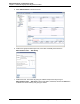
Table Of Contents
- Managed Systems Configuration Guide
- Contents
- About This Document
- Insight Remote Support Advanced Managed Systems Overview
- ProLiant Windows Server Configuration
- ProLiant Linux Server Configuration
- ProLiant VMware ESX Server Configuration
- ProLiant VMware ESXi Server Configuration
- Proliant Citrix Server Configuration
- ProLiant c-Class BladeSystem Enclosure Configuration
- Integrity Windows 2003 Server Configuration
- Integrity Windows 2008 Server Configuration
- Integrity Linux Server Configuration
- Integrity Superdome 2 Server Configuration
- HP-UX Server Configuration
- Meeting HP-UX Operating System, Software, and Patch Requirements
- More About WBEM and SFM with Insight Remote Support
- Verifying System Fault Management is Operational
- Creating WBEM Users
- Configuring WEBES to Support WBEM Indications
- Firewall and Port Requirements for HP-UX Managed Systems
- Configuring HP-UX Managed Systems for Proactive Collection Services
- OpenVMS Server Configuration
- Tru64 UNIX Server Configuration
- NonStop Server Configuration
- Enterprise Virtual Array Configuration
- Understanding the Different Server Types and Software Applications
- Command View EVA 8.0.1 and Higher Hosted on the CMS
- Important Port Settings Information
- Important Information Regarding New HP SIM Installations
- Correcting an Existing HP SIM Installation
- Change the WMI Mapper Proxy port in the HP SIM User Interface on the CMS
- Restore Defaults to the wbemportlist.xml file
- Installing and Configuring Command View EVA After HP SIM
- Resetting the Port Numbers when Command View EVA was Installed before HP SIM
- Command View EVA Hosted on a Separate SMS
- Requirements and Documentation to Configure Command View EVA on the SMS
- Overview of Command View EVA 7.0.1 through 8.0.1 with SMI-S Requirements
- SMS System and Access Requirements
- WEBES – EVA Communication
- HP SIM – EVA Communication
- Software Required on the SMS
- Fulfilling ELMC Common Requirements for a Windows SMS
- Installing MC3 on the SMS
- Configuring EVA-Specific Information on the CMS
- Requirements to Support EVA4400 and P6000 with Command View EVA on the ABM
- Enabling User-Initiated Service Mode in Command View EVA 9.3
- Performing a Remote Service Test in Command View EVA 9.3
- Troubleshooting EVA Managed Systems
- P4000 Storage Systems Migration Procedure
- Network Storage System Configuration
- Modular Smart Array Configuration
- Tape Library Configuration
- System Requirements
- Managed Systems Configuration
- Nearline (Tape Library) Configuration
- Secure Key Manager Configuration
- StoreOnce D2D (Disk-to-Disk) Backup System Configuration
- Enterprise Systems Library G3 Configuration
- TapeAssure Service Configuration
- Prerequisites
- Command View for Tape Libraries and TapeAssure Service Installation
- Configure the Command View TL 2.8 CIMOM and TapeAssure Provider
- Configure the Command View TL 3.0 CIMOM and TapeAssure Provider
- HP SIM Device Discovery
- WEBES Configuration
- Create a New SMI-S Protocol in WEBES
- Subscribe to the Command View TL and TapeAssure CIMOM
- SAN Switch Configuration
- E-Series Switch Configuration
- A-Series Switch Configuration
- UPS Network Module Configuration
- Modular Cooling System Configuration
- Glossary
- Index
Managed Systems Configuration Guide
Chapter 17: P4000 Storage Systems Migration Procedure
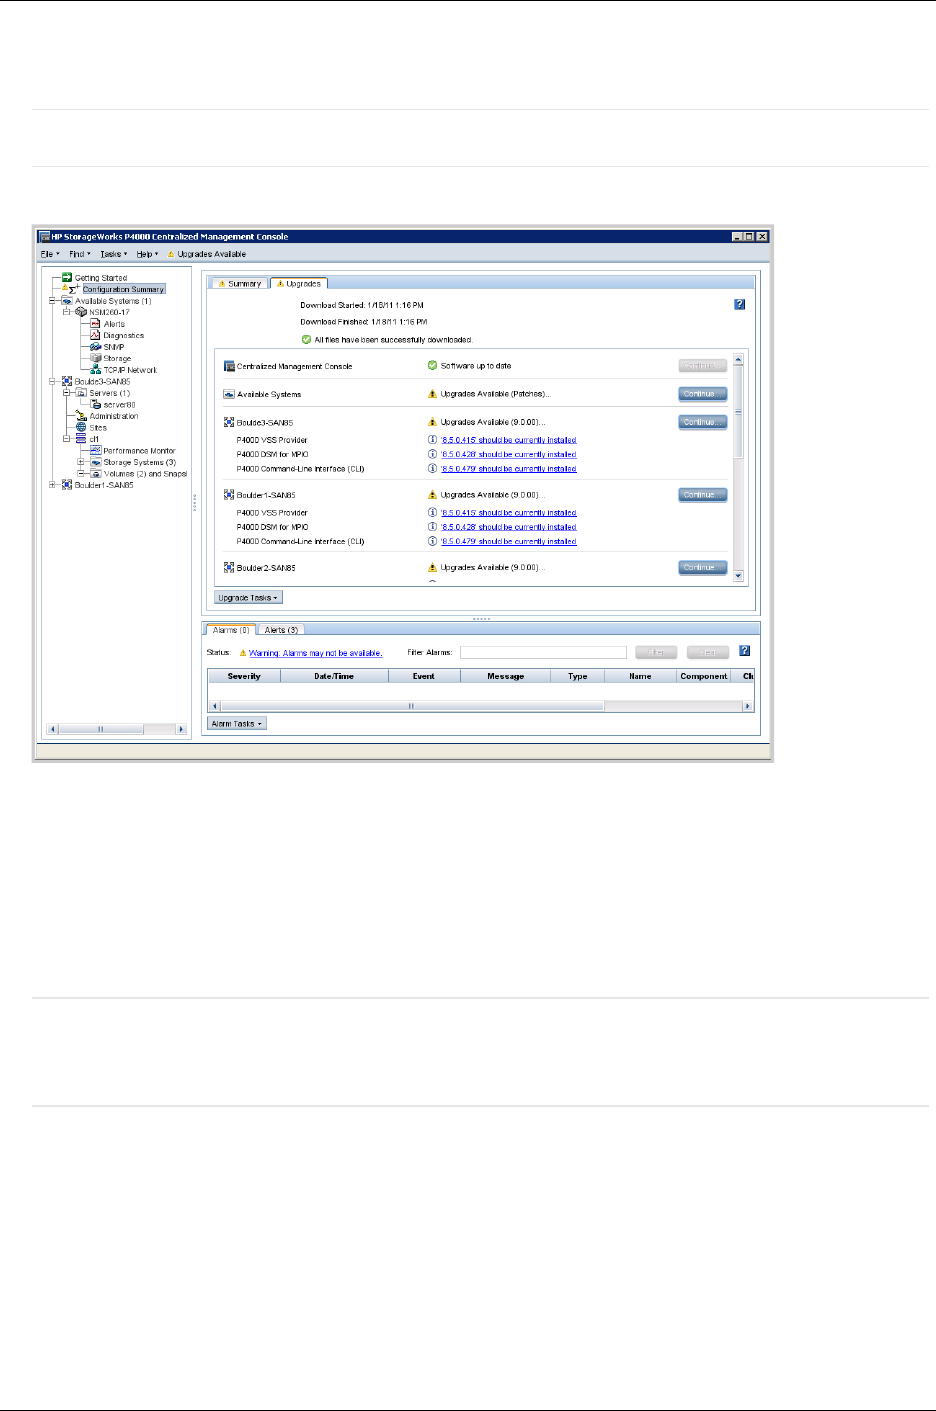
l Simultaneous (advanced) - this allows you to upgrade multiple storage nodes at the same time if they
are not in a management group. Use this only for storage nodes in the Available pool.
Caution: Do not select “Simultaneous (advanced)” if your storage nodes are in a production cluster.
Figure 16.3. Viewing the CMC Upgrade/Installation Window
Increase the Size of the OS Disk on the VSAs
Due to changes in the size of the VMware tools that get installed during this software upgrade, you must
increase the size of the OS disk before upgrading the VSA. Additional space requirements are necessary
for future software releases, as well. Therefore, we recommend increasing the size of the OS disk to
accommodate both requirements at this time. These steps are required when upgrading from SAN/iQ 8.0
to 8.5, 9.0, 9.5, 10.0, or 10.5, but is not required when upgrading from SAN/iQ 8.5 to 9.5.
Note: These instructions apply to VMware ESX Server. Other VMware products have similar
instructions for extending a virtual disk. Please consult the appropriate VMware documentation for the
product you are using.
To increase the OS disk size on the VSA:
1. Using the CMC, power off the VSA.
2. Open the VI Client and select VSA → Edit Settings → Hardware.
3. Select Hard disk 1 (verify that the Virtual Device Node is SCSI (0:0)).
4. Under Disk provisioning, changed the provisioned size to 8 GB.
HP Insight Remote Support Advanced (A.05.80)Page 142 of 204