
A.05.80 HP Insight Remote Support Advanced Managed Systems Configuration Guide (June 2013)
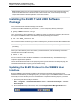
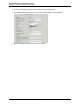

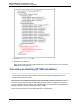
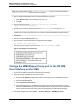
Table Of Contents
- Managed Systems Configuration Guide
- Contents
- About This Document
- Insight Remote Support Advanced Managed Systems Overview
- ProLiant Windows Server Configuration
- ProLiant Linux Server Configuration
- ProLiant VMware ESX Server Configuration
- ProLiant VMware ESXi Server Configuration
- Proliant Citrix Server Configuration
- ProLiant c-Class BladeSystem Enclosure Configuration
- Integrity Windows 2003 Server Configuration
- Integrity Windows 2008 Server Configuration
- Integrity Linux Server Configuration
- Integrity Superdome 2 Server Configuration
- HP-UX Server Configuration
- Meeting HP-UX Operating System, Software, and Patch Requirements
- More About WBEM and SFM with Insight Remote Support
- Verifying System Fault Management is Operational
- Creating WBEM Users
- Configuring WEBES to Support WBEM Indications
- Firewall and Port Requirements for HP-UX Managed Systems
- Configuring HP-UX Managed Systems for Proactive Collection Services
- OpenVMS Server Configuration
- Tru64 UNIX Server Configuration
- NonStop Server Configuration
- Enterprise Virtual Array Configuration
- Understanding the Different Server Types and Software Applications
- Command View EVA 8.0.1 and Higher Hosted on the CMS
- Important Port Settings Information
- Important Information Regarding New HP SIM Installations
- Correcting an Existing HP SIM Installation
- Change the WMI Mapper Proxy port in the HP SIM User Interface on the CMS
- Restore Defaults to the wbemportlist.xml file
- Installing and Configuring Command View EVA After HP SIM
- Resetting the Port Numbers when Command View EVA was Installed before HP SIM
- Command View EVA Hosted on a Separate SMS
- Requirements and Documentation to Configure Command View EVA on the SMS
- Overview of Command View EVA 7.0.1 through 8.0.1 with SMI-S Requirements
- SMS System and Access Requirements
- WEBES – EVA Communication
- HP SIM – EVA Communication
- Software Required on the SMS
- Fulfilling ELMC Common Requirements for a Windows SMS
- Installing MC3 on the SMS
- Configuring EVA-Specific Information on the CMS
- Requirements to Support EVA4400 and P6000 with Command View EVA on the ABM
- Enabling User-Initiated Service Mode in Command View EVA 9.3
- Performing a Remote Service Test in Command View EVA 9.3
- Troubleshooting EVA Managed Systems
- P4000 Storage Systems Migration Procedure
- Network Storage System Configuration
- Modular Smart Array Configuration
- Tape Library Configuration
- System Requirements
- Managed Systems Configuration
- Nearline (Tape Library) Configuration
- Secure Key Manager Configuration
- StoreOnce D2D (Disk-to-Disk) Backup System Configuration
- Enterprise Systems Library G3 Configuration
- TapeAssure Service Configuration
- Prerequisites
- Command View for Tape Libraries and TapeAssure Service Installation
- Configure the Command View TL 2.8 CIMOM and TapeAssure Provider
- Configure the Command View TL 3.0 CIMOM and TapeAssure Provider
- HP SIM Device Discovery
- WEBES Configuration
- Create a New SMI-S Protocol in WEBES
- Subscribe to the Command View TL and TapeAssure CIMOM
- SAN Switch Configuration
- E-Series Switch Configuration
- A-Series Switch Configuration
- UPS Network Module Configuration
- Modular Cooling System Configuration
- Glossary
- Index
Managed Systems Configuration Guide
Chapter 16: Enterprise Virtual Array Configuration
Note: The changes made in the file cimserver_planned.conf will be moved into the file named
cimserver_current.conf after the service is restarted.
1. Stop the Pegasus WMI Mapper Service using the Windows Services API.
a. Select Start and Run, in the run field type services.msc.
b. Click OK.
2. In a text editor open the file: C:\Program Files\The Open Group\WMI
Mapper\cimserver_planned.conf.
3. Change the port number in the line that references httpsPort=6989 to the value of 5989.
Note: The port number may have been set to a different value than 6989 presented this example.
4. Save the file.
5. Restart the Pegasus WMI Mapper Service.
6. Run the netstat command and verify the changes have been applied.
C:\ netstat –anb >netstat.txt
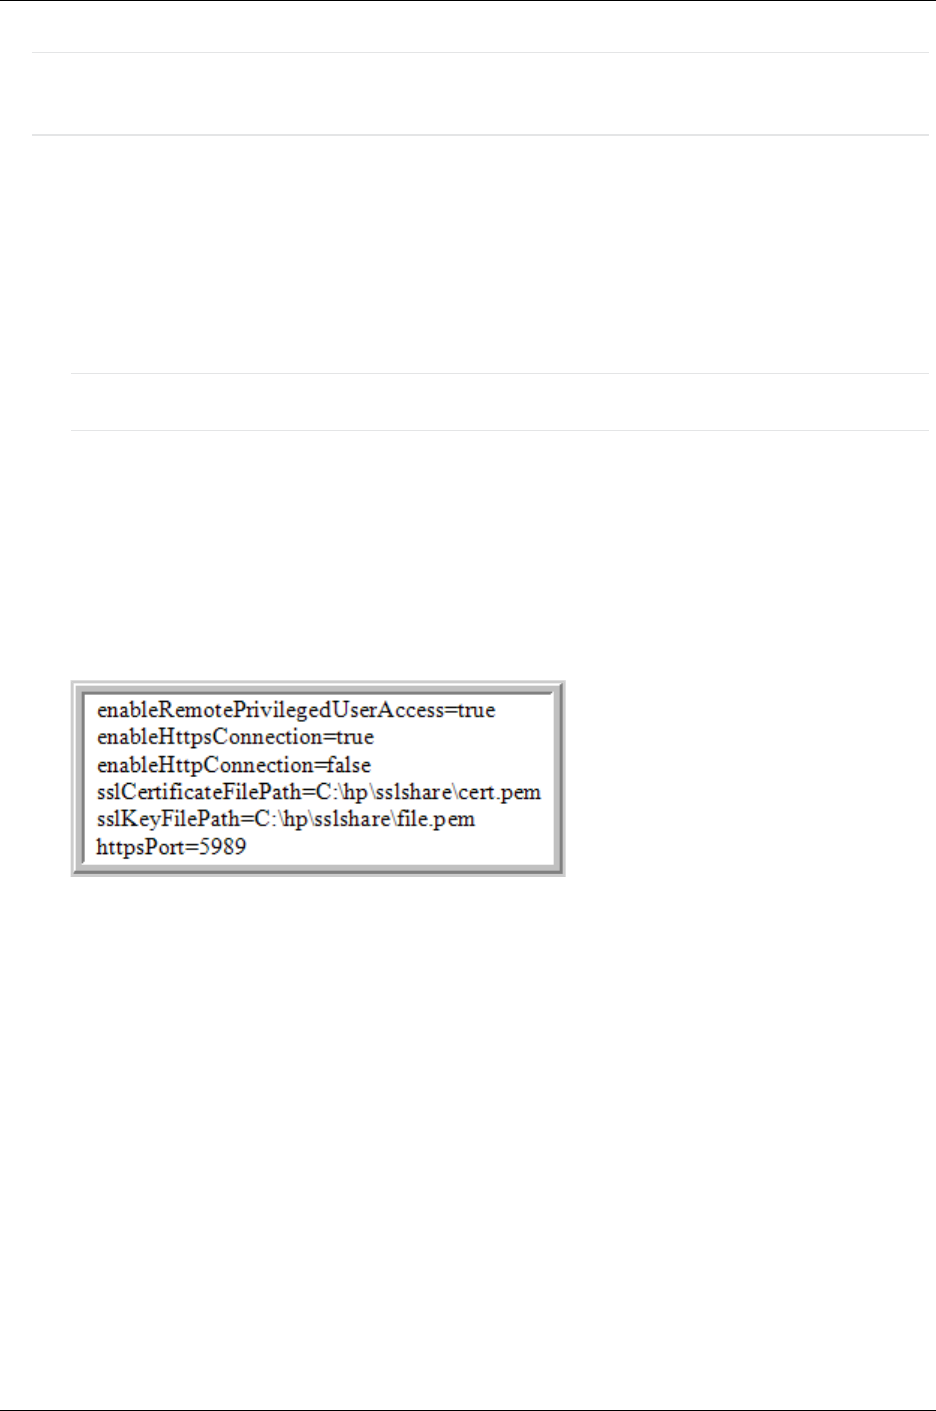
The following is an example of the of the text in cimserver_planned.conf file.
Figure 15.3. Example of cimservr text
Change the WMI Mapper Proxy port in the HP SIM
User Interface on the CMS
1. Access the HP SIM user interface with Administrative privileges.
2. Verify the existing credentials for the CMS are correct:
a. Access the All Systems List and select the device serving as the HP SIM CMS from the list.
b. Click the Tools & Links tab.
c. Click the System Credentials link.
d. Verify that either the sign-in credentials exist and are correct for the CMS (preferred), or if there
are Advanced WBEM settings verify that the WBEM protocol settings are correctly configured for
the port used by SMI-S as well as the correct user name/password credentials are provided.
3. From upper navigation bar select Options → Protocol Settings → WMI Mapper Proxy.
HP Insight Remote Support Advanced (A.05.80)Page 108 of 204