
HP Insight Control Server Provisioning 7.3 Update 1 Installation Guide
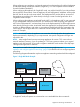
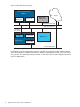
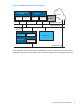
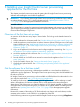
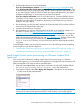
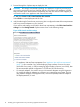
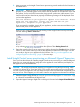
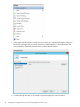
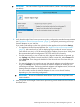
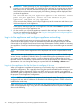
Table Of Contents
- HP Insight Control Server Provisioning 7.3 Update 1 Installation Guide
- Contents
- 1 Introduction/overview
- 2 Requirements and networking considerations
- 3 Installing your Insight Control server provisioning appliance for the first time
- Overview of the first time set up steps
- Get the software for a first time install
- Install Insight Control server provisioning on VMware vSphere/ESXi hypervisor
- Install Insight Control server provisioning on Microsoft Hyper-V hypervisor
- Log in to the appliance and configure appliance networking
- Accessing your appliance from a browser for the first time
- Next steps
- 4 Updating from version 7.2.2 to 7.3.1
- 5 DHCP server setup
- 6 Setting up the Media Server
- Introduction to the Media Server
- Introduction to the Insight Control server provisioning Media Server setup utility
- Requirements for setting up your Media Server
- Procedure for using the Insight Control server provisioning Media Server setup utility
- Changes made to your web server by Insight Control server provisioning Media Server setup utility
- 7 Generating and uploading WinPE to the appliance
- 8 Recommended actions after initial setup
- 9 Support and other resources
- 10 Documentation feedback
- A Updating from version 7.2 or 7.2.1 to 7.2.2
- Best practices for a successful update to 7.2.2
- Get the 7.2.2 update software and prepare it for use
- Prerequisites for update from 7.2/7.2.1 to 7.2.2
- Instructions for updating from 7.2 or 7.2.1 to 7.2.2
- What you need to do after installing the 7.2.2 update
- Changing from single NIC to multi-NIC (optional)
- Instructions for recovering from a failed 7.2.2 update
- REST API call to upload the 7.2.2 update file
- Glossary
- Index
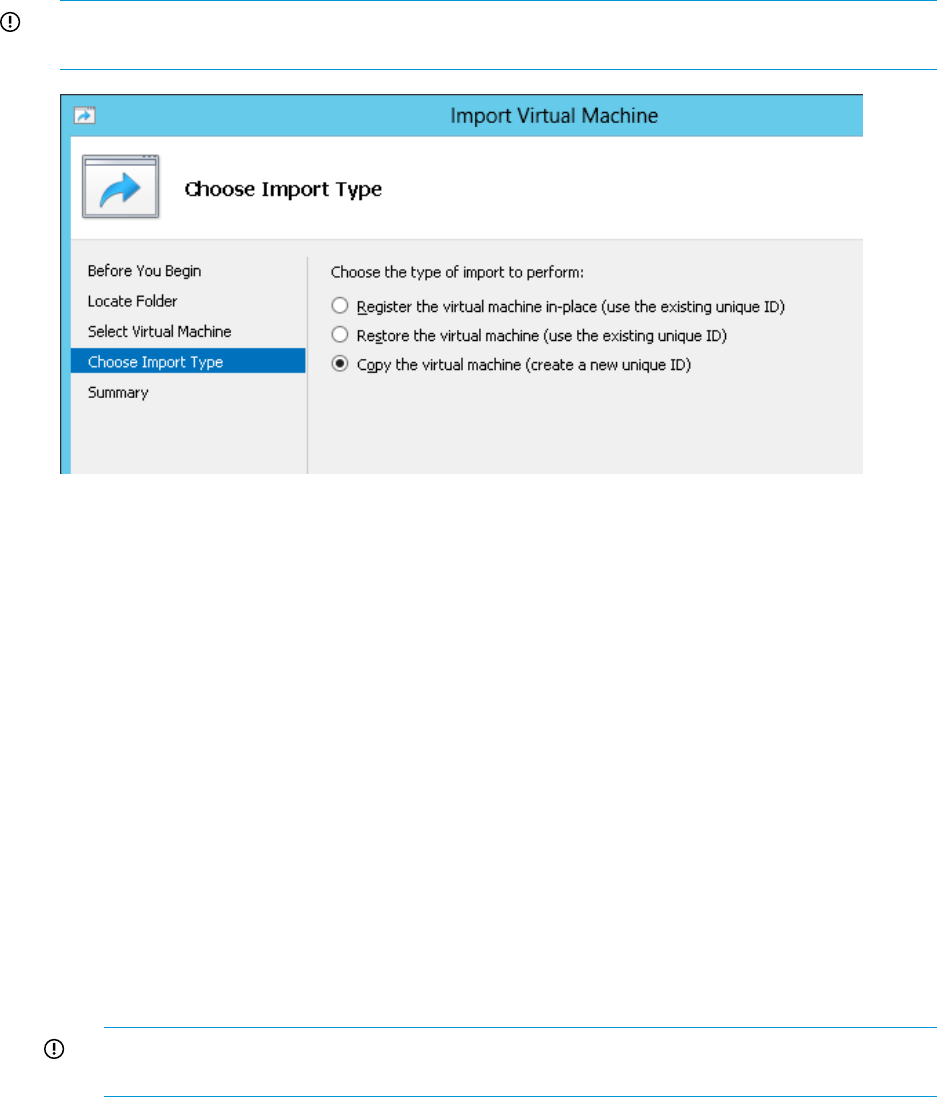
IMPORTANT: Be sure to select "Copy the virtual machine” (create a new unique ID) option
(see below).
5. Verify that the Insight Control server provisioning VM is configured to meet the host requirements
(see “Appliance VM and host requirements” (page 7)), set up thick provisioning and set up
network adapters on your VM host.
If you need to edit settings on the VM, right-click on the appliance VM and select Settings.
• For appliance VM and host requirements: See “Appliance VM and host requirements”
(page 7)). Also note that if you will be deploying large numbers of servers at a time
(more than 8 at a time), or will be managing large numbers of servers (over 1000), then
the recommended optimal configuration is 8 CPUs and 30 GB of memory.
• For thick provisioning: to use a Fixed size disk in Hyper-V after the VM is imported, go
into Settings and select the Virtual Hard Disk. Edit the current disk, select Convert and
select Fixed size. Then change the hard disk of the VM to the new Fixed size disk you
just created.
• For network adapters: You need to set your VM network adapters using the Hypervisor
UI, go into Settings for the VM and modify the Network Adapters to conform to your
networking environment. The first (top) Network Adapter is the Appliance NIC, the second
(bottom) Network Adapter is the Deployment NIC, if used.
You will normally connect the Network Adapters to one or more Virtual Switches,
depending on your networking configuration.
IMPORTANT: Be sure to uncheck the VLAN ID box if you are not using VLANs and
VLAN identifiers.
6. Next you power on the Insight Control server provisioning virtual machine for the first time as
described below.
Install Insight Control server provisioning on Microsoft Hyper-V hypervisor 19