
HP StorageWorks EML E-Series Ultrium 1840 tape drive moduleupgrade or replacement service guide (AH682-96001, October 2007)

4 Adding an LTO4 tape drive to a library
without any LTO4 tape drives installed
4.1 Upgrade library and drive firmw are
Upgrade the firmware for all library components so they will recognize
the LTO4 tape drive.
Upgrade the drive firmwar e for all LTO2 and LTO3 tape drives in the
library so they will properly handle the LTO4 media.
IMPORTANT:
L T O2 and L T O3 tape drives require the most recent firmware
to immediately identify LTO4 media. Without the most recent
firmware, loading an LTO4 cartridge into an earlier generation
drive may result in a long media identification and unload time.
The drive may not identify the media and return a load error
before the application times out waiting for the load. HP strongly
recommends keeping your tape drives updated to the most recent
firmware.
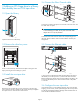
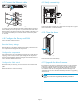
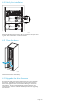
4.2 Open the library
10538
Open the back doors of the library.
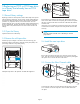
4.3 Install the internal network switch
Install th e switch for the internal network using the installation poster
included in the Internal Network Kit.
IMPORTANT:
Do not c onnect the switch to the local L AN. The switch is used
for internal library communication. Connecting it to a LAN can
caus
e library components to perform incorrectly or report failures.
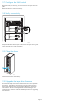
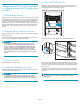
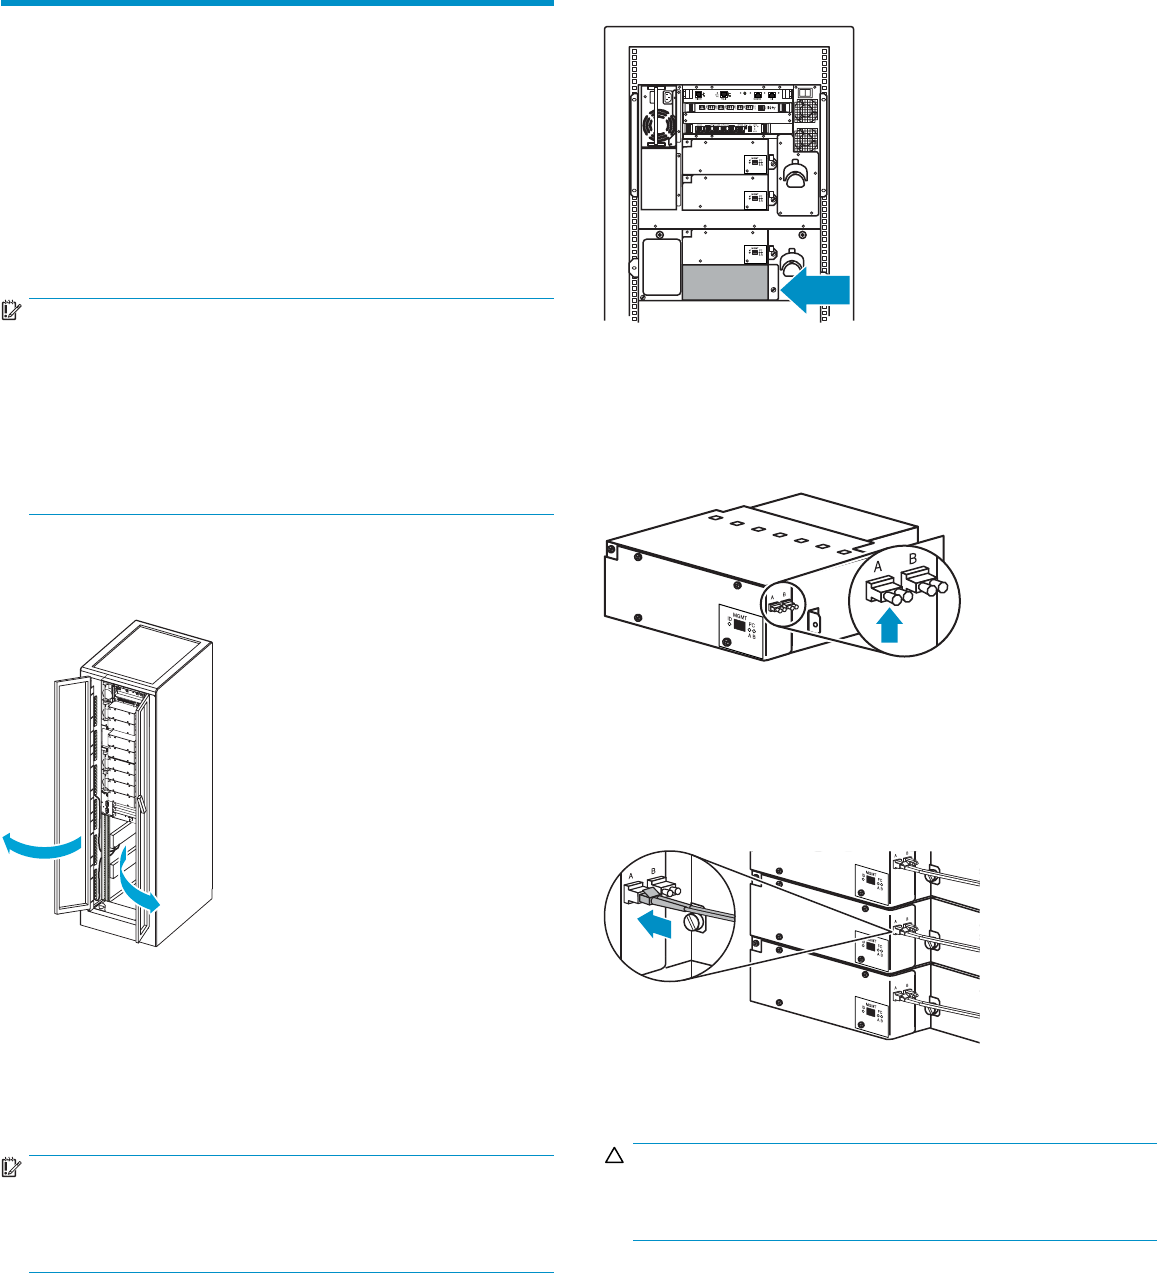
4.4 Remove the dr
ive bay cover
11550
Locate a vacant drive bay. Remove the face plate covering the d rive
bay by removing the screw holding it in place.
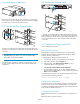
4.5 Install the new tape drive
11551
Remove the end cap from the port A FC connector on the new tape
drive.Insertthenewdrivemoduleintothevacantdrivebayandtighten
the captive screw to secure the drive to the chassis.
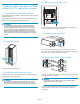
4.6 Connect the Fibre Channel cable
11552
Connect an FC cable to the port A FC connector on the new drive. The
FC cable should click into place.
CAUTI
ON:
To avo id damaging FC cables, do not pinch or bend the cables
sharper than a 5 cm (2 inch) diameter.
Conn
ect the other end of the FC cable to its corresponding port on
the SAN. Attach a label to each end of the cable to mark the por t
designations.
Page 4