
HP StorageWorks Using Hummingbird Maestro Server with the HP Windows Clustered Gateway Application Notes (432208-001, October 2006)


Using Hummingbird Maestro Server with the HP Windows Clustered Gateway application notes 7
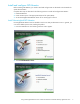
6. On the Additional Install Options for the Product window, you can choose to copy the installation files
locally in case they are needed during a product update. Select the Local Cache check box and click
Next.
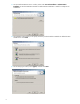
NOTE: To go to the Hummingbird Update web site after the installation is complete, select the Updates
check box.
7. When the installation is complete, click Finish to close the wizard. A Hummingbird Connectivity shortcut
is placed on your Windows desktop.
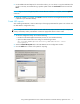
Create NFS exports
After installing NFS Maestro, create an NFS export of the appropriate PSFS file systems. This is done with
the NFS Maestro configuration utility.
NOTE: Export the same set of file systems to each node that may export an NFS service (for example, the
primary and backup nodes). NFS Maestro creates the appropriate shares on these nodes.
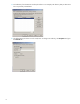
1. To start the configuration utility, do one of the following:
• Double-click the Hummingbird Connectivity shortcut on your Windows desktop.
• Open the Administrator Start menu and go to the following location:
All Programs\Hummingbird Connectivity 2007\NFS Maestro Server
Configuration
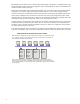
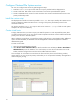
2. Select the Shared File Systems tab on the NFS Maestro Server Configuration window
3. Click the Add button to select a file system for exporting.