
HP Creative Scrapbook Assistant - User's Guide


32
33
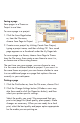
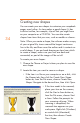
Note: For best results, save the digital photo to a folder on
your computer before you import it into HP Creative
Scrapbook Assistant.
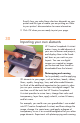
Importing and saving items
Once you have clip art, a scanned image, or a digital photo
on your hard disk, it’s easy to import it into HP Creative
Scrapbook Assistant for use in your scrapbook pages.
Get Other Content/Edit Phrases/Create a New Shape/
Get Other Pages
The import button changes name according to the type of
artwork you are bringing in: images, frames, clip art,
backgrounds, or pages.
• With the Images, Clip Art, Frames, or Backgrounds tabs
selected, the button is labeled Get Other Content.
• With the Phrases tab selected, the button is labeled
Edit Phrases.
• With the Shapes tab selected, the button is labeled
Create a New Shape.
• With the Pages tab selected, the button is labeled
Get Other Pages.
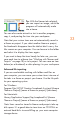
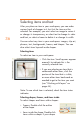
To import your own items:
1. Click the tab for the type of item
you want to import (Images, Clip
Art, Backgrounds, or Frames).
2. Click the Get Other Content
button (named for the type of
item) to browse to the folder containing your item. You
must select the entire folder and click OK to display its
contents as thumbnails.