
HP Creative Scrapbook Assistant - User's Guide

30
31
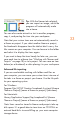
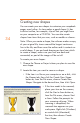
all sorts of objects, and then printing the items on a variety
of papers. (We recommend rst placing a transparency on
the glass to protect it.) One scrapbooker has photocopied
butteries and fern fronds that look so realistic you might try
picking them up off the printed page!
If you have a atbed scanner, you’re all set. Photocopiers
are also great for copying items away from your scanner,
or if your scanner does not have a atbed. (Refer to the
documentation that came with your photocopier or scanner
for operation details.)
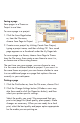
The Start a Scan button makes it easy to scan items without
ever leaving the HP Creative Scrapbook Assistant workspace.
1. Place the item on your scanner.
2. Click the Start a Scan button or, from the File menu,
choose Start a Scan.
3. Follow the prompts for your scanning software. When
scanning is completed, the scanned item appears on
the workspace, available for you to work with or save
to a theme or project.
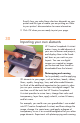
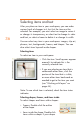
Using digital photos
Another great way to digitize an item is to take a digital
photo of it. (Refer to the documentation that came with your
digital camera for operation details.) You might have only
one copy of your grandparent’s marriage certicate or an
old family photo. Why not take a digital photo, import the
photo into HP Creative Scrapbook Assistant, and then use
the tools and your imagination to make a personalized
version that you can print again and again. This also works
great for digitizing 3D objects that won’t tolerate the
scanner well, such as a pet frog or the spine of a favorite
cactus plant.