
Basic Operation Guide 2013/06
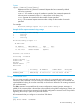
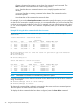


Table Of Contents
- Switch Software
- Contents
- 1 Commands found in the Basic Operation Guide
- 2 Getting started
- 3 Using the Menu Interface
- 4 Using the Command Line Interface (CLI)
- Overview
- Accessing the CLI
- Using the CLI
- Return message types with CLI commands
- CLI interactive commands
- CLI control and editing
- 5 Using the HP WebAgent
- 6 Switch memory and configuration
- Overview
- Configuration file management
- Using the CLI to implement configuration changes
- Creating a custom default configuration
- Using the menu and WebAgent to implement configuration changes configuration file
- Zeroization
- Using Primary and Secondary flash image options
- Multiple configuration files
- Display configuration of selected interface
- Automatic configuration update with DHCP Option 66
- 7 Interface access and system information
- 8 Configuring IP addressing
- Overview
- IP configuration
- Loopback interfaces
- IP Preserve: retaining VLAN-1 IP addressing across configuration file downloads
- Configuring a single source IP address
- 9 Software management
- Downloading switch documentation and software from the web
- Viewing or downloading the software manual set
- Downloading software updates for your switch
- Software signing and verification
- Saving configurations while using the CLI
- Important: Best Practices for software updates
- Updating the switch: overview
- Updating the switch: detailed steps
- Rolling back switch software
- Viewing or transferring alternate configuration files
- Downloading switch documentation and software from the web
- Index
10.11.12.195 [Enter] (example of an IP address)
The Home page of the WebAgent displays in the right pane and a navigation tree displays in the
left pane. You can access all the WebAgent features from the navigation tree.
Tasks for your first WebAgent session
Viewing the “First Time Install” window
When you access the WebAgent for the first time, the Alert log contains a “First Time Install” alert.
This gives you information about first time installations and provides an immediate opportunity to
set passwords for security. You can also specify a fault detection policy, which determines the
types of messages that will be displayed in the Alert Log.
To view the Alert Log, click on System in the navigation tree, then click on Logging. Double click
on First Time Install in the Alert log. The WebAgent displays the “First Time Install” window. This
window is the launching point for setting WebAgent passwords for maintaining security, and also
setting a fault detection policy.
You can also use the navigation tree to access these screens:
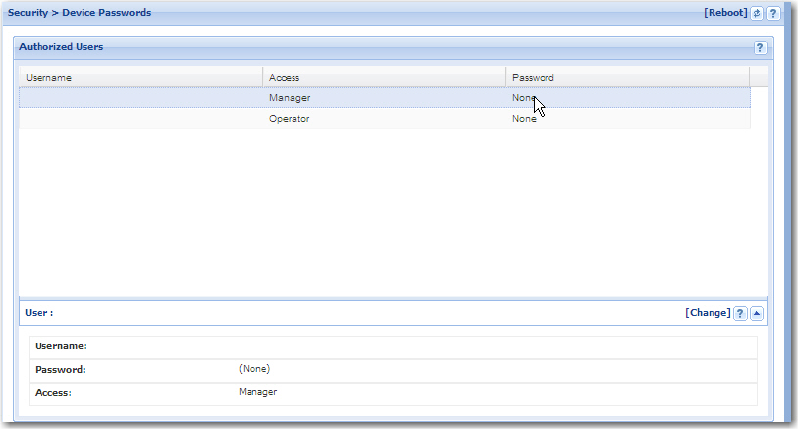
• To set WebAgent passwords, select Security > Device Passwords in the navigation tree.
• To set the fault detection policy, select Security > Intrusion Log in the navigation tree.
Setting a username and password
You can set a username in the Username field of the password pane. If you do not want to set a
username, then leave the Username field in the password pane blank.
The manager and operator passwords are used to control access to all switch interfaces. The
password you enter determines the capability you have during that session:
• Entering the manager password gives you full read/write/troubleshooting capabilities
• Entering the operator password gives you read and limited troubleshooting capabilities.
Note that the command prompt and switch console interface use only the password; you are not
prompted for the username.
Figure 11 Example of the device passwords screen
To set the username and password:
Tasks for your first WebAgent session 47