
Basic Operation Guide 2013/06
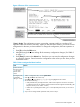
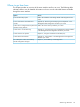

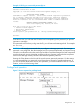
Table Of Contents
- Switch Software
- Contents
- 1 Commands found in the Basic Operation Guide
- 2 Getting started
- 3 Using the Menu Interface
- 4 Using the Command Line Interface (CLI)
- Overview
- Accessing the CLI
- Using the CLI
- Return message types with CLI commands
- CLI interactive commands
- CLI control and editing
- 5 Using the HP WebAgent
- 6 Switch memory and configuration
- Overview
- Configuration file management
- Using the CLI to implement configuration changes
- Creating a custom default configuration
- Using the menu and WebAgent to implement configuration changes configuration file
- Zeroization
- Using Primary and Secondary flash image options
- Multiple configuration files
- Display configuration of selected interface
- Automatic configuration update with DHCP Option 66
- 7 Interface access and system information
- 8 Configuring IP addressing
- Overview
- IP configuration
- Loopback interfaces
- IP Preserve: retaining VLAN-1 IP addressing across configuration file downloads
- Configuring a single source IP address
- 9 Software management
- Downloading switch documentation and software from the web
- Viewing or downloading the software manual set
- Downloading software updates for your switch
- Software signing and verification
- Saving configurations while using the CLI
- Important: Best Practices for software updates
- Updating the switch: overview
- Updating the switch: detailed steps
- Rolling back switch software
- Viewing or transferring alternate configuration files
- Downloading switch documentation and software from the web
- Index
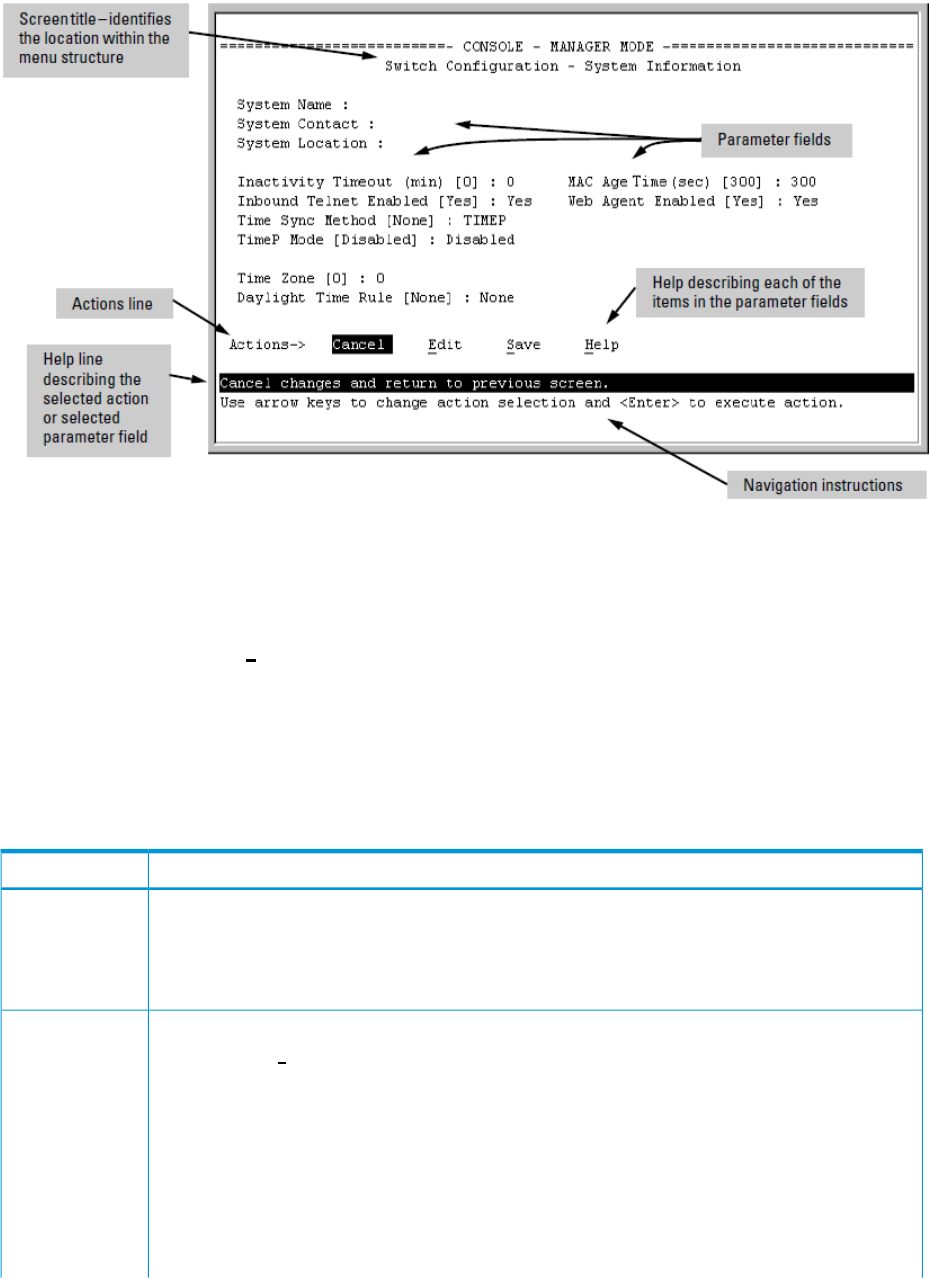
Figure 4 Elements of the screen structure
"Forms" design. The configuration screens, in particular, operate similarly to a number of PC
applications that use forms for data entry. When you first enter these screens, you see the current
configuration for the item you have selected. To change the configuration, the basic operation is
to:
1. Press [E] to select the Edit action.
2. Navigate through the screen making all the necessary configuration changes. (See Table 3
on page 21.)
3. Press [Enter] to return to the Actions line. From there you can save the configuration changes
or cancel the changes. Cancel returns the configuration to the values you saw when you first
entered the screen.
Table 3 How to navigate the Menu interface
Actions:Task:
Execute an action
from the "Actions
–>" list at the
bottom of the
screen:
Reconfigure (edit)
a parameter
setting or a field:
1. Select a configuration item, such as System Name.
2. Press [E] (for Edit on the Actions line).
3. Use [Tab] or the arrow keys ([←], [→], [↑], or [↓]) to highlight the item or field.
4. Do one of the following:
• If the parameter has preconfigured values, either use the Space bar to select a new option
or type the first part of your selection and the rest of the selection appears automatically. (The
help line instructs you to "Select" a value.)
• If there are no preconfigured values, type in a value (the Help line instructs you to "Enter" a
value).
5. If you want to change another parameter value, return to step 3.
Screen structure and navigation 21