
Using System Center 2012 R2 Configuration Manager SP1 to Manage Windows-based HP Thin Clients

14
8. When the wizard has completed, select Close.
9. Burn the ISO on media.
Capturing a Windows image from a reference system
Local access to a client is required for the following procedure.
1. Disconnect the reference system from the domain, if necessary.
2. Do not change the Administrator account password from the default value (Administrator).
3. Disable the write filter, and then restart.
4. Log on as Administrator.
5. If the Embedded Device Manager (EDM) is running on your device, stop the EDM write filter services using Windows
services.msc.
6. For the task sequence to include User State Migration, make sure that the RAM disk on the source/destination image is
configured so that there is at least 250 MB of space to support USMT operations. For more information on preparing a
task sequence to include User State Migration, see
Appendix A—Preparing a task sequence to include User State
Migration.
7. Insert the media containing the ISO.
8. If AutoRun does not launch, manually browse to <Task Sequence Capture Media>:\SMS\bin and
launch tsmbautorun.exe.
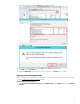
9. A wizard appears. Follow the instructions on the screen. You can specify a network location for the WIM file, if your
Windows PE boot image has network connection capability (that is, if a NIC driver is installed).
10. After it is complete, the wizard closes automatically. The system restarts to load Windows PE and initiate capture
within 2 to 5 minutes. If necessary, remove the capture media so that the device does not boot from it.
11. By default, the local admin account is disabled after capturing an image.
Deploying an operating system image through Operating System Deployment
Before deploying an image, be sure that the corresponding driver package has been created and pushed to the distribution
points. See Creating a driver package for imaging
for details.
Importing a captured Windows reference image into Configuration Manager
1. Create a shared folder on the Configuration Manager server use to store the image file. Be sure to give all users access
to the folder.
2. Copy the captured reference Windows WIM file to this folder.
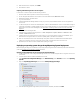
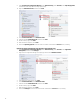
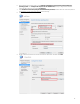
3. Select System Center Configuration Manager, select Software Library, select Overview, and then select Operating
Systems.
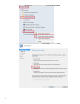
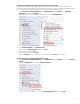
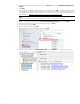
4. Right-click Operating System Images, and then select Add Operating System Image.
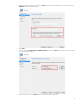
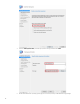
5. In the Add Operating System Image wizard, enter the network path (UNC), and then select Next.