
Reference Guide
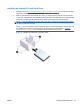
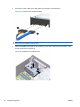
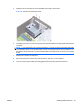

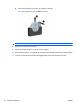
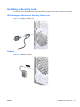
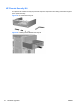
Table Of Contents
- Hardware Upgrades
- Warnings and Cautions
- Additional Information
- Removing the Computer Access Panel
- Replacing the Computer Access Panel
- Removing the Front Bezel
- Removing Bezel Blanks
- Replacing the Front Bezel
- Installing Additional Memory
- Removing or Installing an Expansion Card
- Drive Positions
- Installing Additional Drives
- Battery Replacement
- Installing a Security Lock
- Electrostatic Discharge
- Computer Operating Guidelines, Routine Care and Shipping Preparation
- Index
3. Connect the power cable (1) and data cable (2) to the back of the hard drive.
Figure 27 Connecting the Hard Drive Cables
CAUTION: Never crease or bend a SATA data cable tighter than a 30 mm (1.18 in) radius. A
sharp bend can break the internal wires.
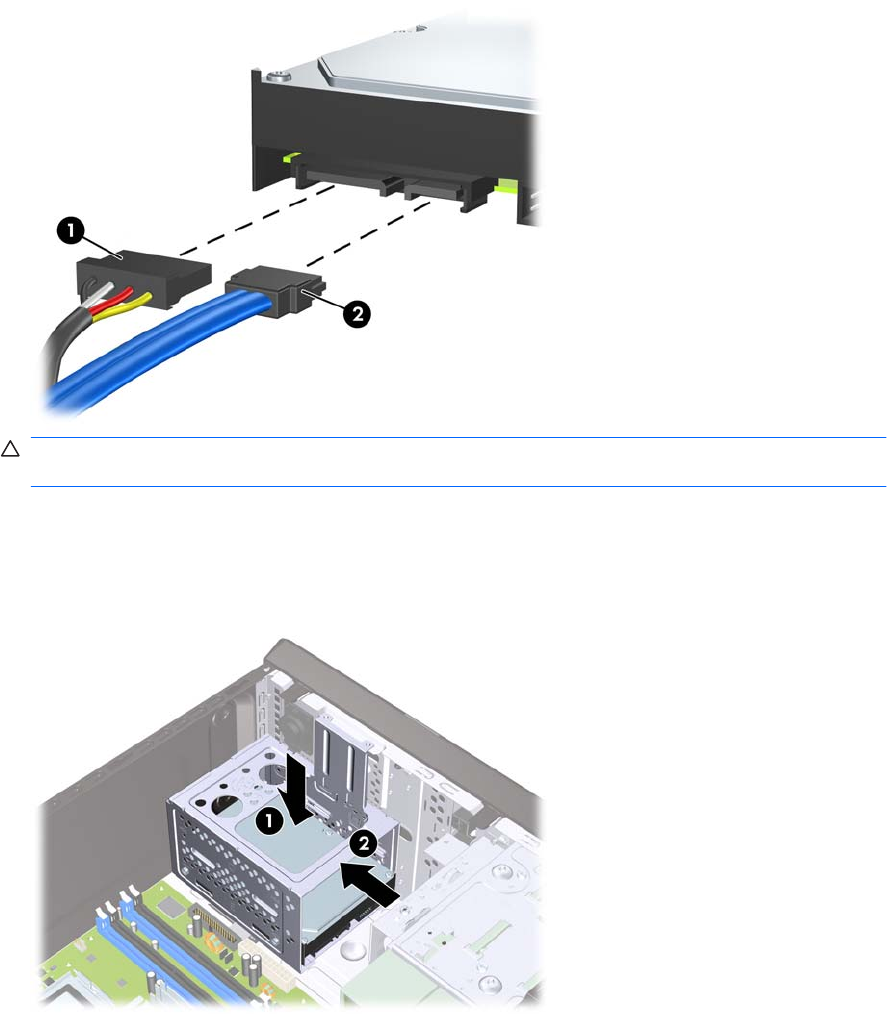
4. Place the hard disk drive cage into the chassis (1), then slide it down toward the bottom of the
chassis until it locks into place (2).
Figure 28 Installing the Hard Drive Cage
26 Hardware Upgrades ENWW