Hardware reference guide
Table Of Contents
- Product Features
- Microtower (MT) Hardware Upgrades
- Serviceability Features
- Warnings and Cautions
- Removing the Computer Access Panel
- Replacing the Computer Access Panel
- Removing the Front Bezel
- Removing Bezel Blanks
- Replacing the Front Bezel
- System Board Connections
- Installing Additional Memory
- Removing or Installing an Expansion Card
- Drive Positions
- Installing and Removing Drives
- Installing a Security Lock
- Small Form Factor (SFF) Hardware Upgrades
- Serviceability Features
- Warnings and Cautions
- Removing the Computer Access Panel
- Replacing the Computer Access Panel
- Removing the Front Bezel
- Removing Bezel Blanks
- Replacing the Front Bezel
- Changing from Desktop to Tower Configuration
- System Board Connections
- Installing Additional Memory
- Removing or Installing an Expansion Card
- Drive Positions
- Installing and Removing Drives
- Installing a Security Lock
- Battery Replacement
- Removing and Replacing a Removable 3.5-inch SATA Hard Drive
- Unlocking the Smart Cover Lock
- Electrostatic Discharge
- Computer Operating Guidelines, Routine Care and Shipping Preparation
- Index

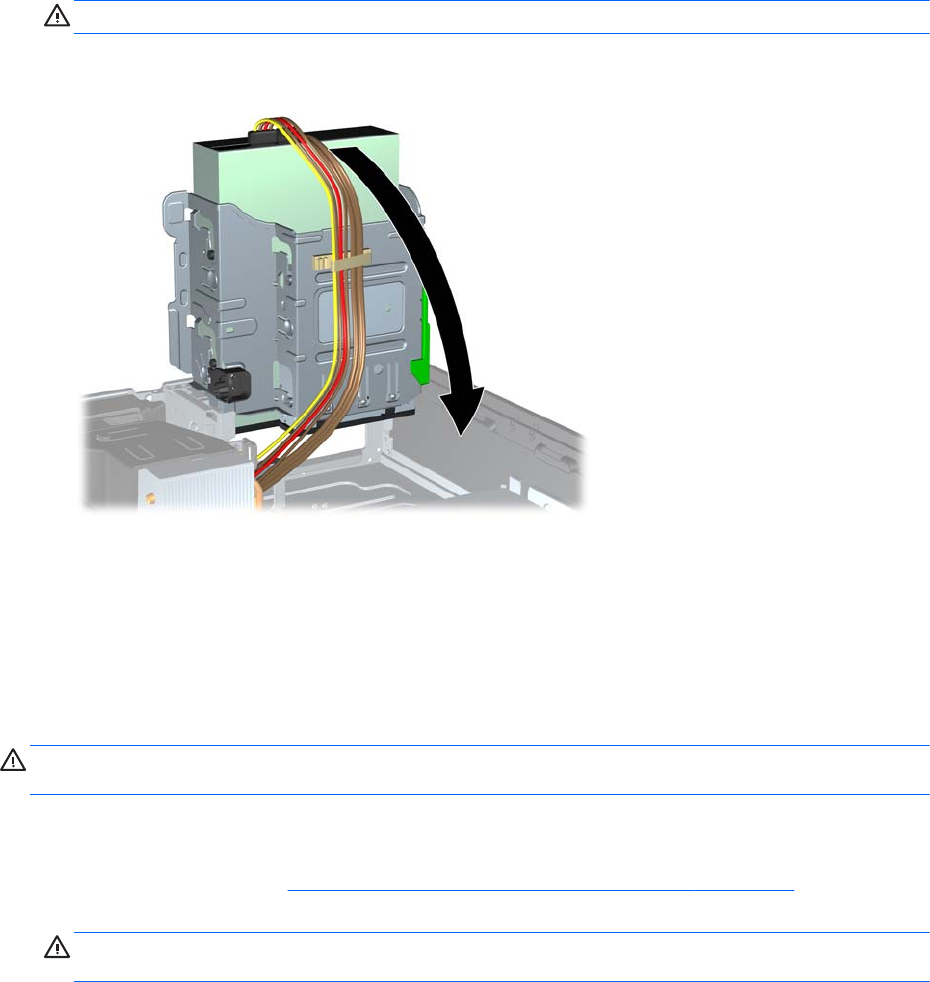
14. Rotate the drive cage back down to its normal position.
CAUTION: Be careful not to pinch any cables or wires when rotating the drive cage down.
Figure 3-26 Rotating the Drive Cage Down
15. Replace the front bezel (if removed) and access panel.
16. If the computer was on a stand, replace the stand.
17. Reconnect the power cord and turn on the computer.
18. Lock any security devices that were disengaged when the access panel was removed.
Removing a 3.5-inch Drive from a Drive Bay
CAUTION: All removable media should be taken out of a drive before removing the drive from the
computer.
The 3.5-inch drive is located underneath the 5.25-inch drive. You must remove the 5.25-inch drive
before removing the 3.5-inch drive.
1. Follow the procedure in
Removing a 5.25-inch Drive from a Drive Bay on page 62 to remove the
5.25-inch drive and access the 3.5-inch drive.
CAUTION: Ensure that the computer is turned off and that the power cord is disconnected
from the electrical outlet before proceeding.
Installing and Removing Drives 67


