
User's Manual


Table Of Contents
- Notebook Features
- Pointing Devices and Keyboard
- Using a Pointing Device
- Using Hotkeys and Shortcut Keys
- Fn and Function Keys
- Hotkey and Shortcut Key Quick Reference
- Initiating Standby (Fn+F3)
- Switching Display and Image (Fn+F4)
- Viewing Battery Charge Information (Fn+F8)
- Adjusting the Screen Brightness (Fn+F9 and Fn+F10)
- Displaying System Information (Fn+esc)
- Using Hotkeys and Shortcut Keys with External Keyboards
- Using Quick Launch Buttons
- Keypads
- Battery Packs
- Inserting or Removing the Primary Battery Pack
- Using the Optional Travel Battery
- Charging a Battery Pack
- Monitoring the Charge of a Battery Pack
- Managing Low-Battery Conditions
- Calibrating a Battery Pack
- Conserving Battery Power
- Storing a Battery Pack
- Disposing of a Used Battery Pack
- Finding More Power Information
- Hard Drive
- Audio and Video
- Communication Devices
- External Devices
- Hardware Upgrades
- Adding and Upgrading Memory Modules
- Specifications
- Index
Hardware Upgrades
Inserting a PC Card
CAUTION: To prevent damage to the connectors:
Use minimal pressure when inserting a PC Card into a PC Card slot.
Do not move or transport the notebook while a PC Card is inserted.
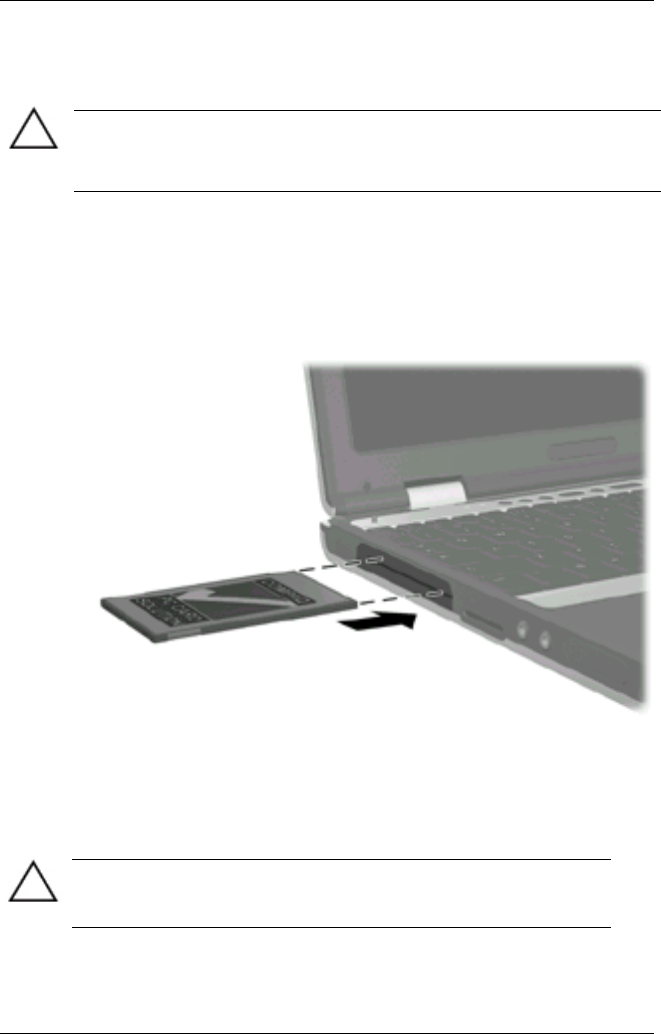
To insert a PC Card:
1. Hold the PC Card label-side up with the connector facing the
notebook.
2. Gently push the card into the slot until the card is seated.
Inserting a PC Card into the PC Card slot
Removing a PC Card
CAUTION: To prevent loss of work or system lockup, stop the
PC Card, according to the instructions that follow, before
removing it.
8-2 Hardware Guide