
User's Manual
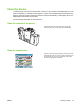
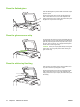


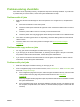
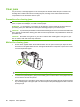

Table Of Contents
- Device basics
- Use the device
- Copy
- Fax
- Send to e-mail
- Send to a network folder
- Job Storage
- Check job status and use the job queue
- Print from a Windows computer
- Windows printer driver features
- Select a tray
- Select an output bin for print jobs
- Select a paper type
- Set the color quality
- Store jobs
- Create and use printing shortcuts
- Use watermarks
- Resize documents
- Set a custom paper size
- Print using different paper
- Insert blank or preprinted sheets
- Chapter page layout
- Print on both sides of the paper
- Print multiple pages on one sheet of paper in Windows
- Create booklets
- Shift images on the page
- Use the HP Digital Imaging Options dialog box
- Set the stapling options
- Set the color options
- Use the Services tab
- Windows printer driver features
- Print from a Macintosh computer
- Macintosh printer driver features
- Select a tray
- Select an output bin
- Select a paper type
- Set the color quality
- Store jobs
- Create and use presets
- Use watermarks
- Resize documents
- Print on a custom paper size
- Print a cover page
- Print on both sides of the paper
- Print multiple pages on one sheet of paper
- Create booklets
- Shift images on the page
- Set the stapling options
- Set the color options
- Use the Services menu
- Macintosh printer driver features
- Maintain the device
- Solve problems
- Regulatory statements
- Index
Clear jams
If a jam occurs, a message appears on the control panel to describe where the jam is located. The
message also contains instructions for finding the jam, including a short video that shows which
components to move and which doors to open.
Precautions for clearing jams
WARNING! To avoid injury, do not touch moving parts. Do not reach into the device except to clear
jams, to replace ink cartridges, or to add or remove paper.
WARNING! To avoid injuring your fingers, do not attempt to clear a staple jam while the device is
processing other jobs. Wait until the control-panel message prompts you to clear the jam.
CAUTION: To protect the printheads from electrostatic discharge, be sure to touch the horizontal metal
bar to ground yourself before clearing jams that are near the printheads. The printheads are above the
print-drum area.
CAUTION: Be careful not to get ink on your skin or clothes when clearing jams. If ink gets on your
skin or clothes, wash with warm soap and water.
Method for clearing jams
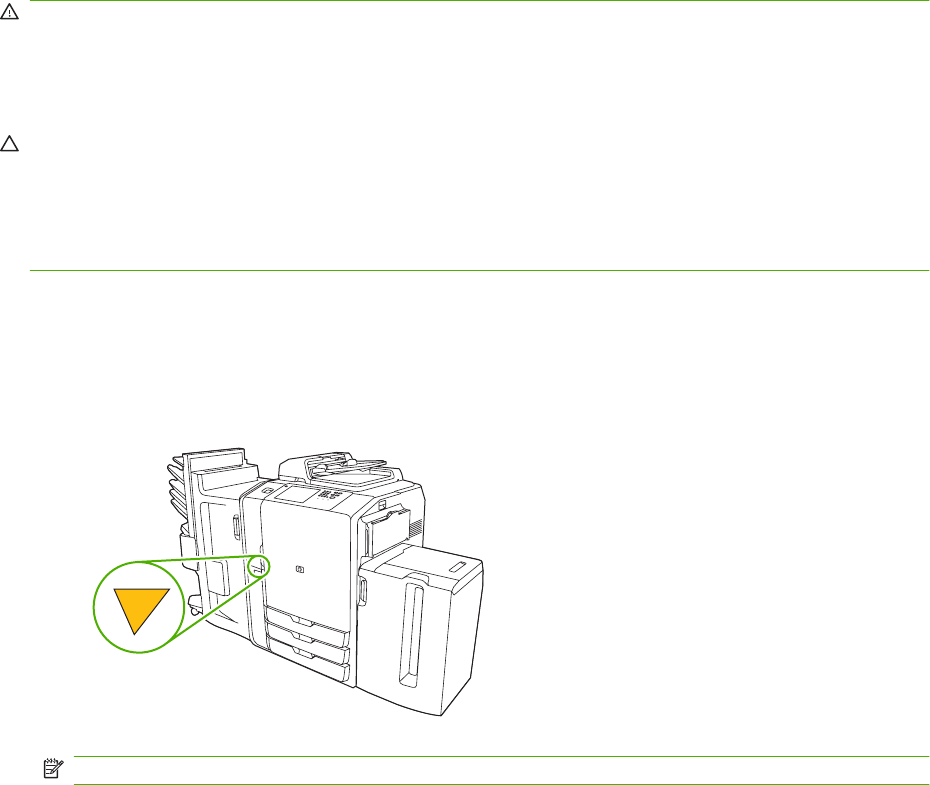
1. On the device, lighted amber arrows indicate which door to open to find the jam. Open the door
and look for more lighted amber arrows. The lights indicate which component to open next in order
to locate the jammed paper.
NOTE: Open only the doors and panels indicated by the lights.
2. To remove the jammed paper, grasp it and carefully pull it out of the device. If the paper tears, be
sure to remove all of the torn pieces.
3. After clearing the jam, close all the doors. Before it continues processing the job, the device clears
any remaining paper in the paper path. The device reprints the jammed pages and then continues
printing the job.
80 Chapter 4 Solve problems ENWW