
User's Manual
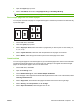

Table Of Contents
- Device basics
- Use the device
- Copy
- Fax
- Send to e-mail
- Send to a network folder
- Job Storage
- Check job status and use the job queue
- Print from a Windows computer
- Windows printer driver features
- Select a tray
- Select an output bin for print jobs
- Select a paper type
- Set the color quality
- Store jobs
- Create and use printing shortcuts
- Use watermarks
- Resize documents
- Set a custom paper size
- Print using different paper
- Insert blank or preprinted sheets
- Chapter page layout
- Print on both sides of the paper
- Print multiple pages on one sheet of paper in Windows
- Create booklets
- Shift images on the page
- Use the HP Digital Imaging Options dialog box
- Set the stapling options
- Set the color options
- Use the Services tab
- Windows printer driver features
- Print from a Macintosh computer
- Macintosh printer driver features
- Select a tray
- Select an output bin
- Select a paper type
- Set the color quality
- Store jobs
- Create and use presets
- Use watermarks
- Resize documents
- Print on a custom paper size
- Print a cover page
- Print on both sides of the paper
- Print multiple pages on one sheet of paper
- Create booklets
- Shift images on the page
- Set the stapling options
- Set the color options
- Use the Services menu
- Macintosh printer driver features
- Maintain the device
- Solve problems
- Regulatory statements
- Index
3. Open the Layout pop-up menu.
4. Next to Two-Sided, select either Long-Edge Binding or Short-Edge Binding.
NOTE: For OS X v10.5, a default binding value may appear if you had checked Two-Sided first.
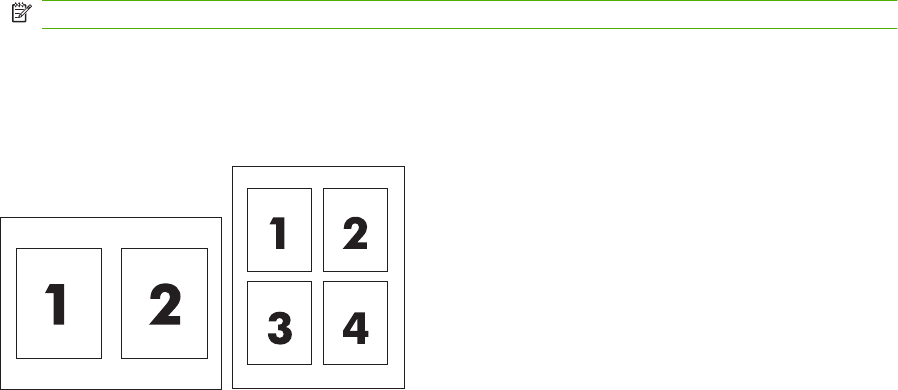
Print multiple pages on one sheet of paper
You can print more than one page on a single sheet of paper. This feature provides a cost-effective way
to print draft pages.
1. On the File menu, click Print.
2. Click the Layout pop-up menu.
3. Next to Pages per Sheet, select the number of pages that you want to print on each sheet (1, 2,
4, 6, 9, or 16).
4. Next to Layout Direction, select the order and placement of the pages on the sheet.
5. Next to Border, select the type of border to print around each page on the sheet.
Create booklets
You can copy two pages on one sheet of paper so you can fold the pages in the center to form a booklet.
The device arranges the pages in the correct order. For example, if the original document has eight
pages, the device prints pages 1 and 8 on the same sheet.
1. On the File menu, click Print.
2. Open the Finishing menu.
3. On the Booklet Printing tab, select Format Output As Booklet.
4. If the last page of the original document should be placed as the back cover of the booklet, select
Last Page Is Back Cover.
5. Next to Page Order, select whether the pages should be bound on the left or right edge.
6. Next to Scaling, select Proportional, or Fit To Page.
7. Next to Paper For Booklet, select the paper size to use.
ENWW Print from a Macintosh computer 65