
HP LaserJet Pro MFP M225, M226-Getting Started Guide


7
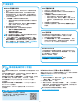
After turning on the printer, wait for it to initialize. To navigate the touchscreen control panel, use touch, swipe, and scroll gestures. Follow the prompts on the
controlpaneltocongurethesesettings:
• Language
• Location
• Default Settings
Under Default Settingsselectoneoftheseoptions:
• Self-managed:Optimizeddefaultsettingsforaguidedexperienceonsetups,congurations,andupdates.
• IT-managed:Optimizeddefaultsettingsforeetmanageabilitywithenhancedsecurity.
Settings are fully customizable after initial setup.
NOTE: Select Print Information Page to print a page that instructs how to change the default settings.
NOTE: Touch the Help button on the printer control panel to access help topics.
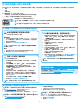
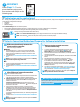
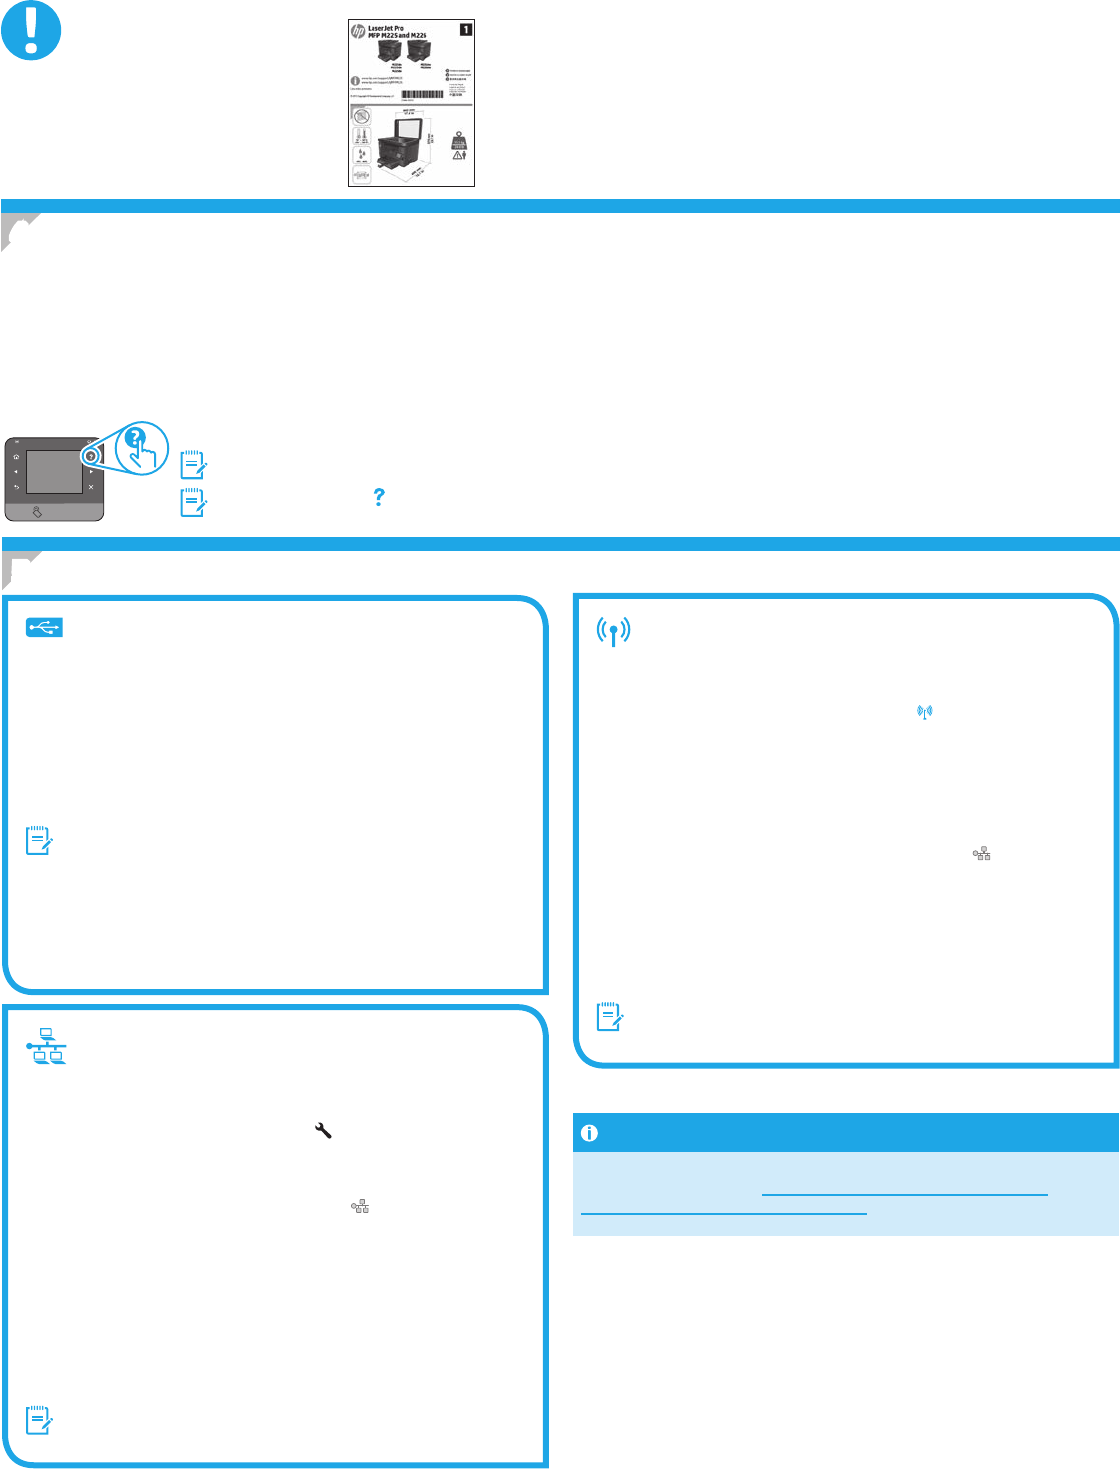
IMPORTANT:
Follow Steps 1 - 3 on the
printer hardware setup poster,
then continue with Step 4 on the
following page.
4.
Initial setup on the control panel
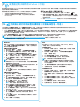
Windows
1. Except Windows 8, 8.1, or RT, do not connect the USB cable
before installing the software. If already connected, remove
before continuing. Installation prompts to connect the cable
when appropriate.
2. Continue with “6. Locate or download the software installation
les.”
NOTE: During software installation, select the option to Directly
connect this computer using a USB cable.
Mac
1. Connect the USB cable between the computer and the printer
before installing the software.
2. Continue with “6. Locate or download the software installation
les.”
Built-in wireless network connection
(wireless models only)
1. To connect the printer to a wireless (Wi-Fi) network, on the
printer control panel, touch the Wireless button. Touch
Wireless Menu, and then touch Wireless Setup Wizard.
2. Select the network name from the SSID list, or enter the network
name if it is not listed.
3. Use the keyboard to enter the passphrase, and then touch the OK
button.
4. Wait while the printer establishes a network connection.
5. On the printer control panel, touch the Network button.
If an IP address is listed, the network connection has been
established. If not, wait a few more minutes and try again. Note
the IP address for use during software installation. Example IP
address: 192.168.0.1
6. To print from a computer, continue with “6. Locate or download
the software installation les.” To print from a phone or tablet
only, continue with “8. Mobile and wireless printing.”
NOTE: During software installation, select the option to Help me
set up a rst-time wireless connection.
Manually congure the IP address
See the printer User Guide for information on how to manually
conguretheIPaddresswww.hp.com/support/colorljMFPM225 or
www.hp.com/support/colorljMFPM226.
Wired (Ethernet) network connection
Use a standard network cable.
1. Connect the network cable to the printer and to the network. Wait
a few minutes for the printer to acquire a network address.
2. LCD control panels: Press the Setup button. Open the Network
Setup menu and then select Show IP Address to display the IP
address or host name.
Touchscreen control panels: From the Home screen on the
product control panel, touch the Network button to display the
IP address or host name.
3. If an IP address is listed, the network connection has been
established. If not, wait a few more minutes and try again. Note
the IP address for use during software installation. Note the IP
address for use during software installation. Example IP address:
192.168.0.1
TomanuallyconguretheIPaddress,see“Manuallycongurethe
IP address.”
4. Continue with “6. Locate or download the software installation
les.”
NOTE: During software installation, select the option to Connect
through a network.
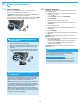
USB connection directly between the
printer and the computer
Use an A-to-B type USB cable.
5.
Select a Connection Method and Prepare for Software installation