
Instruction Manual
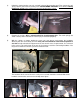
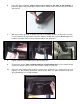

Table Of Contents
- UImproperly installed or installed by someone other than a qualified, licensed auto mechanic experienced in the installation and removal of suspension products;
- UImproperly serviced, misused, or modified, altered or subjected to abuse, negligence, accident or collision;
- UInstalled in any vehicle that has been modified;
- UInstalled on any vehicle that has carried loads in excess of automobile manufacturer suggested weight limits; or
- UInstalled on any vehicle that has been subject to abnormal or excessive use, including rallying, racing, or racing-type activities or off-road use.
- UDid you register the product at U0TUwww.hotchkis.netU0TU or via the mail-in warranty card within 30 days of purchase?
- UIs the product appropriate to your application?
- UDid you carefully and thoroughly read the instructions provided along with the product?
- UDo you have the original invoice or sales receipt?
- UIs the return date within 36 months from the purchase date?
- UAre you the original purchaser?
- UWas the product properly installed by a qualified, licensed auto mechanic?
- UHas the product been installed on the original vehicle on which it was installed at all times?
- UIs the product unmodified and clean?
- UIs the reason for return a legitimate product defect?
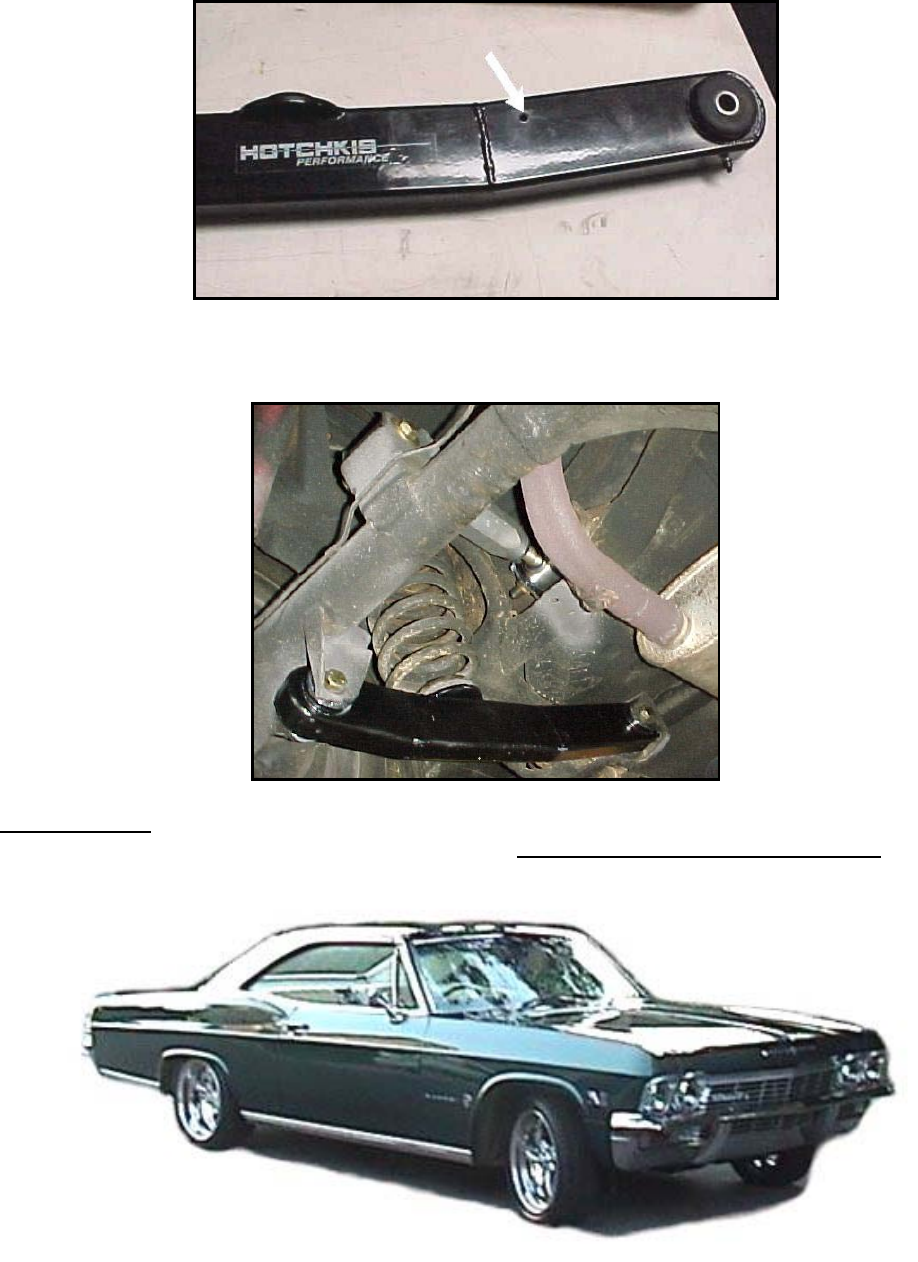
11) Reattach the brake line to the side of the Hotchkis arm using the tapped hole on the outside of
the trailing arm. Use the new hardware provided.
12) Check that all hardware is in place and tightened. Cover the zerk fittings using the plastic caps
provided. Use a jack to remove the jack stands, and you’re finished installing your new arms!
IMPORTANT!
For proper maintenance, use the zerk fittings to grease the bushings at least once a
year (15,000 miles) or when excessive noise occurs.
Use a non-lithium based grease only! A lithium-
based grease can wash out with water and should not be used.
SEE NEXT PAGE FOR PARTS LIST