
User's Manual

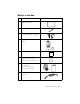

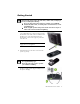
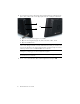
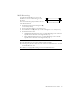
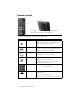
Table Of Contents
- Conventions
- What’s in the Box
- Getting Started
- Remote Control
- Navigating the Keyboard Utility
- HP DreamScreen
- Key Features
- Initial Setup
- Photo Slide Show and Browse
- Managing Photos
- Using a PC as an External Media Source
- Menu Options
- HP DreamScreen PC Software
- Installing HP DreamScreen PC Software
- Running HP DreamScreen PC Software
- Troubleshooting
- Specifications
- Frequently Asked Questions
- Cleaning and Care Tips
- Regulatory and Safety Information
- Index
HP DreamScreen User Guide 1
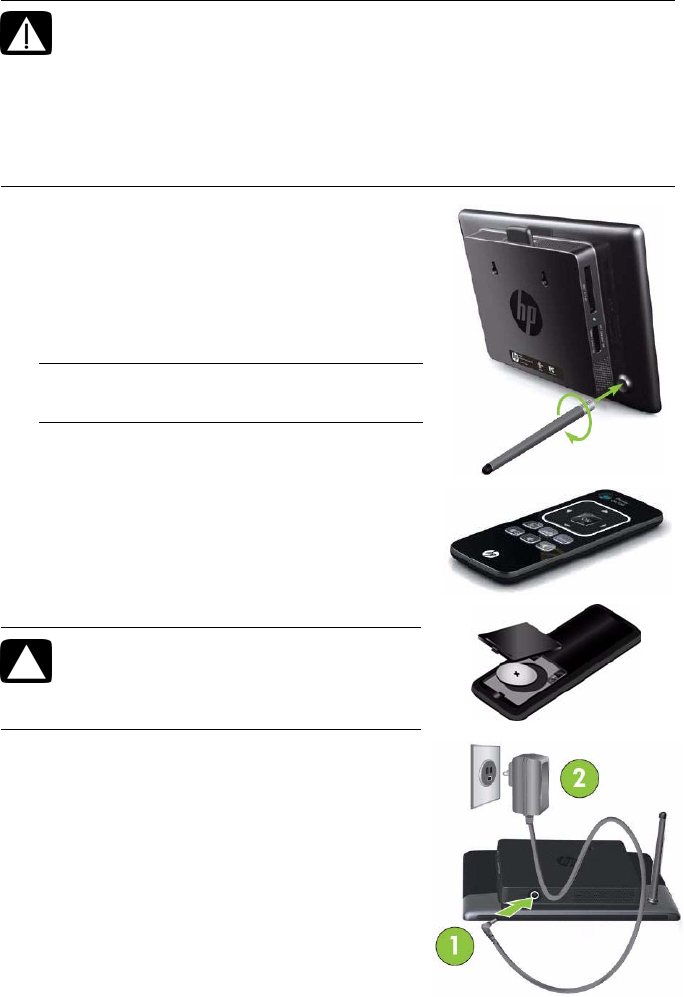
Getting Started
1 Attach the stand to the rear of the HP DreamScreen
100 or HP DreamScreen 130 by screwing it into the
threaded hole in the back of the unit. When the HP
DreamScreen is in the horizontal position, the
threaded hole is at the lower right as you face the
rear of the unit.
2 Install the battery into the remote control with the
positive (+) side up.
3 Connect the power cord into the DC input of the HP
DreamScreen (1) and then plug the adapter into an
AC power outlet (2).
WARNING: When using this device, basic safety precautions should
always be followed to reduce the risk of fire, electric shock, and injury to
persons, including the following:
Do not use this product near water, for example, near a bathtub,
wash bowl, kitchen sink, or laundry tub, in a wet basement, or near
a swimming pool.
Avoid using this product during an electrical storm. There may be a
remote risk of electric shock from lightning.
NOTE: Screw in the stand by hand until it fits
snugly, but do not overtighten it.
Caution: Only replace the battery with
the supplied battery type.
Ensure the plus sign (+) faces up when
you install a new battery.