
Instruction Manual


Page 14 of 19 ESP FIREbeam – Installation Manual
2011 Hochiki Europe (UK) Ltd
2-3-0-1340/ISS2/DEC11
3.3 Individual Menu Items
3.3.1 Language
The language is factory set to English as default. If this is okay press
enter to continue to commissioning or up to return to the home screen.
To change the language use the right and left keys to change to
your preferred language and press
enter to confirm your choice – you
will then continue in the language of your choice. Languages currently
available are: English, Dutch, Italian, French, Spanish, Czechoslovakian
and German.
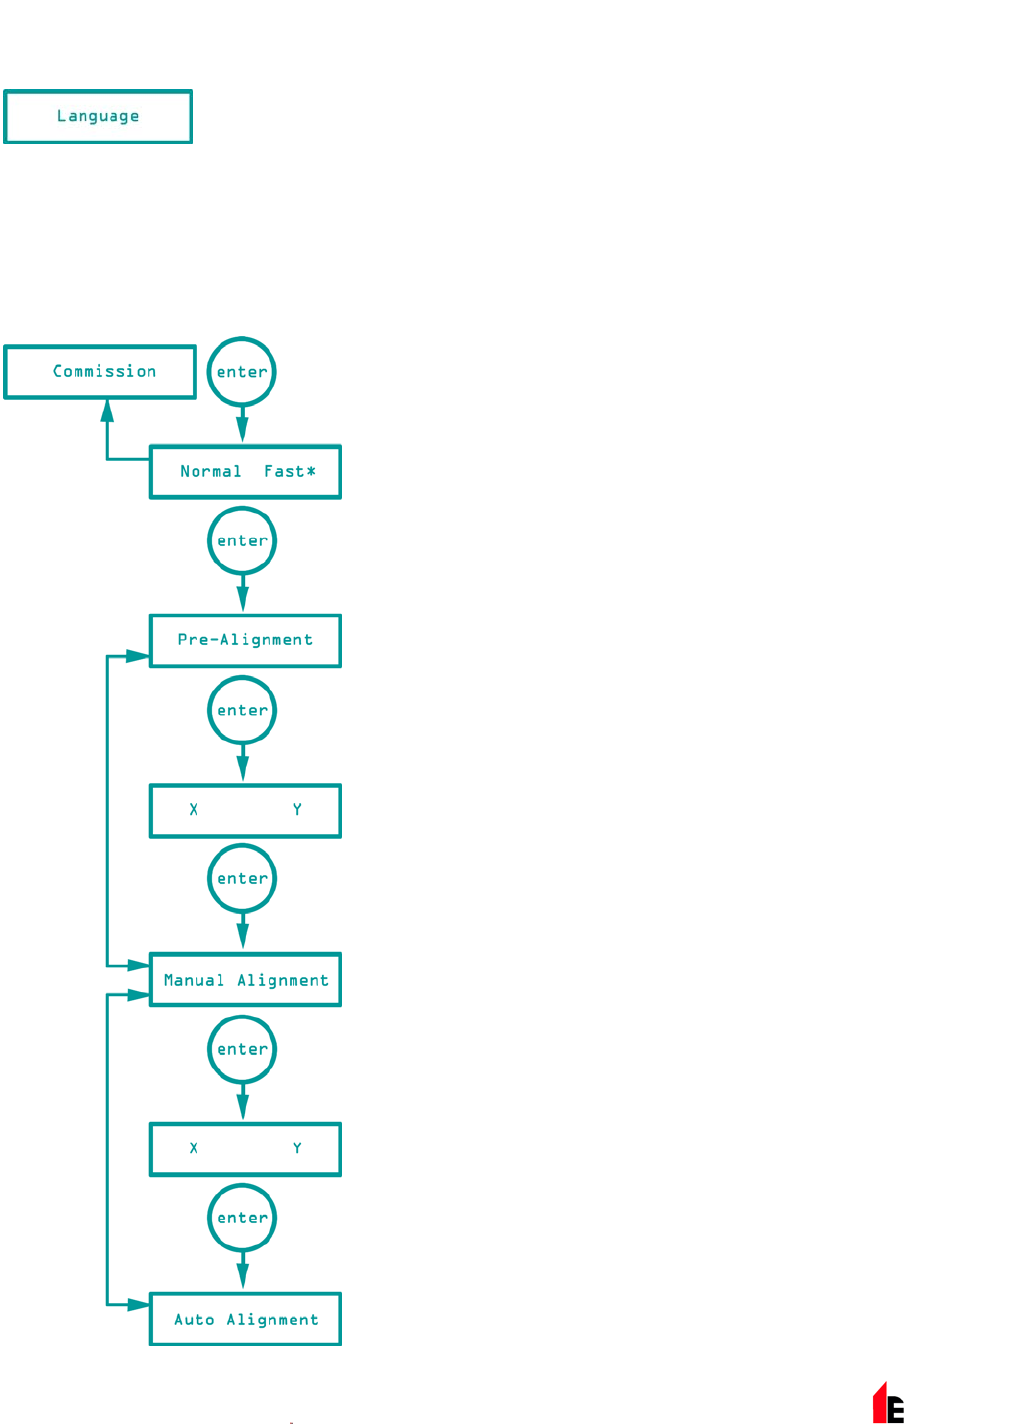
3.3.2 Commissioning
Press enter to go into the ‘Commissioning’ menu and access the sub
menus.
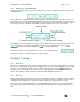
In Commission Speed, pressing
right or left changes between
normal and fast. It is recommended in most cases to use fast mode (in
normal mode the system uses 3.5mA, in fast mode it uses 17mA). If you
are commissioning more than one beam at a time and the system cannot
support the extra draw it may be necessary to use normal mode to prevent
excessive current draw. Fast mode allows four times faster motor
response and it may be quicker to commission each beam in turn. Once
commissioning is complete the ESP FIREbeam will automatically revert to
normal low power mode - (3.5mA).
Press
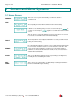
enter here to start pre-alignment. In pre-alignment you should
ALWAYS COVER THE REFLECTOR. Starting at 10% power and 10%
receiver sensitivity, the receiver sensitivity will automatically increase to a
maximum of 100% then the output power will increase. These settings will
automatically stop when a received signal strength reaches 6% - this
received signal is the returned strength of the output signal without a
reflector (if no return signal is received the beam will reach full power and
the screen will say Pre-Align - complete). If you don’t receive high enough
output power and receiver sensitivity readings this will usually be because
you are receiving a reflection from an object nearby - use the left, right, up
and down keys to avoid the obstruction. When happy with your readings
press enter and confirm by pressing the right button, this will take you to
manual alignment - if you wish to abort Pre-Align press the left button.
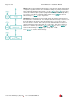
Press
enter to go into manual alignment - NOW THE REFLECTOR
CAN BE PLACED OR THE COVER CAN BE REMOVED. You should see
a large jump in signal strength. If no jump is seen use the X and Y keys to
locate the reflector (the better the single strength the better the beam is
aligned) try to achieve a figure of around 100% or over for optimum auto
alignment times - you must achieve signal strength over 40% to start auto
alignment. Press
enter to okay this and go to auto alignment.
Press
enter to start auto-alignment. The beam will calibrate its power
and search for the edges of the reflector – adjusting its power as it aligns
itself onto the reflector. Once it has found all four edges twice it will then
centre itself on the middle of the reflector and the screen will say
align
complete
. Press enter to return to the home screen. If you see align
aborted
this means something has crossed the beam path of the
received signal and the signal has dropped out. Press
back / left to
return to auto alignment.