
Users Manual


Table Of Contents
- Legal Information
- Available Model
- Regulatory Information
- Safety Instruction
- Chapter 1 Overview
- Chapter 2 Appearance
- Chapter 3 Activation
- Chapter 4 Select Language
- Chapter 5 Enroll Administrator's Face
- Chapter 6 Enroll via Device
- Appendix A. Tips When Collecting/Comparing Face Picture
- Appendix B. Tips for Scanning Fingerprint
- Appendix C. Communication Matrix and Device Command
Note
You can set ngers in Set Enrollment Rule.
3) Follow the instrucons and press a nger on the ngerprint module.
If the
ngerprint is enrolled, the enrolled ngerprint on Select Finger page will turn to blue.
4)
Oponal: Tap the enrolled ngerprint (in blue) and tap OK in the dialogue box to clear the
enrolled data and enroll a new ngerprint.
5.
Oponal: Tap to edit the employee ID.
6.3 Enroll Card via Device
Before You Start
• Power on and acvate the device. For details about the acvaon, see Acvaon .
• Set Card Number per User and Card No. Length in the Enrollment Rule page
aer logging in the
device. For details, see Set Enrollment Rule in the user manual.
Steps
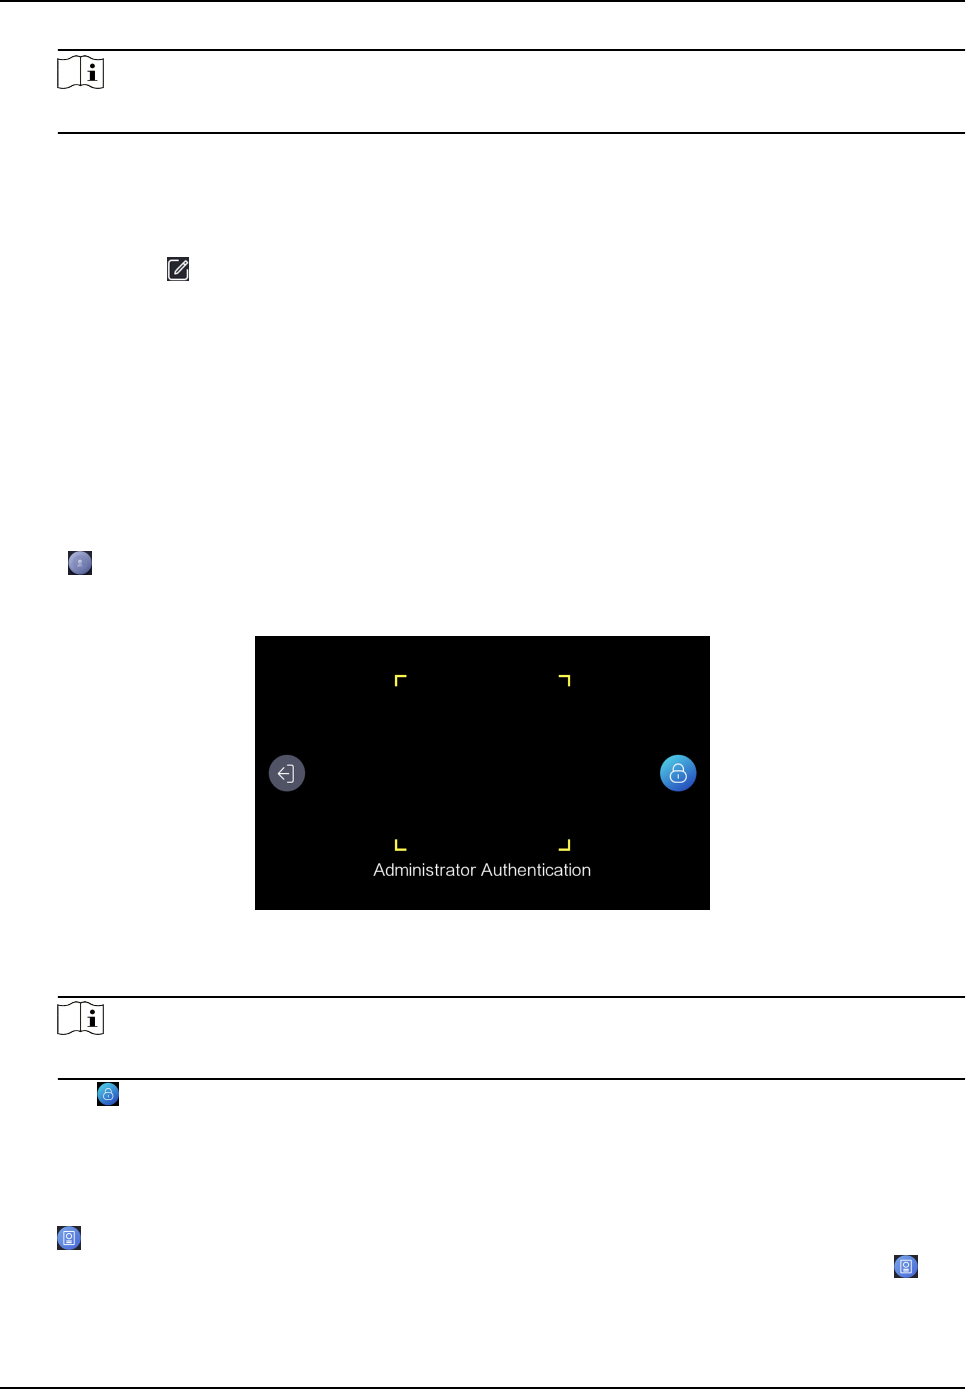
1. Tap on the inial page.
2. Oponal: If you have added an administrator's face in Add Administrator and enabled Verify by
Administrator in Set Enrollment Rule, you should verify the administrator's permission.
Figure 6-3 Authencate Administrator Page
-
Make sure the face is in the face recognion frame when authencaon.
Note
For details about face recognion, see Tips When Collecng/Comparing Face Picture .
-
Tap on the right side and enter the administrator's name and password.
3. Enroll card.
-
Present card on the card presenng area and tap OK in the dialogue box. Create an
employee ID and tap Next.
-
Create an employee ID in the input box, and tap Add to enter the User Enrollment page. Tap
and present card on the card presenng area.
-
Enter the created employee ID and tap Search to enter the User Enrollment page. Tap and
present card on the card presenng area.
DS-K1F600U-D6E Series Enrollment Staon Quick Start Guide
10