
Quick Start Guide
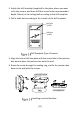
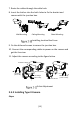
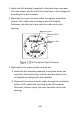
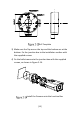
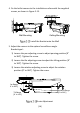
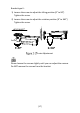

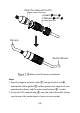
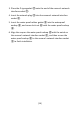
Table Of Contents

[13]
7. Route the cables through the cable hole.
8. Insert the latches into the latch holes to fix the bracket and
camera with the junction box.
Wall Mounting Ceiling Mounting Stand Mounting
Installing Junction Box Cover
9. Fix the delivered screws to secure the junction box.
10. Connect the corresponding cables to power on the camera and
get the live view.
11. Adjust the camera according to the figure below.
T-Direction Screw
Pan Range
[-90° to 90°]
P-Direction Screw
Tilt Range
[-90° to 55°]
R-Direction Screw
Rotation Range
[-180° to 180°]
3-Axis Adjustment
2.3.2 Installing Type II Camera
Steps: