
User's Manual
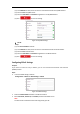
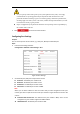


Table Of Contents
- Chapter 1 Overview
- Chapter 2 Network Connection
- Chapter 3 Accessing to the Network Speed Dome
- Chapter 4 Basic Operations
- Chapter 5 System Configuration
- 5.1 Storage Settings
- 5.2 Basic Event Configuration
- 5.3 Smart Event Configuration
- 5.4 PTZ Configuration
- 5.4.1 Configuring Basic PTZ Parameters
- 5.4.2 Configuring PTZ Limits
- 5.4.3 Configuring Initial Position
- 5.4.4 Configuring Park Action
- 5.4.5 Configuring Privacy Mask
- 5.4.6 Configuring Scheduled Tasks
- 5.4.7 Clearing PTZ Configurations
- 5.4.8 Configuring Smart Tracking
- 5.4.9 Prioritize PTZ
- 5.4.10 Position Settings
- 5.4.11 Rapid Focus
- 5.5 Face Capture Configuration
- 5.6 Smart Display
- Chapter 6 Camera Configuration
- Appendix
SNMP v3) to enable the feature.
3. Configure the SNMP settings.
Note:
The configuration of the SNMP software should be the same as the settings you configure
here.
4. Click to save and finish the settings
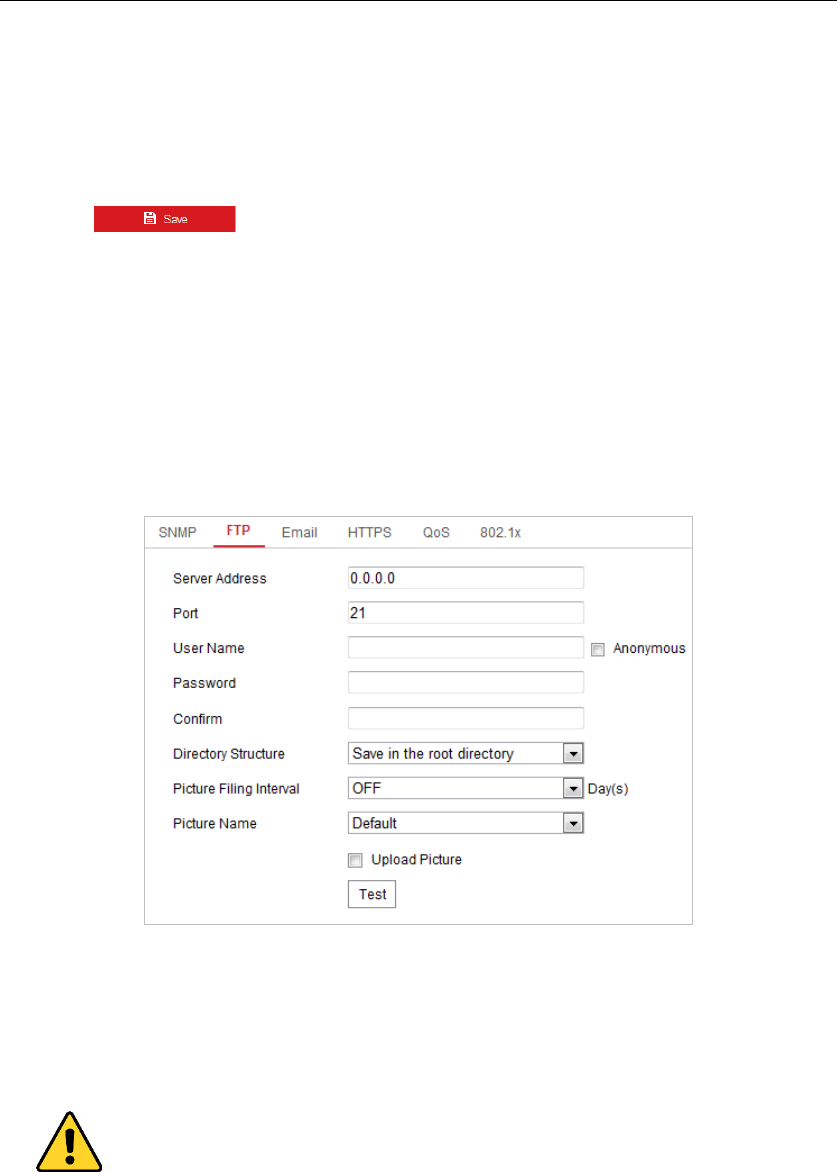
Configuring FTP Settings
Purpose:
You can set a FTP server and configure the following parameters for uploading captured pictures.
Steps:
1. Enter the FTP settings interface:
Configuration > Network > Advanced Settings > FTP
Figure 6-8 FTP Settings
2. Configure the FTP settings, including server address, port, user name, password, and
directory.
Note:
The server address supports both the domain name and IP address formats.
For your privacy and to better protect your system against security risks, we strongly
recommend the use of strong passwords for all functions and network devices. The
password should be something of your own choosing (using a minimum of 8 characters,
including upper case letters, lower case letters, numbers and special characters) in order
to increase the security of your product.
Proper configuration of all passwords and other security settings is the responsibility of
the installer and/or end-user.
Setting the directory in FTP server for saving files: