
User's Manual
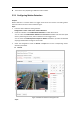
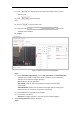
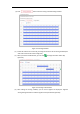
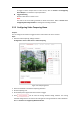
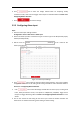
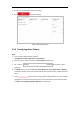
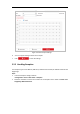

Table Of Contents
- Chapter 1 Overview
- Chapter 2 Network Connection
- Chapter 3 Accessing to the Network Speed Dome
- Chapter 4 Basic Operations
- Chapter 5 System Configuration
- 5.1 Storage Settings
- 5.2 Basic Event Configuration
- 5.3 Smart Event Configuration
- 5.4 PTZ Configuration
- 5.4.1 Configuring Basic PTZ Parameters
- 5.4.2 Configuring PTZ Limits
- 5.4.3 Configuring Initial Position
- 5.4.4 Configuring Park Action
- 5.4.5 Configuring Privacy Mask
- 5.4.6 Configuring Scheduled Tasks
- 5.4.7 Clearing PTZ Configurations
- 5.4.8 Configuring Smart Tracking
- 5.4.9 Prioritize PTZ
- 5.4.10 Position Settings
- 5.4.11 Rapid Focus
- 5.5 Face Capture Configuration
- 5.6 Smart Display
- Chapter 6 Camera Configuration
- Appendix
(1) Click and drag the mouse on the live video image to draw a motion
detection area.
(2) Click to finish drawing.
Note:
You can click to clear all of the areas.
(3) Move the slider to set the
sensitivity of the detection.
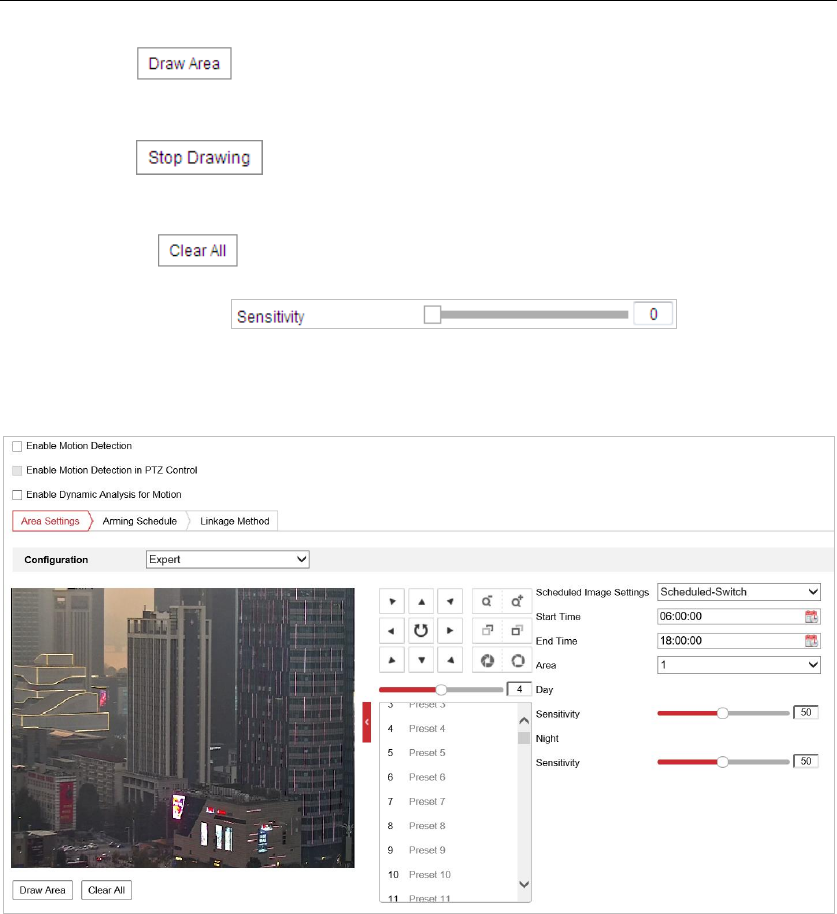
Expert
Figure 5-11 Motion Detection Settings-Expert
Steps:
(1) Set the Scheduled Image Settings, there are OFF, Auto-Switch and Scheduled-Switch
selectable. If the schedule image switch mode is enabled, you can configure the
detection rule for the day and night separately.
OFF: Disable the day and night switch.
Auto-Switch: Switch the day and night mode according to the illumination
automatically.
Scheduled-Switch: Switch to the day mode and the night mode according to the
configured time. You need to set the start time and end time.
(2) Select Area from the dropdown list to configure.
(3) Set the value of sensitivity.
Sensitivity: The higher the value is, the easier the alarm will be triggered.
4. Set the Arming Schedule for Motion Detection.
Steps: