
User's Manual
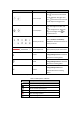
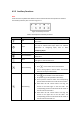

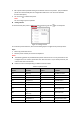
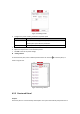
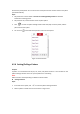
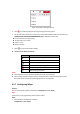
Table Of Contents
- Chapter 1 Overview
- Chapter 2 Network Connection
- Chapter 3 Accessing to the Network Speed Dome
- Chapter 4 Basic Operations
- Chapter 5 System Configuration
- 5.1 Storage Settings
- 5.2 Basic Event Configuration
- 5.3 Smart Event Configuration
- 5.4 PTZ Configuration
- 5.4.1 Configuring Basic PTZ Parameters
- 5.4.2 Configuring PTZ Limits
- 5.4.3 Configuring Initial Position
- 5.4.4 Configuring Park Action
- 5.4.5 Configuring Privacy Mask
- 5.4.6 Configuring Scheduled Tasks
- 5.4.7 Clearing PTZ Configurations
- 5.4.8 Configuring Smart Tracking
- 5.4.9 Prioritize PTZ
- 5.4.10 Position Settings
- 5.4.11 Rapid Focus
- 5.5 Face Capture Configuration
- 5.6 Smart Display
- Chapter 6 Camera Configuration
- Appendix
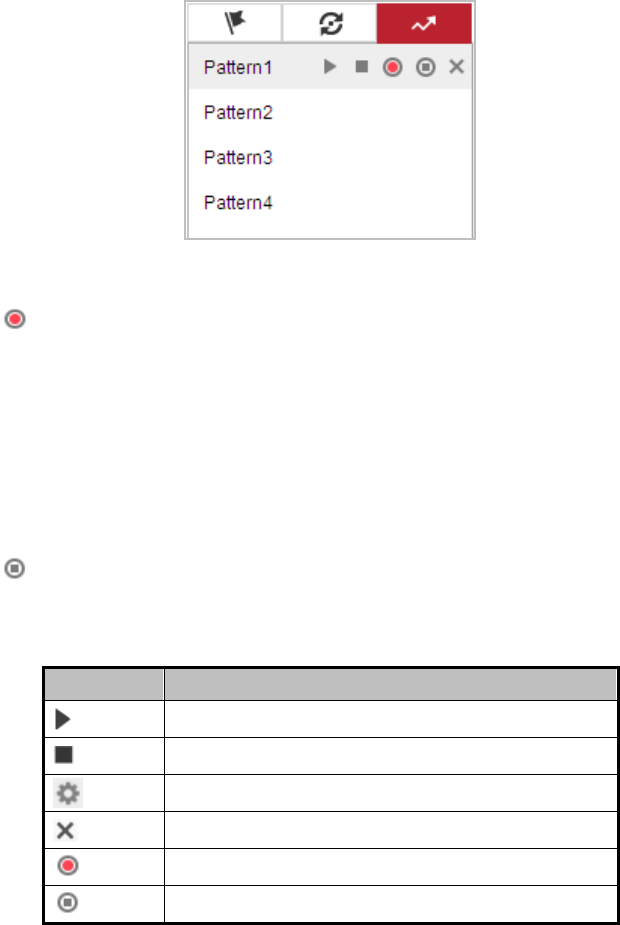
Figure 4-12 Patterns Settings Interface
3. Click to enable recording the panning, tilting and zooming actions.
4. Use the PTZ control buttons to move the lens to the desired position after the information of
PROGRAM PATTERN REMAINNING MEMORY (%) is displayed on the screen.
Pan the camera to the right or left.
Tilt the camera up or down.
Zoom in or out.
Refocus the lens.
5. Click to save all the pattern settings.
Buttons on the Patterns interface:
Buttons
Description
Start the selected patrol/pattern.
Stop current patrol/pattern.
Set the selected preset/patrol.
Delete the selected preset/patrol/pattern.
Start recording a pattern.
Stop recording the pattern.
Notes:
These 4 patterns can be operated separately and with no priority level.
When configuring and calling the pattern, proportional pan is valid; the limit stops and auto
flip will be invalid; and the 3D positioning operation is not supported.
4.5.7 Configuring Wiper
Purpose:
You can set the working mode of the wiper in Configuration > PTZ > Wiper.
Note:
The function is only supported by certain camera models.
Steps:
1. Enter the Wiper Configuration interface:
Configuration > PTZ > Wiper