
User's Manual
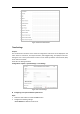
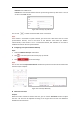
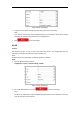

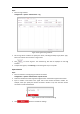
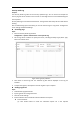
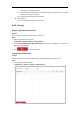
Table Of Contents
- Chapter 1 Overview
- Chapter 2 Network Connection
- Chapter 3 Accessing to the Network Speed Dome
- Chapter 4 Basic Operations
- Chapter 5 System Configuration
- 5.1 Storage Settings
- 5.2 Basic Event Configuration
- 5.3 Smart Event Configuration
- 5.4 PTZ Configuration
- 5.4.1 Configuring Basic PTZ Parameters
- 5.4.2 Configuring PTZ Limits
- 5.4.3 Configuring Initial Position
- 5.4.4 Configuring Park Action
- 5.4.5 Configuring Privacy Mask
- 5.4.6 Configuring Scheduled Tasks
- 5.4.7 Clearing PTZ Configurations
- 5.4.8 Configuring Smart Tracking
- 5.4.9 Prioritize PTZ
- 5.4.10 Position Settings
- 5.4.11 Rapid Focus
- 5.5 Face Capture Configuration
- 5.6 Smart Display
- Chapter 6 Camera Configuration
- Appendix
VCA Resource
Purpose:
VCA Resource offers options to enable certain VCA functions and hide others. It helps allocate
more resources to the wanted functions. A reboot is required after setting the VCA Resource.
Steps:
1. Enter the VCA Resource interface:
Configuration> System > System Settings > VCA Resource
2. Select a desired VCA combination.
3. Click to save the settings. A reboot is needed for the settings to take
effect.
Notes:
VCA Resource function varies according to different camera models.
VCA options are mutually exclusive.
The function may not be supported by some camera models.
About
Click View License, you can check Open Source Software Licenses.
6.4.2 Maintenance
Upgrade & Maintenance
Rebooting the Camera
Steps:
6. Enter the Maintenance interface:
Configuration > System > Maintenance > Upgrade & Maintenance:
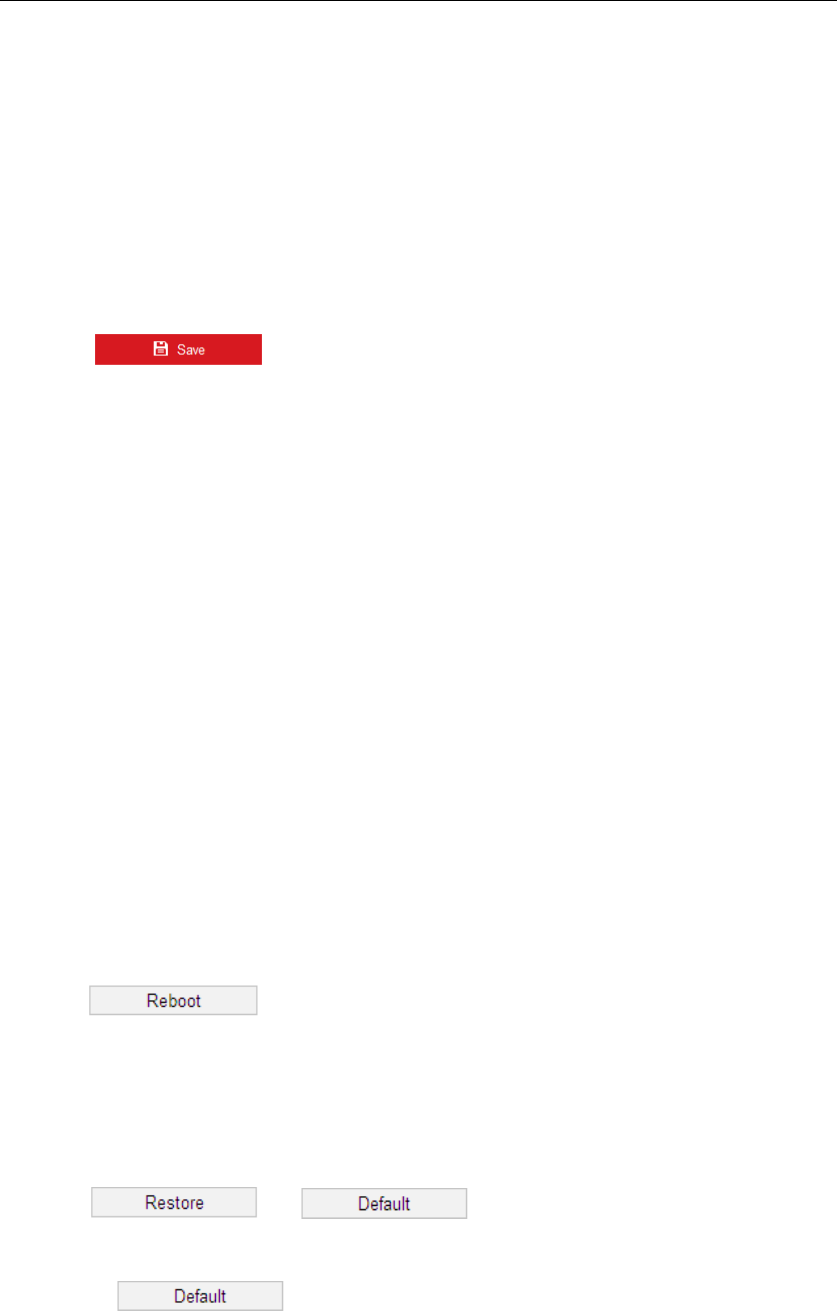
7. Click to reboot the network camera.
Restoring Default Settings
Steps:
1. Enter the Maintenance interface:
Configuration > System > Maintenance > Upgrade & Maintenance
2. Click or to restore the default settings.
Note:
Clicking restores all the parameters to default settings including the IP
address and user information. Use this button with caution.