
User Manual
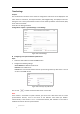
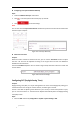
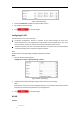
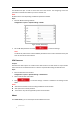
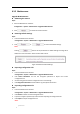
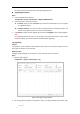
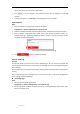
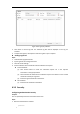
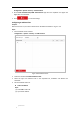
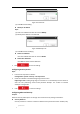
Table Of Contents
- Chapter 1 Overview
- Chapter 2 Network Connection
- Chapter 3 Accessing to the Network Speed Dome
- Chapter 4 Basic Operations
- Chapter 5 System Configuration
- 5.1 Storage Settings
- 5.2 Basic Event Configuration
- 5.3 Smart Event Configuration
- 5.4 PTZ Configuration
- 5.4.1 Configuring Basic PTZ Parameters
- 5.4.2 Configuring PTZ Limits
- 5.4.3 Configuring Initial Position
- 5.4.4 Configuring Park Actions
- 5.4.5 Configuring Privacy Mask
- 5.4.6 Configuring Scheduled Tasks
- 5.4.7 Clearing PTZ Configurations
- 5.4.8 Configuring Smart Tracking
- 5.4.9 Prioritize PTZ
- 5.4.10 Position Settings
- 5.4.11 Rapid Focus
- 5.5 Face Capture Configuration
- Chapter 6 Camera Configuration
- Appendix

© Hikvision
Figure 6-55 Log Query Interface
3. Click Search to search log files. The matched log files will be displayed on the Log list
interface.
4. To export the log files, click Export to save the log files in your computer.
Setting Log Server
Steps:
1. Check Enable Log Upload Server.
2. Input Log Server IP and Log Server Port.
3. Click Test to test settings.
4. Install certificates. Client certificate and CA certificate are required.
Client Certificate
(1) Click Create button to create the certificate request. Fill in the required
information in the popup window.
(2) Click Download to download the certificate request and submit it to the trusted
certificate authority for signature.
(3) Install the signed certificate to the device.
CA Certificate
(1) Install the CA certificate to the device.
6.3.3 Security
Configuring Authentication Security
Purpose:
You can specifically secure the stream data of live view.
Steps:
1. Enter the Authentication interface: