
User Manual

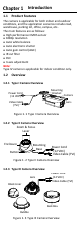
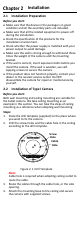

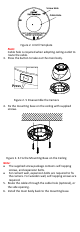
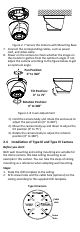
Table Of Contents
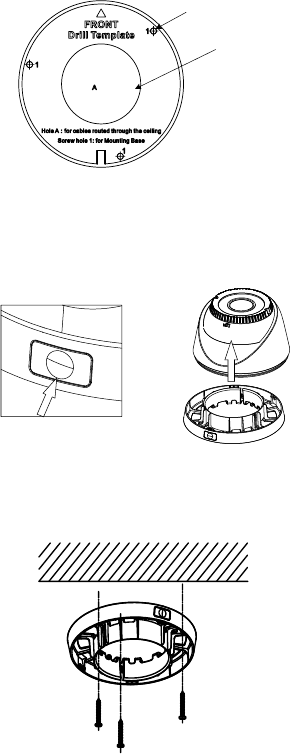
Screw Hole
Cable Hole
Figure 2. 4 Drill Template
Note:
Cable hole is required when adopting ceiling outlet to
route the cable.
3. Press the button to take out the main body.
Press
Figure 2. 5 Disassemble the Camera
4. Fix the mounting base on the ceiling with supplied
screws.
Figure 2. 6 Fix the Mounting Base on the Ceiling
Note:
The supplied screw package contains self-tapping
screws, and expansion bolts.
For cement wall, expansion bolts are required to fix
the camera. For wooden wall, self-tapping screws are
required.
5. Route the cables through the cable hole (optional), or
the side opening.
6. Install the main body back to the mounting base.