User manual
Table Of Contents
- Chapter 1 Overview
- Chapter 2 Network Connection
- Chapter 3 Access to the Network Speed Dome
- Chapter 4 Live View
- Chapter 5 PTZ Configuration
- Chapter 6 Speed Dome Configuration
- 6.1 Configuring Local Parameters
- 6.2 Configuring Time Settings
- 6.3 Configuring Network Settings
- 6.3.1 Configuring TCP/IP Settings
- 6.3.2 Configuring Port Settings
- 6.3.3 Configuring PPPoE Settings
- 6.3.4 Configuring DDNS Settings
- 6.3.5 Configuring SNMP Settings
- 6.3.6 Configuring 802.1X Settings
- 6.3.7 Configuring QoS Settings
- 6.3.8 Configuring FTP Settings
- 6.3.9 Configuring UPnP™ Settings
- 6.3.10 Configuring NAT (Network Address Translation) Settings
- 6.3.11 Configuring Email Settings
- 6.4 Configuring Video and Audio Settings
- 6.5 Configuring Image Settings
- 6.6 Configuring and Handling Alarms
- Chapter 7 Record Settings
- Chapter 8 Playback
- Chapter 9 Log Searching
- Chapter 10 Others
- Appendix

User Manual of Network Speed Dome
© Hikvision
69
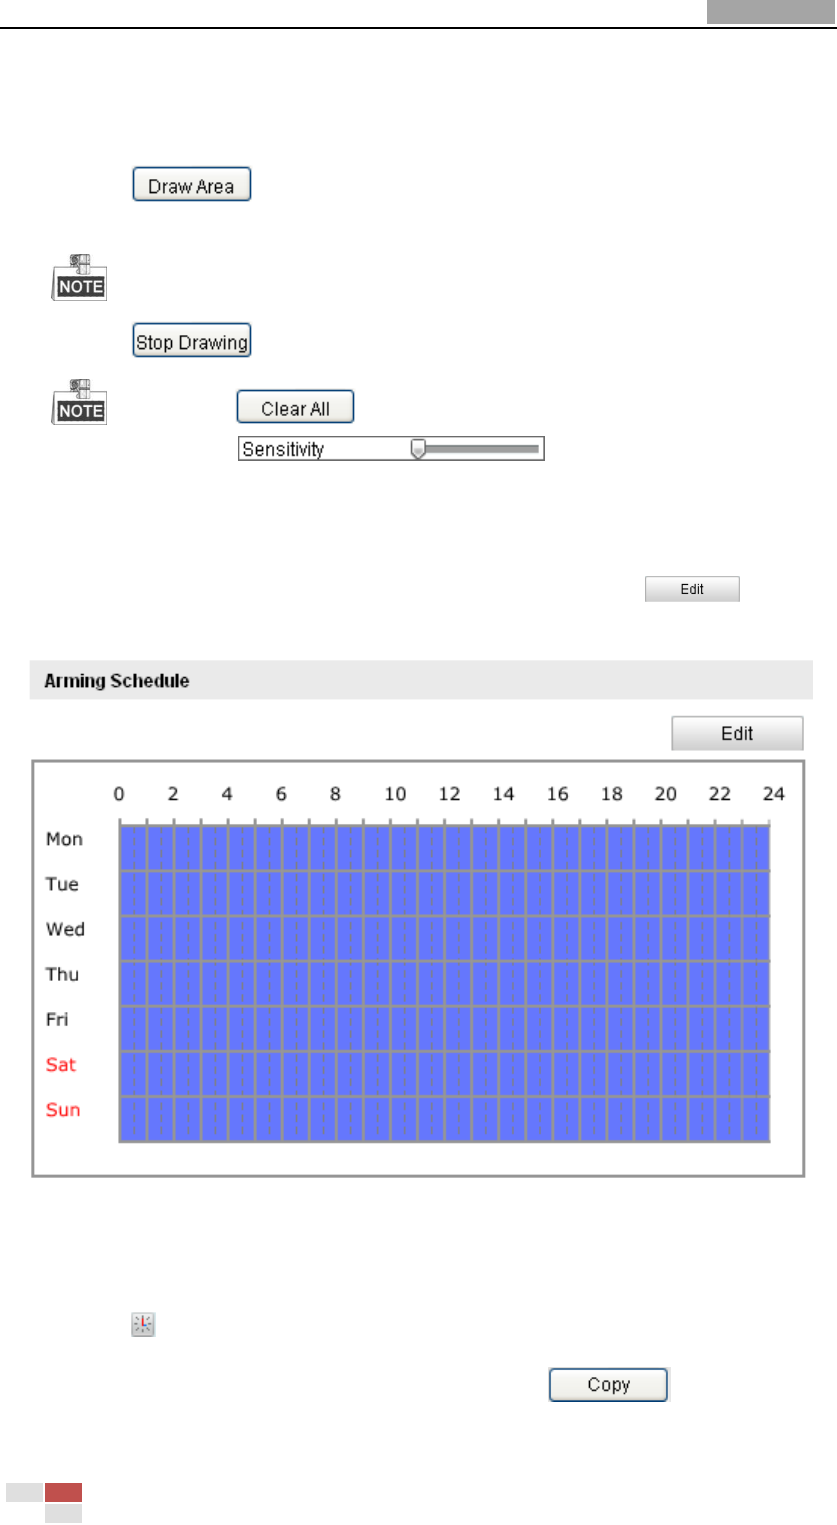
Figure 6-39 Enable Motion Detection
(3) Click . Click and drag the mouse on the live video image to draw
a motion detection area.
You can draw up to 8 motion detection areas on the same image.
(4) Click to finish drawing.
You can click to clear all of the areas.
(5) Move the slider to set the sensitivity of the
detection.
2. Set the Arming Schedule for Motion Detection.
Steps:
(1) To edit the arming schedule as shown in Figure 6-41, click in
Figure 6-40.
Figure 6-40 Arming Schedule
(2) Choose the day you want to set the arming schedule as shown in Figure 6-41.
(3) Click to set the time period for the arming schedule.
(4) After you set the arming schedule, you can click to copy the
schedule to other days (Optional).


