
User manual


Table Of Contents
- Chapter 1 Overview
- Chapter 2 Network Connection
- Chapter 3 Access to the Network Speed Dome
- Chapter 4 Live View
- Chapter 5 PTZ Configuration
- Chapter 6 Speed Dome Configuration
- 6.1 Configuring Local Parameters
- 6.2 Configuring Time Settings
- 6.3 Configuring Network Settings
- 6.3.1 Configuring TCP/IP Settings
- 6.3.2 Configuring Port Settings
- 6.3.3 Configuring PPPoE Settings
- 6.3.4 Configuring DDNS Settings
- 6.3.5 Configuring SNMP Settings
- 6.3.6 Configuring 802.1X Settings
- 6.3.7 Configuring QoS Settings
- 6.3.8 Configuring FTP Settings
- 6.3.9 Configuring UPnP™ Settings
- 6.3.10 Configuring NAT (Network Address Translation) Settings
- 6.3.11 Configuring Email Settings
- 6.4 Configuring Video and Audio Settings
- 6.5 Configuring Image Settings
- 6.6 Configuring and Handling Alarms
- Chapter 7 Record Settings
- Chapter 8 Playback
- Chapter 9 Log Searching
- Chapter 10 Others
- Appendix
User Manual of Network Speed Dome
© Hikvision
30
Chapter 5 PTZ Configuration
5.1 Configuring Initial Position
Purpose:
The initial position is the origin of PTZ coordinates. It can be the factory default initial
position. You can also customize the initial position according to your own demand.
Customize an Initial Position:
Steps:
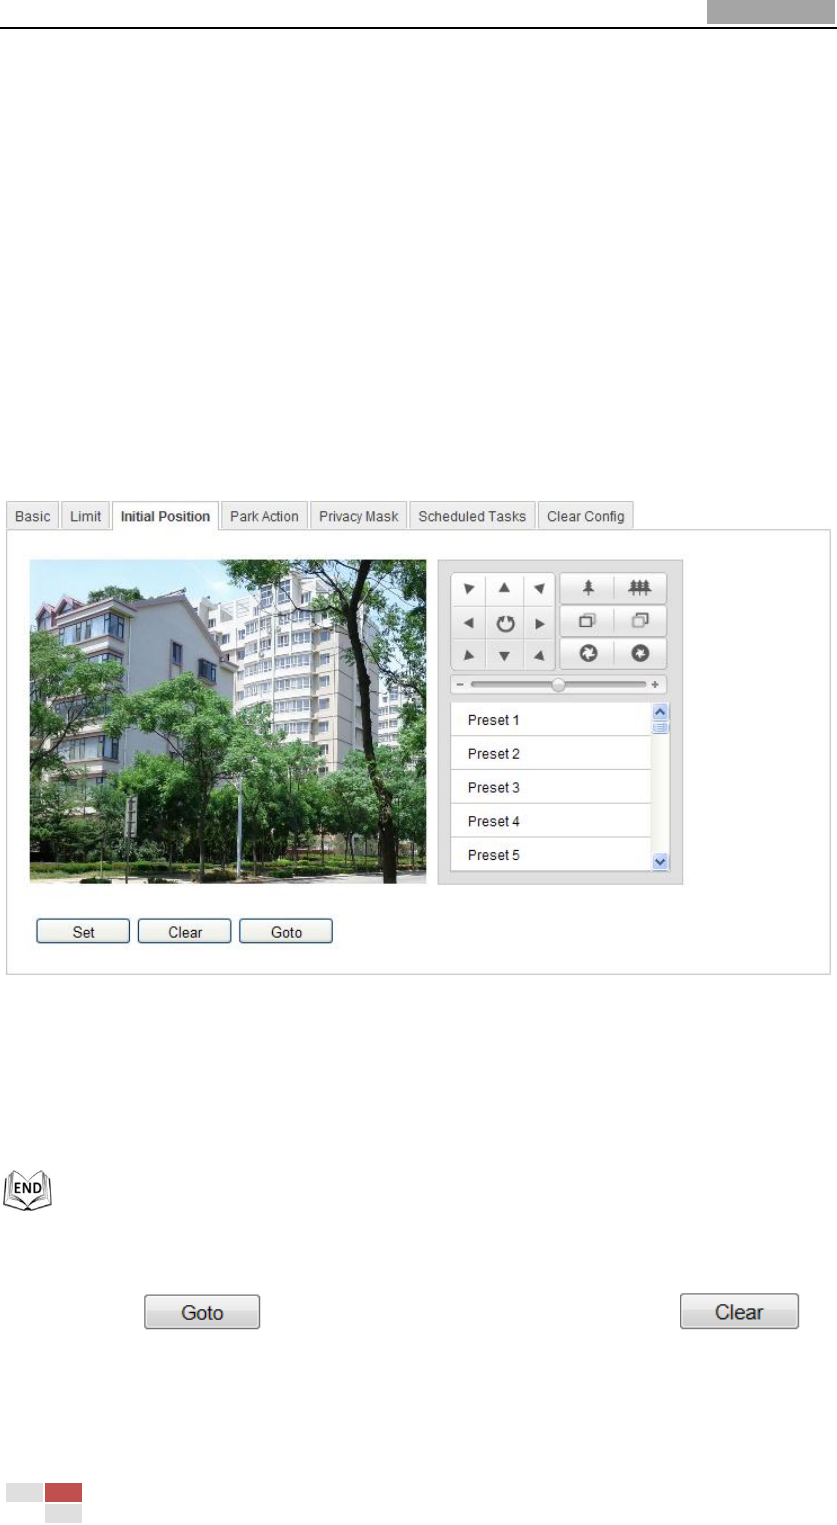
1. Enter the Initial Position Configuration interface:
Configuration > Advanced Configuration > PTZ > Initial Position
Figure 5-1 PTZ Configuration
2. Click the PTZ control buttons to find a position as the initial position of the dome;
you can also call a defined preset and set it as the initial position of the dome.
3. Click Set to save the position.
Call/delete an Initial Position:
You can click to call the initial position. You can click to
delete the initial position and restore the factory default initial position.