
User manual


Table Of Contents
- Chapter 1 Overview
- Chapter 2 Network Connection
- Chapter 3 Access to the Network Speed Dome
- Chapter 4 Live View
- Chapter 5 PTZ Configuration
- Chapter 6 Speed Dome Configuration
- 6.1 Configuring Local Parameters
- 6.2 Configuring Time Settings
- 6.3 Configuring Network Settings
- 6.3.1 Configuring TCP/IP Settings
- 6.3.2 Configuring Port Settings
- 6.3.3 Configuring PPPoE Settings
- 6.3.4 Configuring DDNS Settings
- 6.3.5 Configuring SNMP Settings
- 6.3.6 Configuring 802.1X Settings
- 6.3.7 Configuring QoS Settings
- 6.3.8 Configuring FTP Settings
- 6.3.9 Configuring UPnP™ Settings
- 6.3.10 Configuring NAT (Network Address Translation) Settings
- 6.3.11 Configuring Email Settings
- 6.4 Configuring Video and Audio Settings
- 6.5 Configuring Image Settings
- 6.6 Configuring and Handling Alarms
- Chapter 7 Record Settings
- Chapter 8 Playback
- Chapter 9 Log Searching
- Chapter 10 Others
- Appendix
User Manual of Network Speed Dome
© Hikvision
28
Buttons on the Patrols interface:
Buttons
Description
Save a patrol
Call a patrol
Stop a patrol
Enter the adding interface of preset
Modify a preset
Delete a preset
Delete all the presets in one patrol
4.4.4 Setting / Calling a Pattern
Purpose:
A pattern is a memorized series of pan, tilt, zoom, and preset functions. It can be
called on the pattern settings interface. There are up to 4 patterns for customizing.
Setting a Pattern:
Steps:
1. In the PTZ control panel, click to enter the pattern settings interface.
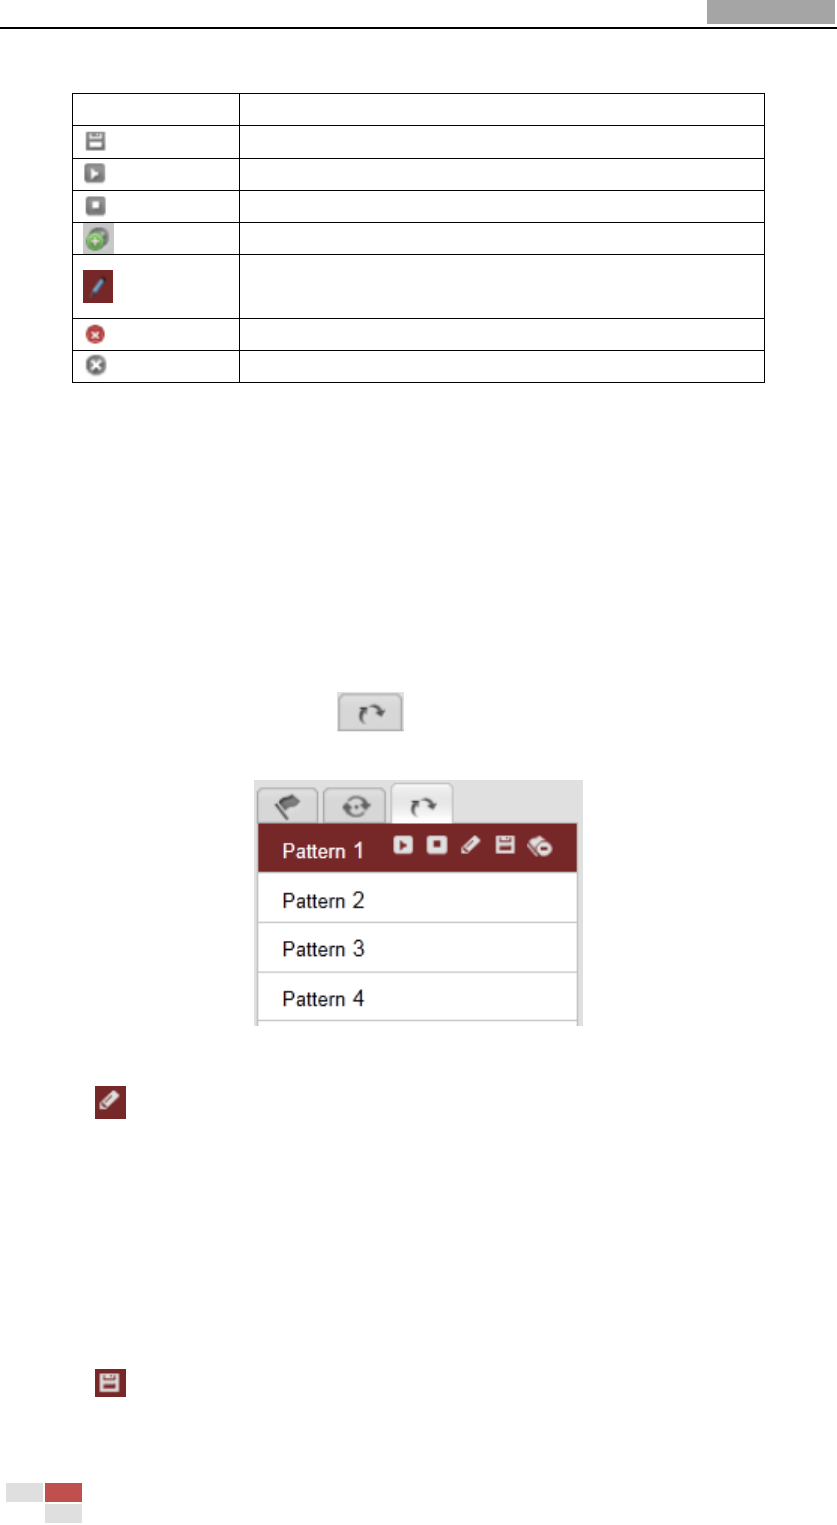
2. Select a pattern number from the list as shown in Figure 4-9.
Figure 4-9 Patterns Settings Interface
3. Click to enable recording the panning, tilting and zooming actions.
4. Use the PTZ control buttons to move the lens to the desired position after the
information of PROGRAM PATTERN REMAINNING MENORY(%) is displayed on
the screen.
• Pan the speed dome to the right or left.
• Tilt the speed dome up or down.
• Zoom in or out.
• Refocus the lens.
5. Click to save all the pattern settings.