
User manual


Table Of Contents
User Manual of Analog Speed Dome
© Hikvision
28
the new settings.
4. Follow the prompts to configure the right, up and down limit stops on the menu.
Note: The new limit stops will overwrite the existed ones by default.
5. You can clear the defined limit stops. Click IRIS+ to enter CLEAR STOPS and click IRIS+ again to
clear the stops.
Elevation set
You can set ELEVATION SET as ON to increase the elevation angle range of the speed dome or set it
as OFF to disable the function.
Note: The range of the elevation angle is -5-90° by default and it changes to -2°-90° when the
ELEVATION SET is set as ON.
3.4.2 Configuring Presets
Purpose:
A preset is a user-defined monitoring position/point. You can simply call the preset number to
change the monitor scene to the defined position.
Steps:
1. Move the cursor to enter preset configuration submenu:
MAIN MENU > DOME SETTINGS > PRESETS
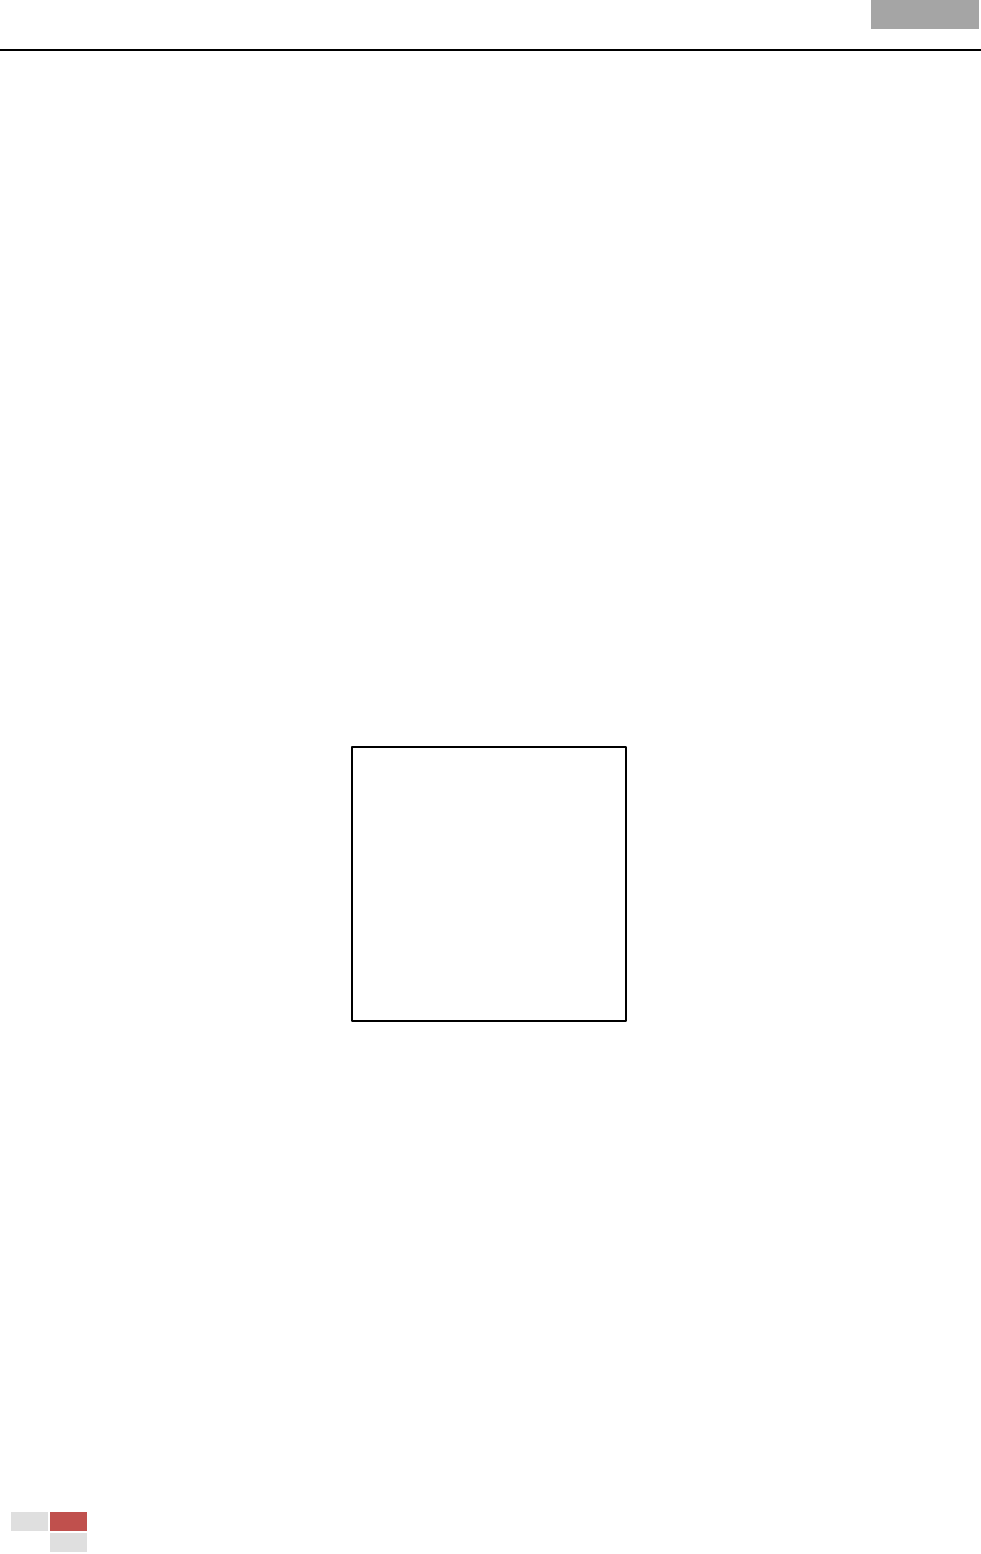
PRESETS
PRESET NUM 1
[UNDEFINED]
PRESET PTZ
CLEAR PRESET
BACK EXIT
Figure 3-14 Preset Configuration Menu
2. Choose the preset number:
Move the cursor to PRESET NUM and click IRIS+ to enter. Click the up and down buttons to
choose the preset number which needs to be edited. If the preset has been defined, the preset
label will be listed under the number; if it has not been defined, you will see the information
UNDEFINED under the number.
Notes:
There are up to 255 presets can be set for the speed dome.
The system-defined presets will be displayed on this submenu and they are not editable.
3. Set the preset position.
Move the cursor to PRESET PTZ and click IRIS+ to edit the preset position. Use the direction
buttons to move the speed dome to find the desired scene/position, and then press IRIS+ to
confirm the settings and return to the previous menu, or press IRIS- to cancel.