
User Guide


18
PROCEDURE FOR HI 9039
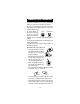
• Fill a beaker with 8 cm (3¼") of HI 7039
or HI 8039 conductivity calibration solu-
tion at 5000 µS/cm @25°C (if possible
fill two beakers and use one as rinse and
the other for calibration).
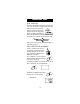
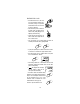
• Make sure that the probe is connected to
the meter securely by aligning the pins
with the socket, pushing the plug in and
tightening the threaded ring.
• Immerse the probe into the beaker. The
level of solution must be higher than the
holes on the PVC sleeve.
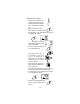
• Turn the instrument on by pressing ON/OFF and select the
conductivity measurement mode by pressing RANGE.
• Tap the probe repeatedly on the bottom of the beaker and stir it
to ensure that no air bubbles are trapped inside the sleeve.
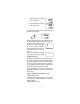
• Press CAL to display "5000 µS" together with the "CAL" symbol
and an intermittent "BUF" indicator.
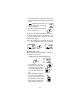
•If the reading is within 15% of the theoretical value, the meter
automatically recognizes the standard solution and the "BUF"
symbol will stop flashing.
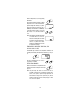
•"
" will disappear from the display
when the reading is stable and the
"CON" symbol will start blinking.
•Press CFM to confirm the calibration reading.
Calibration is now complete and the instrument is
ready for use. All subsequent measurements will
now be compensated to 25°C (77°F). If the
instrument cannot be calibrated refer to the
Probe Maintenance section (page 30).
Press CAL to quit the calibration mode.
RANGE
ON/OFF
CAL
BUF
µS
°C
CAL
CON
°C
µS
CFM
CAL