
User Guide


17
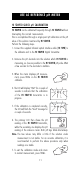
pH MEASUREMENTS
Connect the pH electrode with the built-in
temperature sensor to the meter and press
ON/OFF to power on the instrument.
If the electrode is not connected the LCD will display the "no probe"
message and then dashes.
For greatest accuracy, it is recommended to set
the Calibration alarm time-out to the value
appropriate to your specific use and calibrate
the meter as soon as the "DATE" warning
symbol blinks on LCD (see GLP section).
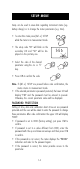
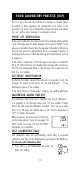
To take pH measurements, remove the elec-
trode protective cap and simply submerge
the tip (4 cm/1½") of the electrode in the
solution to be tested and stir gently. Allow
for the reading to stabilize.
The temperature is displayed on the secondary LCD.
The pH reading is automatically temperature compensated (ATC).
If the reading is out of range, the meter displays "----". A blinking
reading means that the electrode is "dead".
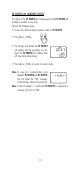
By continuously pressing the DISPLAY key
the following information will be displayed
on the primary LCD:
• mV reading (the mV scale is auto-ranging:
when the reading is outside ±600 mV,
the decimal point automatically disappears).
• Time
• Day / Month
• Year
Pressing DISPLAY again, the meter returns to pH reading.
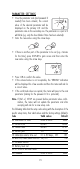
Note: When date or time is displayed, it is possible to change them
directly by pressing (ALT+) SETUP.
Note: If measurements are taken successively in different samples, it
is recommended to rinse the electrode thoroughly with deion-
ized water or, if not available, tap water first and then with
some of the next sample to condition the electrode before
immersing it in the sample.
TAKING MEASUREMENTS