
User's Manual


Table Of Contents
- DOCUMENT PURPOSE
- CHANGE LOG
- GUI INTERFACE EXAMPLES
- WELCOME
- PRODUCT OVERVIEW
- GETTING STARTED
- CONFIGURATION GUIDE
- Obtain HT801 IP Address via Connected Analogue Phone
- Understanding HT801 Interactive Voice Prompt Response Menu
- Configuration via Web Browser
- Web Configuration Pages Definitions
- NAT Settings
- DTMF Methods
- Preferred Vocoder (Codec)
- Configuring HT801 Through Voice Prompts
- Register a SIP Account
- Call Features
- Rebooting HT801 from Remote
- UPGRADING AND PROVISIONING
- RESTORE FACTORY DEFAULT SETTINGS
- EXPERIENCING HT801
P a g e | 18
HT801 Administration Guide
Changing Admin Level Password
1. Access your HT801 web UI by entering its IP address in your favorite browser.
2. Enter your admin password (default: admin).
3. Press Login to access your settings and navigate to Advanced Settings > Admin Password.
4. Enter the new admin password.
5. Confirm the new admin password.
6. Press Apply at the bottom of the page to save your new settings.
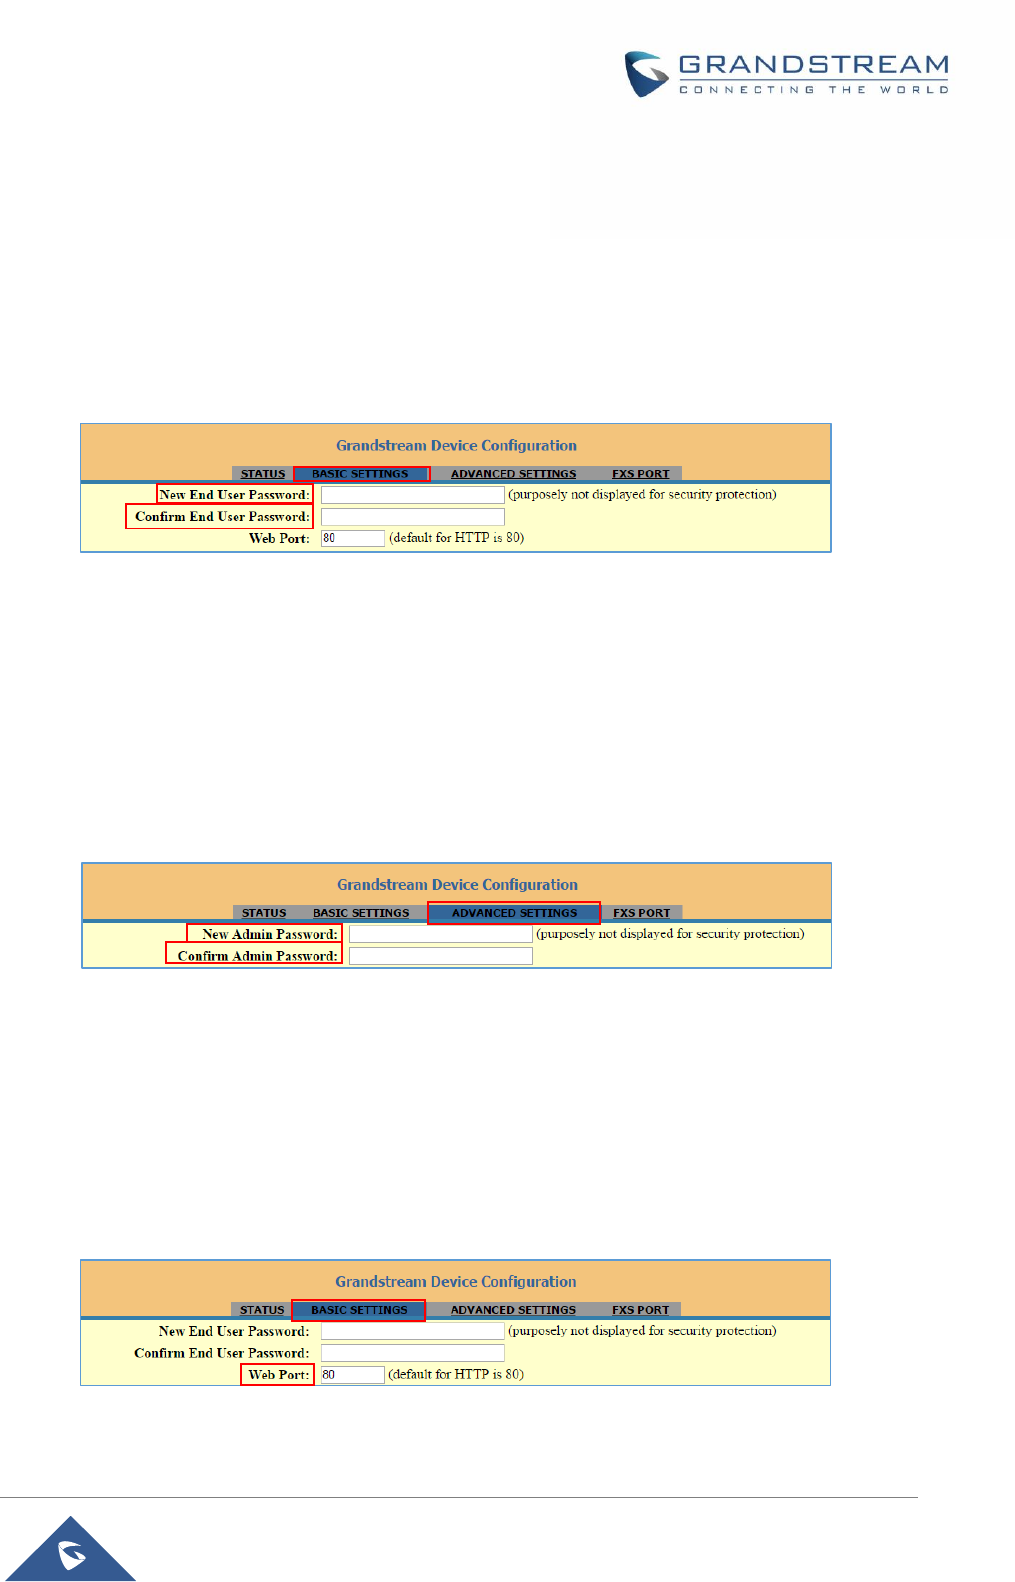
Figure 5: Admin Level Password
Changing User Level Password
1. Access your HT801 web UI by entering its IP address in your favorite browser.
2. Enter your admin password (default: admin).
3. Press Login to access your settings and navigate to Basic Settings > End User Password.
4. Enter the new end-user password.
5. Confirm the new end-user password.
6. Press Apply at the bottom of the page to save your new settings.
Figure 6: User Level Password
Changing HTTP Web Port
1. Access your HT801 web UI by entering its IP address in your favorite browser.
2. Enter your admin password (default: admin).
3. Press Login to access your settings and navigate to Basic Settings > Web Port.
4. Change the current port to your desired/new HTTP port. Ports accepted are in range [1-65535].
5. Press Apply at the bottom of the page to save your new settings.
Figure 7: Web HTTP Port