
Installation Instructions
STRINGA-LEVEL™
PATENT PENDING
This revolutionary new tool was designed to simultaneously attach and level a continuous stringer on
which to stack heavy or large format tile vertically. No more cutting or trying to straighten warped wood
in order to build the all important 1st course. Created to be reused over and over again, STRINGA-
LEVEL saves time and money! STRINGA-LEVEL will quickly conform to any wall, regardless of shape
or contour. Rounded walls, inside or outside corners won’t stop STRINGA-LEVEL. Leveling bubbles
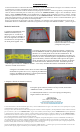
are built into each piece to ensure accuracy and precision. 4 rigid sections along with 2 ingenious
“Living Levels” will effectively accommodate the average size shower.
This revolutionary new tool was designed to simultaneously attach and level a continuous stringer on which to stack heavy
or large format tile vertically. No more cutting or trying to straighten warped wood in order to build the all important
1st course. Created to be reused over and over again, STRINGA-LEVEL saves time and money! STRINGA-LEVEL
will quickly conform to any wall, regardless of shape or contour. Rounded walls, inside or outside corners won’t stop
STRINGA-LEVEL. Leveling bubbles are built into each piece to ensure accuracy and precision. 4 rigid sections along with
2 ingenious “Living Levels” will effectively accommodate the average size shower. Should any leveling bubbles get lost or
broken, replacements are available thru your dealer. We at MEI thank you for your purchase of STRINGA-LEVEL™ and
are condent you will be pleased with its performance.
LIFETIME WARRANTY - Mark E Industries, Inc. warrants that Stringa-Level products are free from defects in materi-
als and workmanship. Warranty does not cover damage due to obvious misuse, abuse or modication. We will repair or
replace without charge, at our option, any part that should prove defective. Part(s) must be returned, freight prepaid, with
proof of purchase.
How to install:
1. Roughly
step off how
STRINGA-LEVEL
will best t your
particular project.
(as in cornering,
entering and
exiting a radius,
incorporating
the use of rigid
sections…etc.)
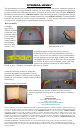
2. Determine desired layout reference
point and mark wall.
3. Hold rst section to mark and secure one end of
STRINGA-LEVEL to wall using backerboard or drywall
screws. The use of ¼ inch washers is also recommended to
prevent damage to screw slot edges. Extend piece making
sure bubbles are in the level position and screw in opposite
end. (NOTE: Be sure not to over tighten screws. Just snug
against wall is all that is necessary to hold STRINGA-
LEVEL in place.) Finish by screwing the inner slots as needed.
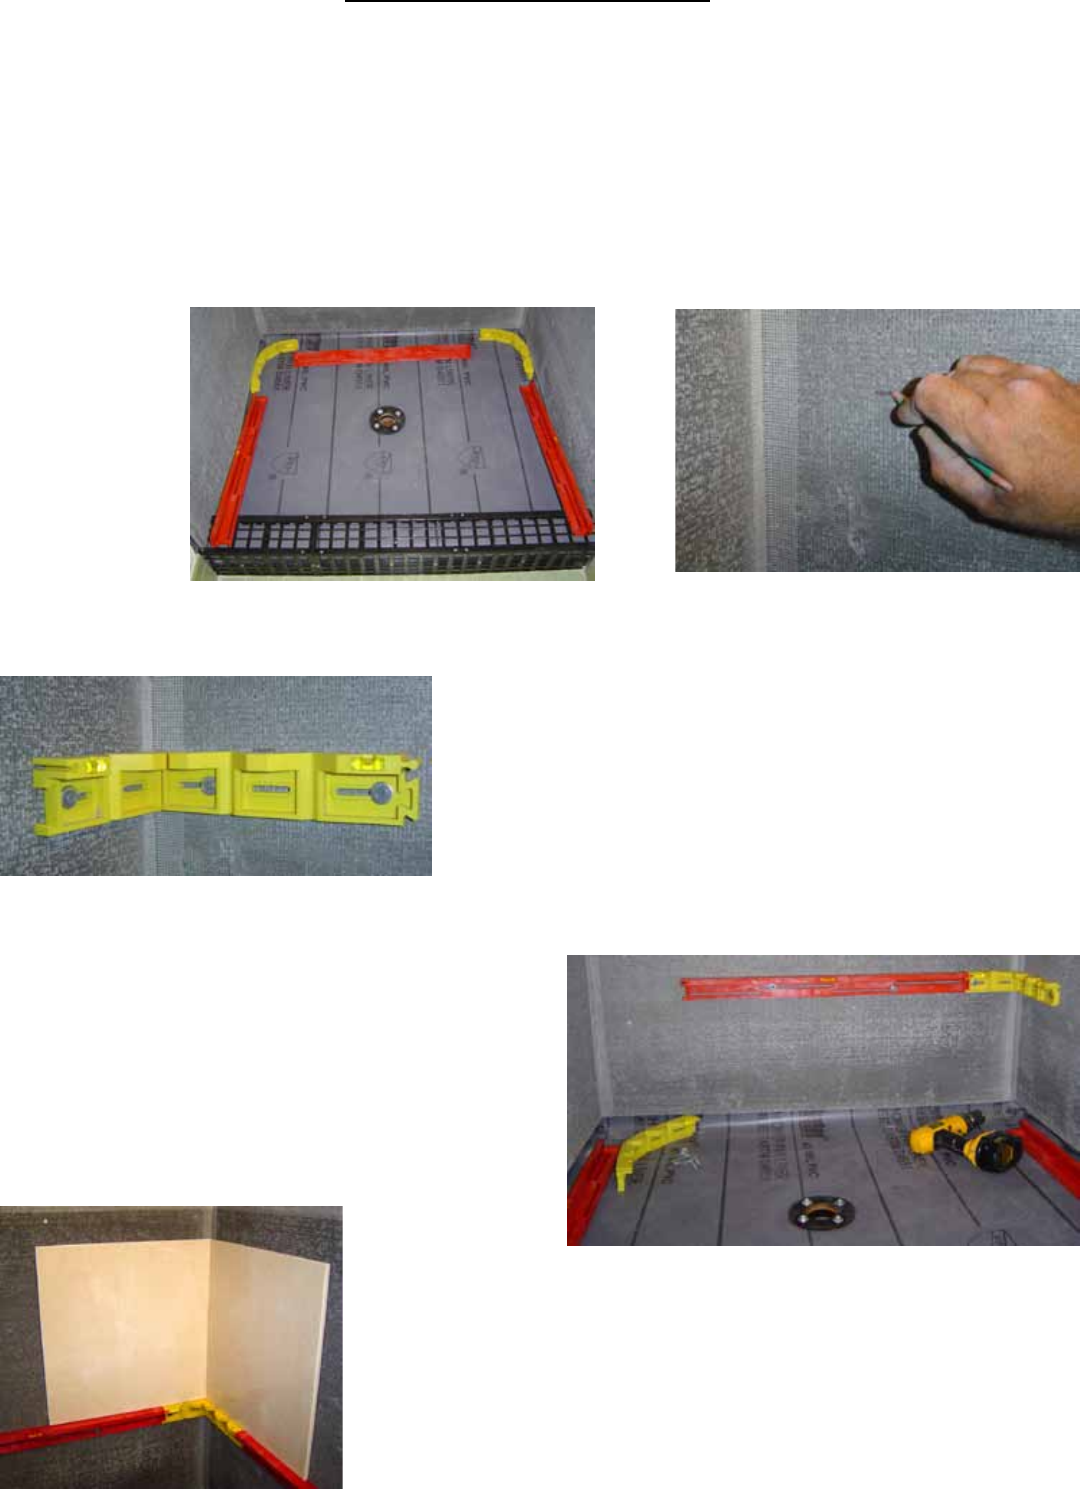
4. Interlock following sections by sliding the
ends into one another and repeat the securing
procedure. (If STRINGA-LEVEL does not congure
perfectly to your situation, simply continue without
interlocking.)
5. Begin stacking your material.
6. After material has set, unscrew STRINGA-LEVEL to remove.
7. Gently scrape and/or sponge clean to ensure years of continuous
service.
Manufactured by:
MARK E INDUSTRIES
28921 US Hwy. 19 N. Clearwater, FL 33761
Toll Free: 1-866-771-9470
http://www.stringa-level.com/resources.html
e-mail: info@markeindustries.com