
User's Manual
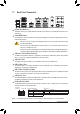
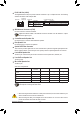
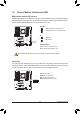
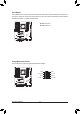
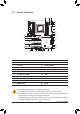
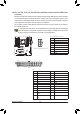
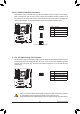
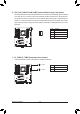
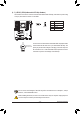
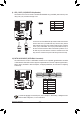
Table Of Contents
- Box Contents
- Optional Items
- X299X AORUS MASTER Motherboard Layout
- X299X AORUS MASTER Motherboard Block Diagram
- Chapter 1 Hardware Installation
- Chapter 2 BIOS Setup
- Chapter 3 Configuring a RAID Set
- Chapter 4 Drivers Installation
- Chapter 5 Unique Features
- Chapter 6 Appendix
- 25 -
Hardware Installation
1-9 Internal Connectors
Read the following guidelines before connecting external devices:
• First make sure your devices are compliant with the connectors you wish to connect.
• Before installing the devices, be sure to turn off the devices and your computer. Unplug the power
cord from the power outlet to prevent damage to the devices.
• After installing the device and before turning on the computer, make sure the device cable has
been securely attached to the connector on the motherboard.
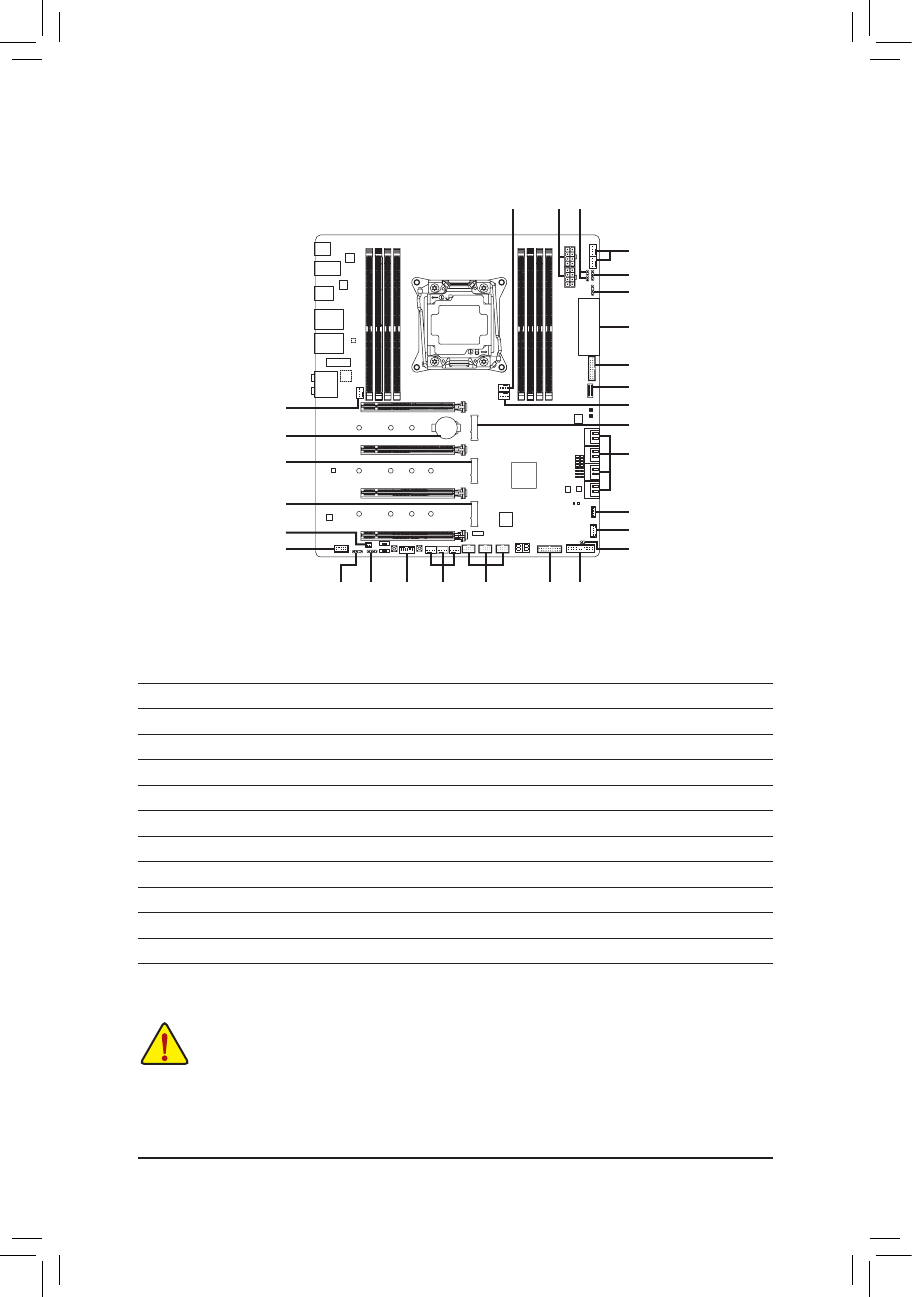
2
21
1748
6
9
8
15
5
16
16
13 7
1) ATX_12V_2X4_1/ATX_12V_2X4_2
2) ATX
3) CPU_FAN
4)
SYS_FAN1/2/3/4
5)
CPU_OPT
6) SYS_FAN5_PUMP/SYS_FAN6_PUMP
7) EC_TEMP1/EC_TEMP2
8) D_LED1/D_LED2
9) LED_C1/LED_C2
10) SATA3 0/1/2/3/4/5/6/7
11) M2M/M2P/M2Q
12) F_PANEL
13) F_AUDIO
14) NOISE_SENSOR
15) F_U32C
16) F_U32_1/F_U32_2
17) F_USB1/F_USB2/F_USB3
18) TPM
19) THB_C
20) BAT
21) CLR_CMOS
22) VROC
10
9 18
20
11
11
4
12
19
22
13
14
11