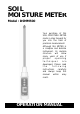
SOIL MOISTURE METER Model : DSMM500 Your purchase of this SOIL MOISTURE METER marks a step forward for you into the field of precision measurement. Although this METER is a complex and delicate instrument, its durable structure will allow many years of use if proper operating techniques are developed. Please read the following instructions carefully and always keep this manual within easy reach.
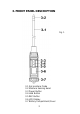
TABLE OF CONTENTS 1. FEATURES.................................................................1 2. SPECIFICATIONS.......................................................1 3. FRONT PANEL DESCRIPTION..................................... 3 3-1 Soil moisture Probe..............................................3 3-2 Moisture Sensing Head.........................................3 3-3 Power Button...................................................... 3 3-4 Hold Button.................................................
1. FEATURES * Designed to check the moisture level of soil or other similar material. * Measurement range : 0 % to 50 % moisture content of soil sample with 0.1 % resolution. * All in one digital soil meter, easy to make operation. * Data hold function to freeze the desired value on display. * Microprocessor circuit ensures high accuracy and provides special functions and features. * Operates from DC 1.5V ( UM4/AAA ) x 4 PCs batteries. * Built-in low battery indicator.
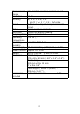
Measurement Range Resolution Accuracy Circuit 0 % to 50 % moisture content on soil. 0.1 %. ± ( 5 % + 5 d ) F.S. @ 23 ℃ ± 5 ℃, F.S. : full scale. Custom one-chip of microprocessor LSI circuit. Probe 2 pins moisture electrode. Data Hold Freeze the display reading. Sampling Time Approx. 0.8 second. Operating 0 to 50 ℃. Temperature Operating Less than 80% R.H. Humidity Power Supply DC 1.5 V battery ( UM4/AAA ) x 4 PCs, Power Current Approx. DC 5 mA Weight 267 g/ 0.58 LB. @ Battery is included.
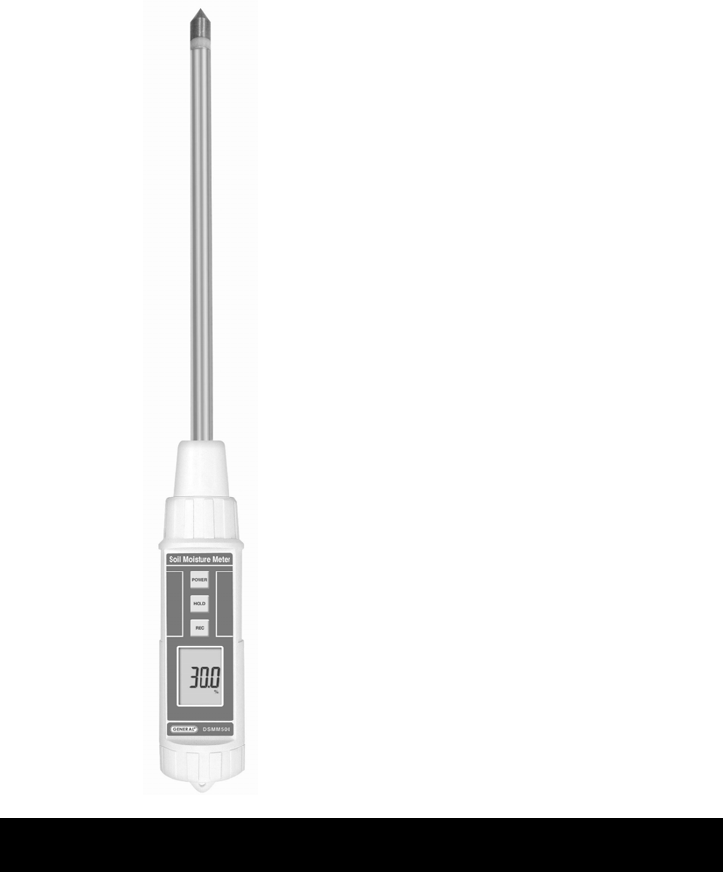
3. FRONT PANEL DESCRIPTION Fig.
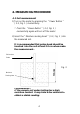
4. MEASURING PROCEDURE 4-1 Soil measurement 1)Turn on the meter by pressing the " Power Button " ( 3-3, Fig. 1 ) momentarily. * Press the " Power Button " ( 3-3, Fig. 1 ) momentarily again will turn off the meter. 2)Insert the " Moisture sensing head " ( 3-2, Fig. 1 ) into the measured soil. It is recommended that probe head should be inserted into the soil at least 10 cm when make the measurement.. Soil moisture Probe Fig.
4-2 Data Hold * During the measurement, press the " Hold Button " ( 3-4, Fig. 1 ) momentarily to hold the measured value. The LCD will show a " HOLD " symbol. * Press the" Hold Button " once again to release the data hold function. 4-3 Data Record ( Max., Min. reading ) 1)The data record function records the maximum and minimum readings. Press the " REC Button " ( 3-5, Fig. 1 ) momentarily to start the Data Record function, shows " REC " on the display. 2)With the " REC " symbol on the display.
5. BATTERY REPLACEMENT * Replace the batteries when the left corner of the LCD displays the low battery icon " ", using 4 fresh 1.5 V ( UM4, AAA ) batteries. * To change the batteries, open ( rotate clockwise direction ) the " Battery Cover " ( 3-7, Fig. 1 ). * Make sure the " Battery cover " (3-7, Fig 1) is secured after changing the batteries.