
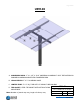
Installation Manual

Page 2 of 4
www.generalspecialtiesmfg.com
208-265-5244
Materials and Instructions
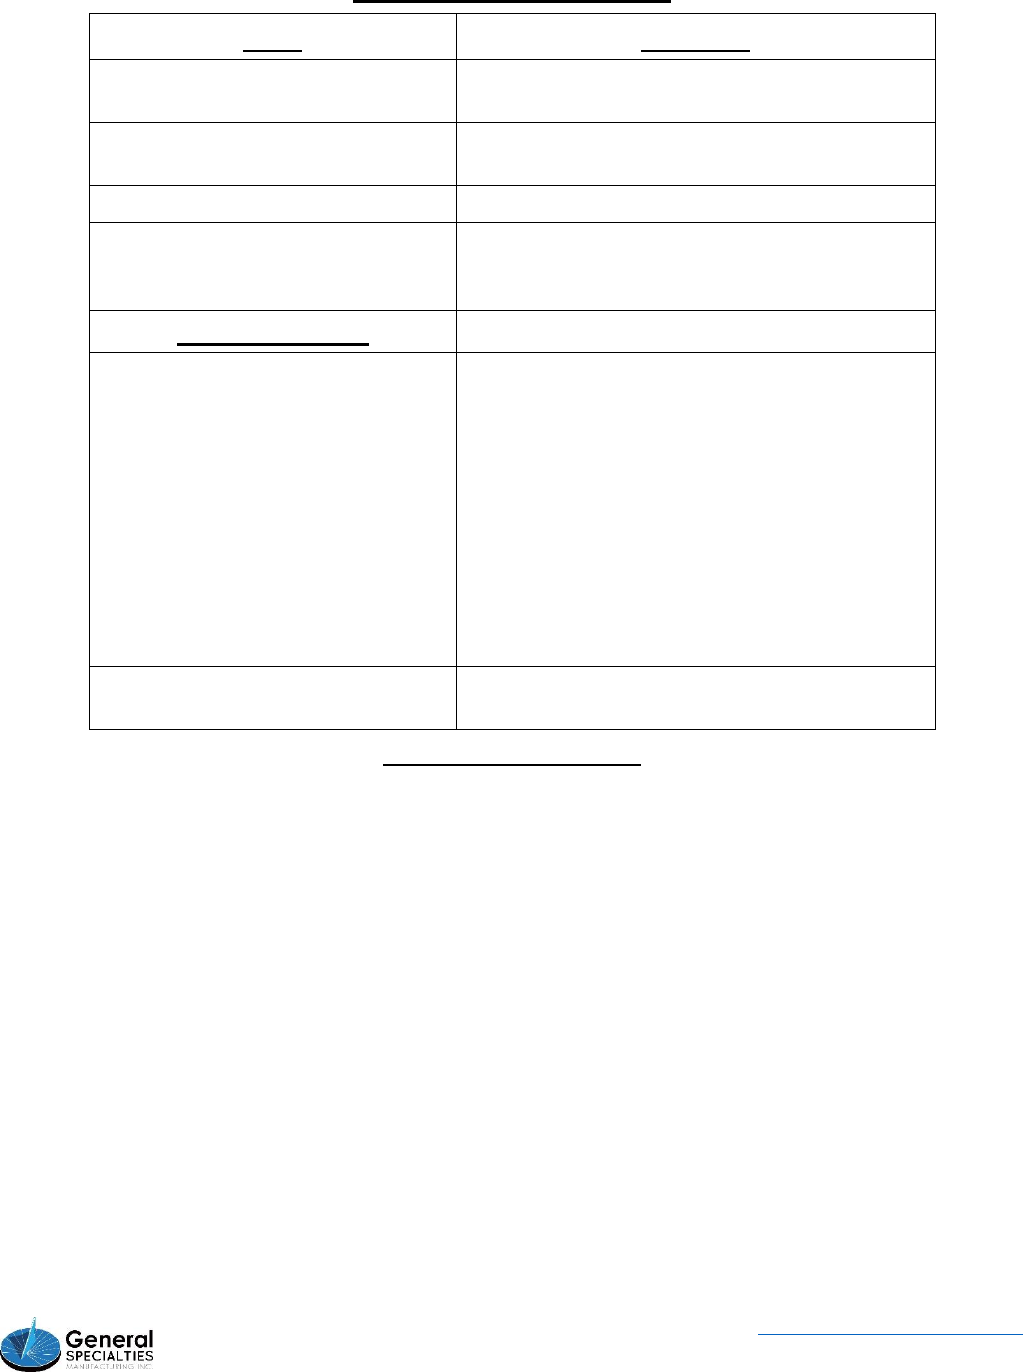
Part
UPM 4X
Tee Socket (1)
5" O.D. steel socket
with 3" O.D. pipe top
Center tube (1)
2" X 2" square tube with welded round tube in
center
Crosspiece (2)
3" X 2" X 3/16" aluminum angle
Rails (2)
Either T-Slot aluminum or punched angle rails for
mounting modules. ¼“ bolts used on either type
of rail.
Hardware Bags
Bag #1
4 - 3/8" X 1" bolts
8 - 3/8" stainless flat washers
4 - 3/8" nyloc nuts
all for attaching Crosspieces to Rails
2 - set bolts for tightening Tee Socket to post
4 – ½” X 4" bolts
4 – ½” nyloc nuts
(to be used with 4 - aluminum flat bars for
attaching Crosspieces to Center tube - not in Bag
#1)
Bag #2
Instructions, stainless bolts and flange nuts for
mounting Panels to Rails
Assembly Instructions
- Put Tee Socket on top of 4" schedule 40 or 80 post.
- Slide Center tube into top of Tee Socket with one of the flat square tube surfaces horizontal (level).
- Tighten down on 3 set bolts on Tee Socket. Make sure center tube faces east/west, then tighten 2
square head set bolts on Tee Socket.
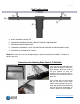
- Loosely attach Crosspieces on Center tube using flat bars and bolts provided.
- Attach aluminum panel Rails to Crosspieces with 3/8" bolts.
- Lay first module on top of Rails and adjust distance between Rails to fit mounting holes on modules in a
landscape orientation.
- Attach modules to Rails. Start at one end of the Rails and add modules out from there, leaving approx.
¼" space between modules. Make sure bolts are finger tight only.
- When all modules are attached and LOOSELY bolted, square up assembly by measuring diagonally from
corner to corner of array and then tighten all the mounting bolts and the rest of the assembly hardware.