
User Manual Part 1


User’s Guide Version 1.0
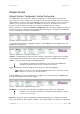
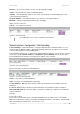
Figure 80 – Configure VLAN
Status – enable/disable your VLAN network. Select [enable] and click the continue button to
configure the VLAN settings:
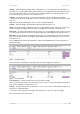
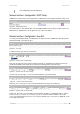
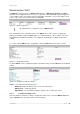
Figure 81 – Configure VLAN
Type – cannot be edited, depends on selected interface for VLAN [ixp0].
IP Address – enter the network address of your VLAN [format: digits and dots].
Netmask – enter the netmask for your VLAN network [format: digits and dots].
Gateway – select gateway for VLAN network [default: ixp1].
Click the update and restart and apply changes to save your new VLAN. Check the interface |
configuration | VLAN menu for new created VLAN:
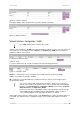
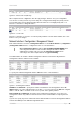
Figure 82– Enable New VLAN
Network Interface | Configuration | Route
Under the network interface | configuration | route menu, static routes for the Ethernet interfaces
can be set. By default no static routes are defined on the system:
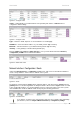
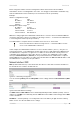
Figure 83 – Route
A routing rule is defined by the target subnet (target IP address and subnet mask), interface and/or
gateway where to route the target traffic. A data packet that is directed to the target network is routed
to the specified AC interface or to another gateway router. To add a new static route for the system,
click the new button under the action column and specify the following parameters:
Figure 84 – Add New Route
If you want to set static routes on the interface ixp0 you must separate ixp0 from bridge
(br1 interface). Refer to Chapter 8 Network Interface | Configuration | Bridge
BROWAN Page
63