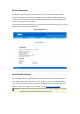
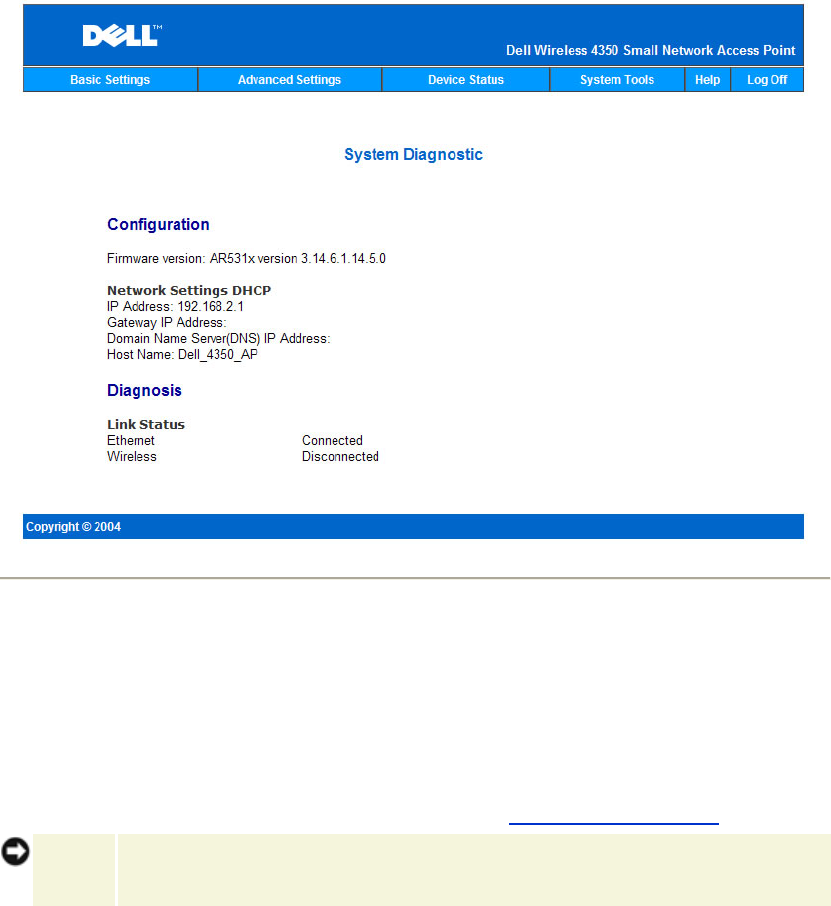
System Diagnostic The Systems Diagnostic page is for your information only. This page displays both the configuration settings and diagnostic information for the Dell Wireless 4350 Small Network Access Point. The configuration settings include firmware version and device settings that have been configured for your network. The Diagnostic section shows the status of the wireless and Ethernet connections for your Dell Wireless 4350 Small Network Access Point.
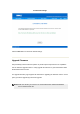
Load Default Settings Click the Start button to reload the default settings. Upgrade Firmware Dell periodically releases firmware updates to provide improved performance or capabilities. Use the firmware upgrade feature to easily upgrade the firmware on your Dell Wireless 4350 Small Network Access Point. The Upgrade firmware page supports two methods for upgrading the firmware onto the access point (a) local file upgrade (b) Internet file upgrade.
Upgrade the Firmware Upgrade Firmware – Local File You can check the Dell support website, support.dell.com, to see if there are any new upgrades. Download the new firmware first before upgrading and save it to one of the clients in your network. To upgrade the firmware: 1. Type the firmware file path into the Firmware Upgrade File: box, or click the Browse button to choose a firmware file to upgrade to. 2. Click the Start button when you have chosen a file.
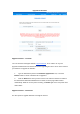
The Dell Wireless 4350 Small Network Access Point can be configured to automatically check the internet for upgrades by entering the URL ftp.us.dell.com/network in the URL field and the number of hours to automatically check for upgrades into the hours field. The user can also click Check Internet Now to see if there is new firmware available for upgrading. The drop-down menu gives the user the option to enable automatic checking of the Internet. These options are: 1.
NOTICE: If you were in the process of updating the network settings, those changes are lost when the device is reset. Click the Start button to reset the Dell Wireless 4350 Small Network Access Point to its current firmware settings. While the access point is resetting, the Power light on the front of the device blinks.
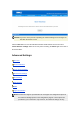
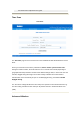
documented and explained in this guide. Time Zone Time Zone The Time Zone page is used to set the time on the Dell Wireless 4350 Small Business Access Point. Select your local time zone from the pull-down list, Please choose your local time zone. During the summer months, the clock will move one or several hours ahead (depending on geographical location). Different countries have different change dates, in most of the U.
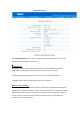
Advanced Wireless The Advanced Wireless page is used to configure advanced wireless features in the Dell Wireless 4350 Small Network Access Point. Enable Wireless This setting enables radio transmission and reception on the Dell Wireless 4350 Small Network Access Point allowing wireless clients to connect to the access point. Click Yes to allow wireless clients to connect to the access point (default setting). Click No to prevent wireless clients connecting to the access point.
Click No to allow transmission of beacon packets from the access point. Click Yes to disable the transmission of beacon packets from the access point. Mode The setting allows the user to select the 802.11 mode that the Dell Wireless 4350 Small Network Access Point will use when communicating with wireless clients. Select 802.11b and 802.11g if the access point is to support both 802.11g and 802.11b compatible wireless clients (default setting). Select 802.11b if the access point is to support only 802.
Advanced Options This setting allows the user to configure specific radio transmission parameters for the Dell Wireless 4350 Small Network Access Point. NOTE: If you want to configure the settings of Beacon Interval, RTS Threshold, Fragmentation Threshold, DTIM Interval and CTS Protection, ensure that Advanced Options is selected first.
The fragmentation threshold determines the size of data packets that will be fragmented before transmission. The available range is from 1 to 2346, with the default value being 2346 (Note: The fragmentation threshold is specified in bytes). Data packets that are smaller than the specified fragmentation threshold value will not be fragmented. Data packets that are larger than the fragmentation threshold will be fragmented into smaller packets and transmitted one at a time instead of all at once.
repeating. The access point that is connected to the network is known as the “root AP”, the access points that extend the coverage of this root AP are known as “repeater AP’s”. Wireless Repeater Link To Configure your Access Point as a Wireless Repeater: 1. Click the option Enable this AP as a Wireless Repeater. 2. Type the wireless network name (SSID) of the root AP in the SSID of root AP field. 3. Set the “Network Encryption” mode as None, If the root AP does not provide wireless security. 4.
1. Click the option Enable this AP as a Root AP 2. Click the Submit button. Restore Defaults If you have customized your wireless system configuration, you can restore the wireless settings to factory defaults by clicking the Restore Defaults button. Access Control Settings The Access Control Settings page allows you to control which local client computer is allowed to access the network through the Dell Wireless 4350 Small Network Access Point based on the client computer’s MAC address.
1. 2. Click Yes to enable Enable MAC Access Control. Click Yes to enable the appropriate table, the Grant Access Table or the Deny Access Table. 3. Click the Add button, a pop-up window will open, then enter the MAC address of the network card on the computer that you wish to add to the table. 4. Click Submit to enter the MAC address into the table. 5. Click Submit to enable the new table’s entries. 6. To remove an existing rule, click to select edit beside MAC address. 7.
Wired Settings The Wired Settings page allows the user to configure the IP and DNS settings for the network port of the Dell Wireless 4350 Small Network Access Point. Wired Settings If the access point will obtain an IP address automatically from a DHCP server, select the Connection Type as DHCP. If you would like to assign the access point a static IP address, select the Connection Type as Static IP and enter an IP address, Subnet Mask and Default Gateway in the corresponding fields.
the network access of the multiple wireless networks. SSID Manager To configure multiple SSID’s (VLAN-aware network): In a VLAN-aware network, the Dell Wireless 4350 Small Network Access Point can support three SSID’s (one of which is the Guest Access SSID). In this network, the user has the option of configuring VLAN tags to be associated with wireless traffic from each SSID. To add an extra SSID: 1. Click to select I'm on a VLAN aware network. 2. Click the Submit button. 3.
associated with this SSID network will not be able to manage the Dell Wireless 4350 Small Network Access Point. To enable the Guest Access SSID (VLAN-aware network): To enable Guest Access mode, the Dell Wireless 4350 Small Network Access Point must be part of a VLAN-aware network. Perform the following steps to enable the feature. 1. Click to select I’m on a VLAN-aware network. 2. Click to select Enable Guest Access. 3. Click the Submit button. 4.
This setting will prevent clients on the same wireless network from communicating with each other. Network Encryption: The access point supports the following methods of data encryption (a) WEP (b) WPA-PSK & (c) WPA-802.1x. The following are possible security levels that can be configured in a multiple SSID environment. (1) WEP & No encryption (2) WPA-PSK & No encryption (3) WPA-PSK & WEP (4) WPA-802.1x & No encryption (5) WPA-802.1x & WEP (6) WPA-PSK, WEP & No encryption (7) WPA-802.
the access point and the SNMP management system. A Read-Only community allows the management system to monitor the device, while a Read-Write community can both monitor and configure the device. Enter the Get and Set community names in the appropriate fields. 3. The Trusted Peer identifies which remote managements stations are allowed to perform SNMP operations on the device. The options available for a trusted peer are (a) Any Address (b) Specify an IP Address & (c) Specify a Subnet.
There are three modes of operation for Rogue AP detection (a) Background scan (always-on), (b) Background scan (scheduled) & (c) Foreground scan. When the background scan is enabled, the access point will periodically scan the wireless channels (a single channel at a time for 400 ms) if and only if certain load conditions are met. Any wireless stations that are associated to the AP may experience a loss of the AP during the scan interval.
1. Click to select Enable Rogue AP Detection (Always-On). 2. Click Save & Restart. NOTE: Any wireless stations that are associated to the Dell Wireless 4350 Small Network Access Point may experience a loss of connection to the access point during the scan interval. Enable Rogue AP Detection - Background Scan (Scheduled): To enable the background scan mode of Rogue AP detection, perform the following steps: 1. Click to select Enable Rogue AP Detection (Always-On). 2.
select whether this AP is either a known or rogue AP (this would normally be based on information such as SSID & MAC Address). The option “List all AP’s” lists all the AP’s detected. The option “List all known AP’s” lists all the known AP’s detected. The option “List all rogue AP’s” lists all the rogue AP’s detected. To change the Table Filtering Options: 1. Click to select Enable Rogue AP Detection (Always-On). 2. Click to select the appropriate table filtering option. 3. Click Save & Restart.