
Quick Reference Guide
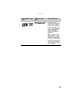
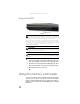


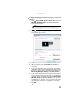
Table Of Contents
- Contents
- About This Reference
- Checking Out Your Notebook
- Setting Up and Getting Started
- Working safely and comfortably
- Connecting the AC adapter
- Connecting the dial-up modem
- Connecting to a broadband modem or network
- Starting your notebook
- Turning off your notebook
- Restarting (rebooting) your notebook
- Using the status indicators
- Using the keyboard
- Using the EZ Pad touchpad
- Adjusting brightness
- Adjusting the volume
- Turning your wireless radio on or off
- Using Drives and Accessories
- Managing Power
- Traveling with Your Notebook
- Maintaining Your Notebook
- Upgrading Your Notebook
- Troubleshooting
- Safety guidelines
- First steps
- Troubleshooting
- Audio
- Battery
- CD drives
- Diskette drive (external)
- Display
- DVD drives
- Ethernet
- Express cards
- File management
- Hard drive
- Internet
- Keyboard
- Media Center
- The Media Center video display looks bad on your TV
- You need to configure your Media Center to output to a TV
- You want to change display settings to get better TV or DVD image quality
- You want to know whether you can burn videos that were recorded with your Media Center computer to a DVD
- You want to know whether you can play recorded videos on other computers
- You want to know whether you can play recorded videos on your home DVD player
- Memory
- Memory card reader
- Modem (cable or DSL)
- Modem (dial-up)
- Your modem does not dial or does not connect
- You cannot connect to the Internet
- Your 56K modem does not connect at 56K
- Your fax communications program only sends and receives faxes at 14,400 bps when you have a 56K modem
- The modem is not recognized by your notebook
- The modem is noisy when it dials and connects
- Mouse
- Networks (wired)
- Networks (wireless)
- You turned wireless networking on, but it takes a while to connect
- Your connection on the network seems intermittent or your wireless network is running slower than you expect
- You are in a wireless network, you can see the network, but cannot communicate, send files, print, or get to the Web
- You are in a wireless network, but no available networks are listed in the Connect to a network dialog box
- Your wireless network is listed as a preferred network, but it has an “x” on it
- Internet Explorer is unable to access the Internet
- You cannot see other computers on your network
- You cannot connect to your network
- Passwords
- Pointing device
- Power
- Printer
- Sound
- Status indicators
- Touchpad or pointing device
- Video
- Telephone support
- Legal Information
- Index
CHAPTER 4: Using Drives and Accessories
38
Using a CD or DVD
[
To insert a CD or DVD:
1 Press the eject button on the CD or DVD drive. After the
tray opens slightly, pull the disc tray completely open.
2 Place the disc in the tray with the label facing up, then
press down carefully on the disc until it snaps into place.
3 Push the tray in until it is closed.
Using the memory card reader
You can use memory cards to transfer pictures from a digital
camera to your notebook. You can also use the memory card
reader to transfer data between your notebook and a device
that uses memory cards, such as a PDA, MP3 player, or cellular
telephone.
Important
DVD discs and drives contain regional codes that help control DVD title
exports and help reduce illegal disc distribution. To be able to play a DVD, the
disc’s regional code and your DVD drive’s regional code must match.
The regional code on your DVD drive is determined by your notebook’s delivery
address. The regional code for the United States and Canada is 1. The regional
code for Mexico is 4. Your DVD drive’s regional code must match the regional
code of the disc. The regional code for the disc is on the disc, disc
documentation, or packaging.
Important
When you place a single-sided disc in the tray, make sure that the label
side is facing up. If the disc has two playable sides, place the disc so the name
of the side you want to play is facing up.
Tip
For information about cleaning a CD or DVD, see “Cleaning CDs or DVDs”
on page 68.
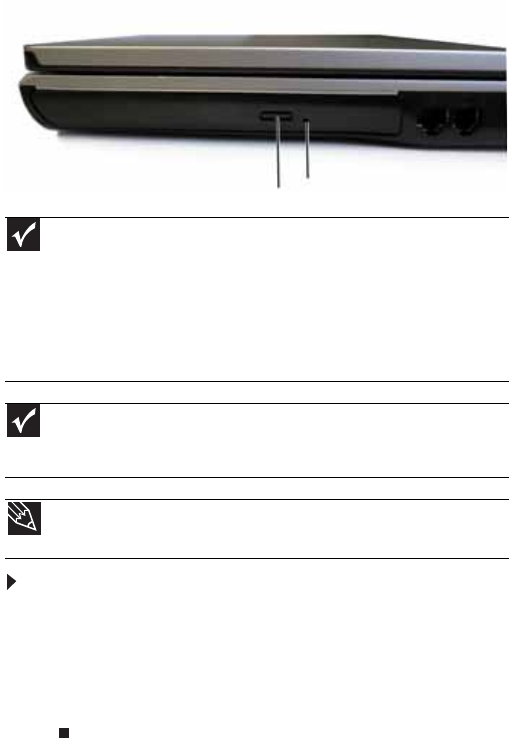
Eject button
Manual eject hole