
Operation Manual


<>
O
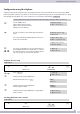
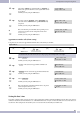
For the caller list select »3.Erase record«.
Confirm your entry using the »OK« button.
2.Dialed numbers
3.Erase record
<>
O
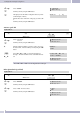
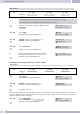
Select »1*All« if you wish to remove all entries from the list.
Or select »2.Incomming« to remove the callers from the list.
Or select »3.Dialed« to remove all outgoing calls from the list.
Confirm your entry using the »OK« button.
2.Incomming
3.Dialed
Phone settings
Call forwarding (Call Forward)
The following call forwarding options are available:
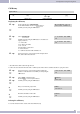
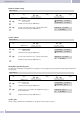
Selectthe call forwarding type:
1.Call forwarding continuous (Allforwards)
2.Call forwarding on busy(Busy forward)
3.Call forwarding on noanswer(Noanswer fwd.).
1.All forwards
2.Busy forward
O
Confirm your entry using the »OK« button.
2.Busy forward
3.No answer fwd.
<>
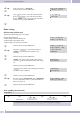
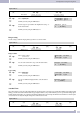
Select either »1.Activation« to activate call forwarding, or
»2.Number» to input the destination number for call
forwarding.
1.Activation
2.Number
O
Confirm your entry using the »OK« button.
O
»1.Enabled«. This activates call forwarding. In the example
shown here, »*« indicates that this function has been configu-
red.
Confirm your entry using the »OK« button.
1*Enabled
2.Disabled
»2.Disabled«. This de-activates call forwarding, but the destina
-
tion number remains configured.
1.Enabled
2*Disabled
O
Confirm your entry using the »OK« button.
<>
If you have selected »3.No answer fwd.«, under »4.Ring Timeout«
you can set the number of calls (2...8) after which call forwar
-
ding is to be carried out.
3.No answer fwd.
4.Ring Timeout
O
Confirm your entry using the »OK« button.
Silent signalling (Do not Disturb)
Begin as follows:
a
M <> O <> O
»Menu« button
3.Phone setting 2.Do not Disturb
To enter the time, move the arrow (cursor) to the proper position and input the correct digits.
Configuration using the telephone
19