
User's Manual


72
Settings
*2 This account is not used since posting (data uploading) to Picasa from
YouTube, media folder, video recording, and STARMEMO are performed
by synchronization of Google accounts.
Note
●
You can add multiple Google accounts to your FOMA terminal.
Note, however, that the calendar cannot be synchronized in your
second Google account onwards.
●
Register the Google account set for logging into the Picasa web
album as the Google account for your FOMA terminal. After you
have registered a Google account for your FOMA terminal, Picasa
will not be displayed at the synchronization item of the Google
account for your FOMA terminal even if that Google account is
entered and a new Picasa web album account is acquired.
Removing accounts
1
→
"Settings"
→
"Accounts & sync"
2
Select the account you want to remove
3
"Remove account"
→
"Remove account"
Note
●
The first Google account you set and some other accounts cannot
be removed by the above procedure. To remove the first Google
account you set, you must reset your FOMA terminal (P. 69).
Setting automatically synchronized Google
applications
You can set automatic synchronization of your FOMA terminal and
Google online service contacts, calendar, Gmail, etc.
1
→
"Settings"
→
"Accounts & sync"
2
Select the "Background data" checkbox
3
Select the "Auto-sync" checkbox
4
Select the Google account in the "Manage
accounts" section
5
Select the checkbox of the Google application you
want to automatically synchronize
Note
●
When the "Background data" checkbox is selected, automatic data
communications by all applications currently installed on your
FOMA terminal will be allowed. Furthermore, if the "Auto-sync"
checkbox is selected, auto
matic synchronization of data by
applications will be allowed.
Starting synchronization manually
1
→
"Settings"
→
"Accounts & sync"
2
Select the account you want to synchronize
3
M→
"Sync now"
Canceling synchronization
1
Press
M
during synchronization
2
Tap "Cancel sync"
73
Settings
Privacy
Using current location information
You can set to use the location information of your current location
when you use Google search or other Google services.
1
→
"Settings"
→
"Privacy"
2
Select the "Use My Location" checkbox
Restarting your FOMA terminal
If data is not displayed normally or tapping or key operations are not
functioning properly, try restarting your FOMA terminal.
1
Hold down
C
The mobile phone option menu will be displayed. However, keep
C
held down. A short while after the power is turned off, your FOMA
terminal will vibrate once and the noti
fication LED will light green.
When you have confirmed lighting of the notification LED, release
your finger from
C
.
Resetting your FOMA terminal
You can reset your FOMA terminal to the state it was in when you
purchased it.
●
Resetting will erase all data you have registered and applications you
have installed on your FOMA terminal since it was bought.
1
→
"Settings"
→
"Privacy"
→
"Factory data
reset"
→
"Reset phone"
●
When the screen lock is set, you must enter the screen unlock
pattern or security code.
2
Tap "Erase everything"
A short while after the reset is completed, your FOMA terminal will
be restarted.
SD card & phone storage
microSD card
●
Install the microSD card or microSDHC card on your FOMA terminal
for use. If it is not installed, some functions, such as camera, music,
video (playback and download), and 1Seg (recording and playback)
will not be available.
●
This FOMA terminal supports microSD cards up to 2 GB and
microSDHC cards up to 32 GB (as of November, 2010).
Note, however, that operati
on of all commercially available microSD
cards and microSDHC cards is not guaranteed.
●
When accessing data on the microSD card, do not turn your FOMA
terminal off or subject it to shock or impact. Doing so might destroy
the data.
Note
●
Format microSD cards or microSDHC cards only on the T-01C. Do
not format them on other models.
●
Before use, also refer to the manual for the microSDHC card
(provided as a sample).
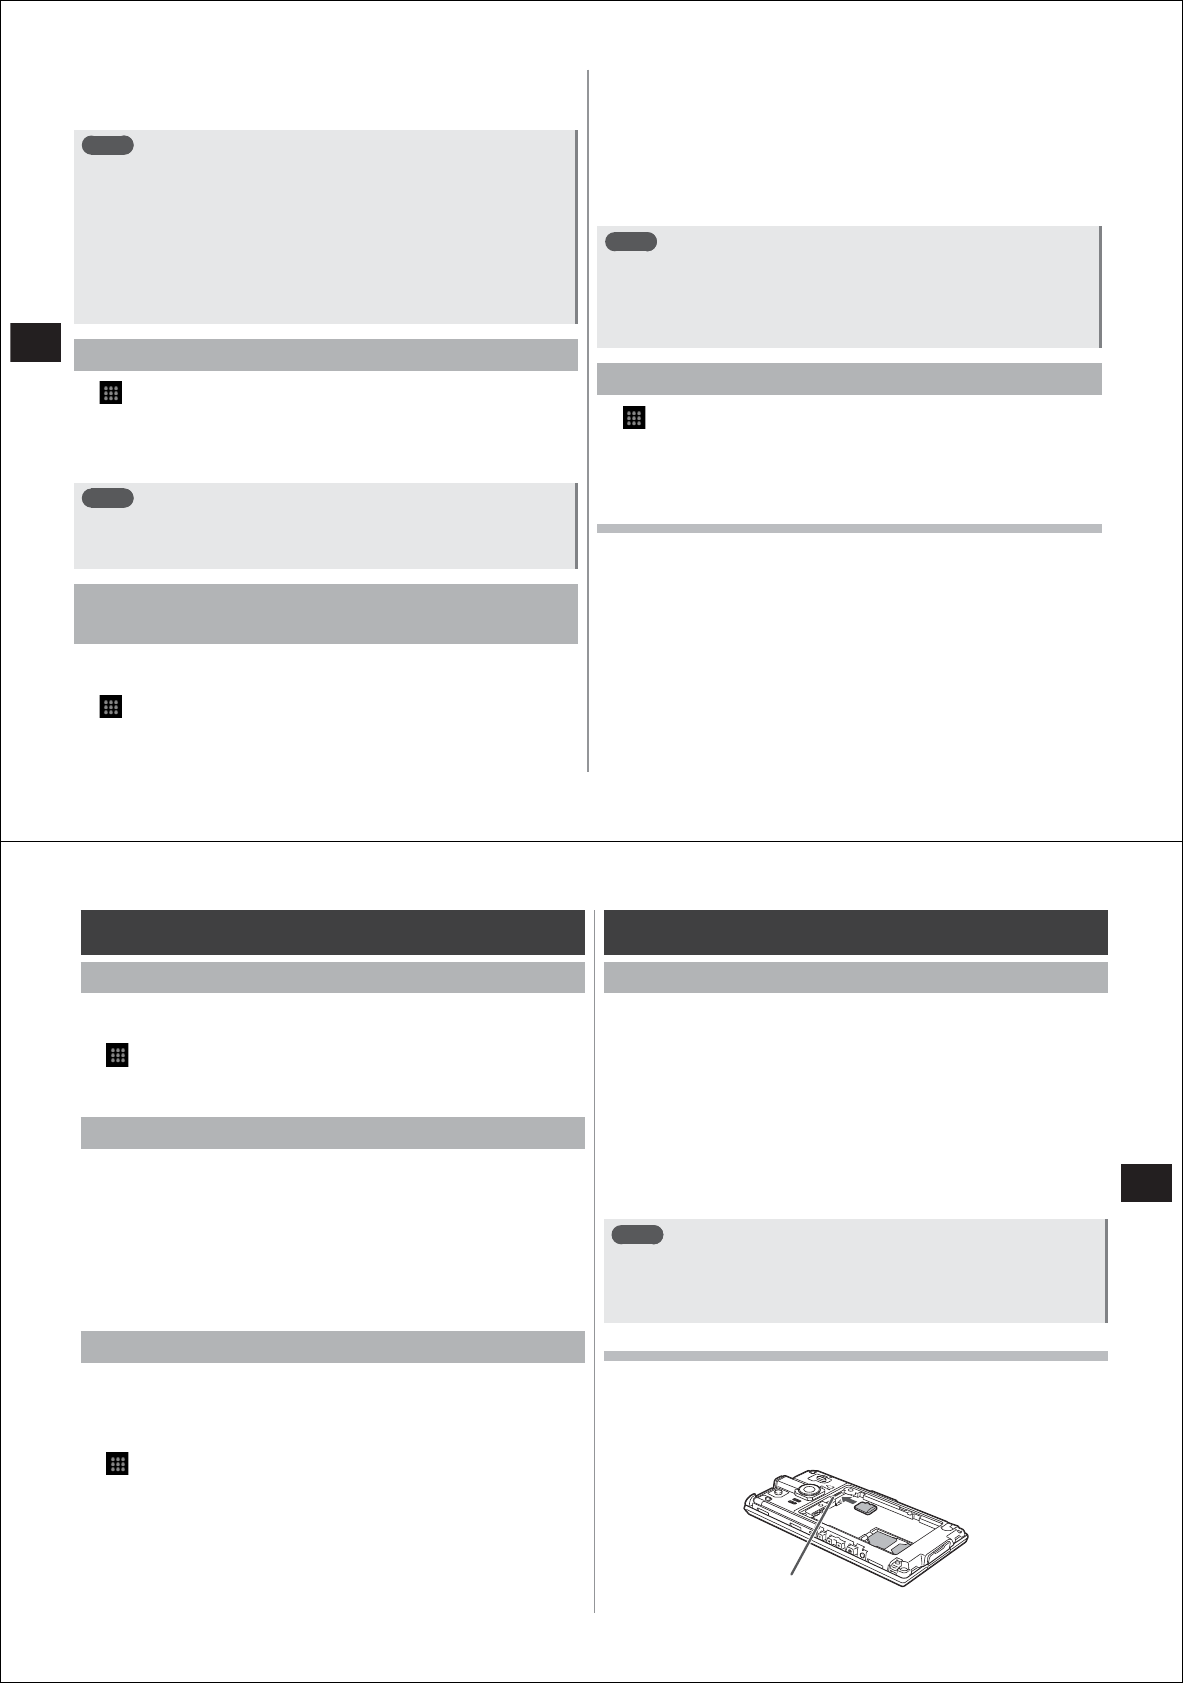
Installing/removing the microSD card
■
Installing the microSD card
1
Insert the microSD card with its metal terminal side
face down until it locks into the insertion slot in the
orientation shown in the figure
microSD card slot