
User Manual
EN-7ENGLISH
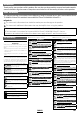
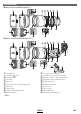
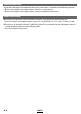
Attaching the Lens to the Camera
E Example X Example
1
Remove the body cap from the camera and the
rear cap from the lens.
2
Place the lens on the mount, keeping the lens in-
dex (E) or mounting mark (X) aligned with the
mounting mark on the camera body.
Q
Note that in some cases there may not be a mount-
ing mark on the camera body (E only).
• When attaching lenses, ensure that dust or other foreign matter does not enter the camera.
• Be careful not to touch the camera’s internal parts.
• Rotate the lens until it clicks into place.
• Do not press the lens release button while attaching the lens.
Q
Before using the lens for the rst time or after attaching it to a di erent camera, measure the ange-back
distance (
P
EN-9).
Q
The procedure for attaching the lens may di er depending on the camera.
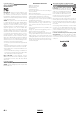
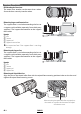
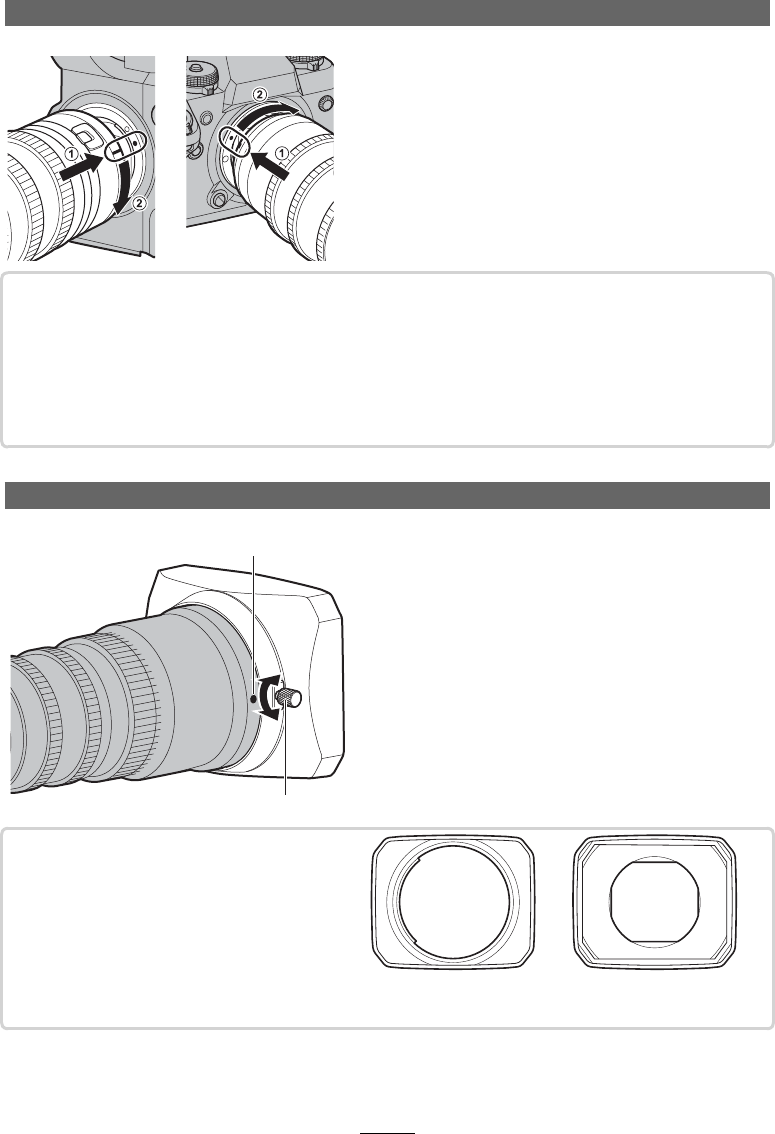
The Lens Hood
E X Example
Hood mounting mark
Hood lock knob
■ Attaching the Hood
• Loosen the hood lock knob by rotating it counter-
clockwise.
• Slide the hood onto the lens until it contacts the
raised ridge.
• Rotate the hood to align the lock knob with the
hood mounting mark on the lens.
• Tighten the lock knob.
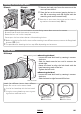
■ Removing the Hood
• Loosen the hood lock knob by rotating it counter-
clockwise.
• Slide the hood straight forward o the lens.
Hoods for di erent lenses have di erent
shapes. Be sure to use the correct hood.
Q
Use the lens hood cap with the lens hood.
Q
Using the wrong hood may cause vignett-
ing or other undesired results.
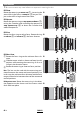
E MK 18 -55 mm
X MK X 18-55 mm
E MK 50-135 mm
X MK X 50-135 mm