
User's Guide


Enter Setup
** Exit Setup
186
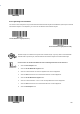
Step 2: Scan the Add Data Format barcode.
Add Data Format
Add Data Format
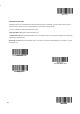
Step 3: Select a label (Format_0 or Format_1 or Format_2 or Format_3).
Scan a numeric barcode 0 or 1 or 2 or 3 to label this data format Format_0 or Format_1 or Format_2 or Format_3.
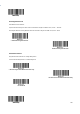
Step 4: Select formatter command type.
Specify what type of formatter commands will be used. Scan a numeric barcode “6” to select formatter command type 6.
(See the “Formatter Command Type 6” section in this chapter for more information)
Step 5: Set interface type
Scan 999 for any interface type.
Step 6: Set Symbology ID Number
Refer to the “Symbology ID Number” section in Appendix and find the ID number of the symbology to which you want to
applythedataformat.ScanthreenumericbarcodesforthesymbologyIDnumber.Ifyouwishtocreateadataformatforall
symbologies, scan999.
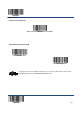
Step 7: Set barcode data length
Specify what length of data will be acceptable for this symbology. Scan the four numeric barcodes that represent the data
length. 9999 is a universal number, indicating all lengths. For example, 32 characters should be entered as 0032.
Step 8: Enter formatter command
Refer to the “Formatter Command Type 6” section in this chapter. Scan the alphanumeric barcodes that represent the
command you need to edit data. For example, when a command is F141, you should scan F141.
Step 9: Scan the Save barcode from the “Save/Cancel Barcodes” section in Appendix to save your data format.