
Installation Sheet


6
Drop-In Sinks
11.. PPrreeppaarree tthhee CCoouunntteerrttoopp
1a. Place the sink upside down on top of the counter in the desired location. Be sure to make provision for mounting the faucet and fittings
behind the sink, if this is the desired outcome.
1b. Trace the outside edge of the sink rim using a pencil.
1c. Remove the sink. Set a compass to 5/8” and scribe a line that is 5/8” inside the trace line.
1d. Cut sink opening by following the scribe line (innermost line).
22.. PPrreeppaarree tthhee SSiinnkk
22aa.. IInnssttaallll SSiinnkk SSttrraaiinneerrss
We recommend installing the sink strainers at this point in the installation process. The installation process is much simpler with the sink
accessible from all sides.
22bb.. IInnssttaallll FFaauucceett aanndd FFiittttiinnggss
We also recommend installing the faucet and any deck mounted fittings at this point in the installation process. The installation process
is much simpler with the countertop accessible from all sides.
33.. IInnssttaallll tthhee SSiinnkk
3a. Apply a bead of translucent silicone around the sink cut-out.
3b. Lower the sink into position and adjust to desired alignment with front edge of countertop. Clean up excess silicone with a solvent and
clean wiper.
3c. Connect drain assembly and supply fittings.
4
Undermount Sinks
5
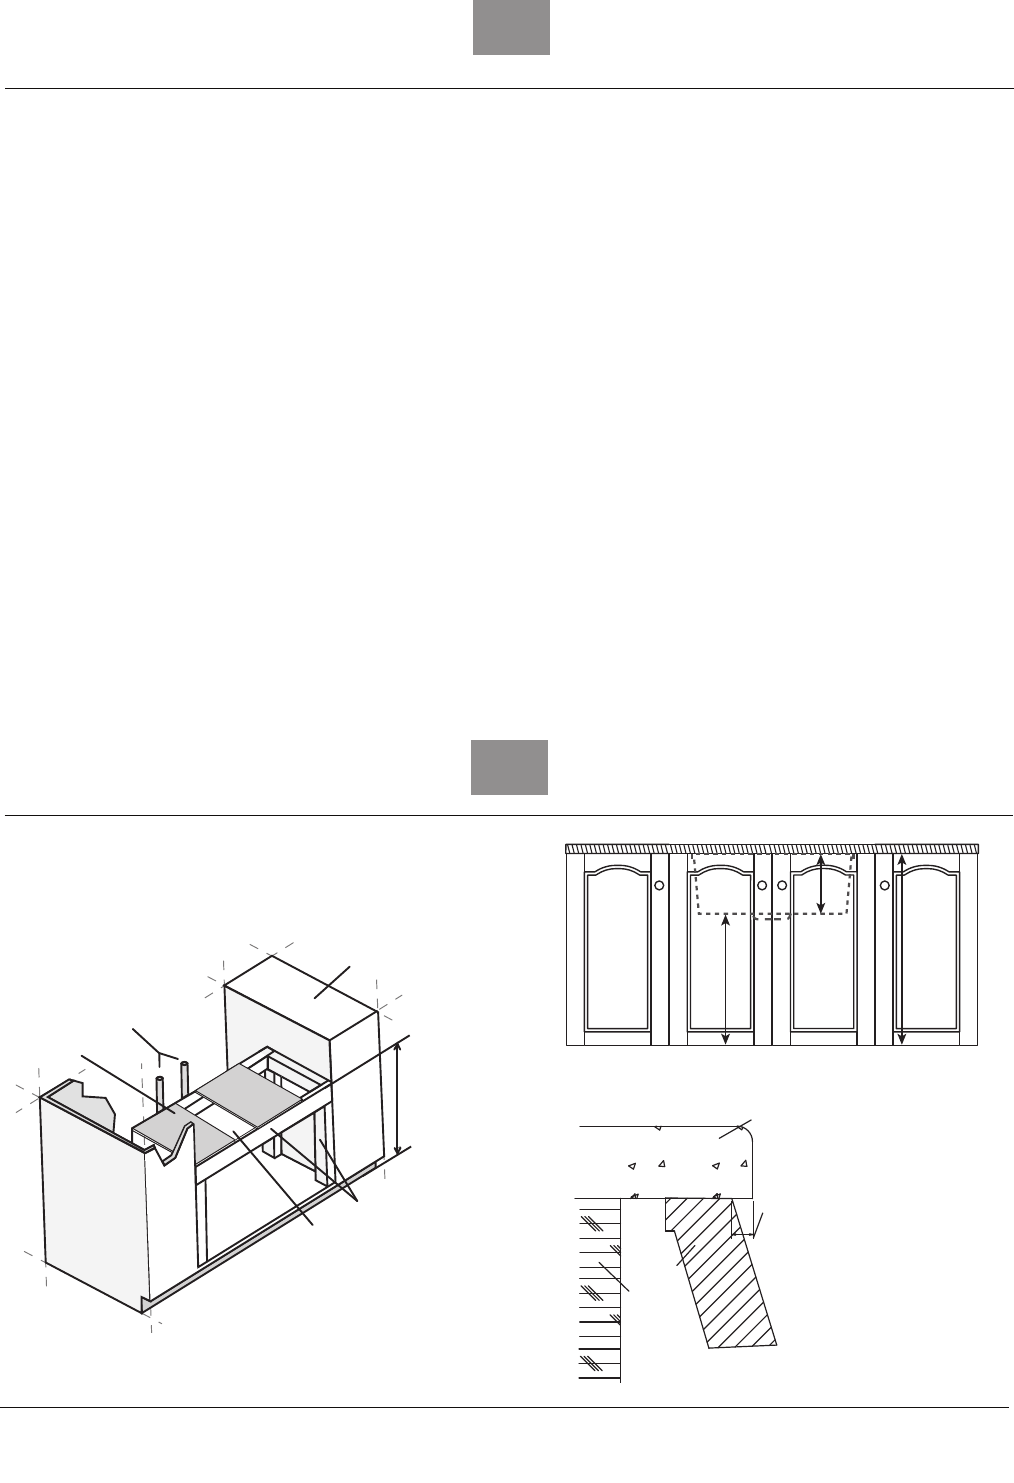
11.. BBuuiilldd aa SSuuppppoorrtt FFrraammee
/ Build a wood support frame in the sink base
cabinet unit at a dimension “A” above the floor.
Water Supply
Cabinet
Approx. 7" gap to
allow for drain fittings
2" x4" Wood
Support Frame
DIMENSION “A”
1/2" Plywood
B
A
H
Dimension “A” = B –H
Countertop
Edge
Treatment
Sink
Cabinet
1/4"
Overhang