
Operation Manual

Frama Matrix F22
28
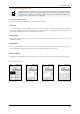
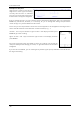
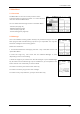
Example of a test print:
Alignment X is shown on the left and
Alignment Y on the right. The setting
currently valid for each is indicated
by an arrow. The arrows should point
to where the lines appear straightest.
If this is already the case, you only need to confirm the following displays X and Y by pressing the
ENTER key. Sometimes, however, it is necessary for you to change the setting to optimize the
results. Simply carry out the additional instructions.
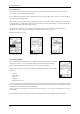
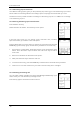
This is how you should proceed: Look for the line that appears to be straightest in the Alignment X
area to the left of the test mark. Note the number beneath it, e.g. -1.
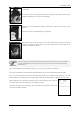
Use the + and - keys to select the right number in the display and then press
ENTER to go to the Y setting.
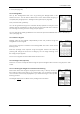
Again use the + and - keys to select the right number in the display and then
press ENTER.
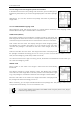
Run a test print again when prompted to check your settings. The arrows will
now point exactly to the settings you made, i.e. right where the lines should be
straightest.
If you are still not satisfied, you can reset again by answering the prompt with NO. Press YES to save
the alignment setting.