
User Guide

Accessing the CB-3102 via a Web Browser
January 14, 2019
Ariel CB-3102 User and Installation Guide
49
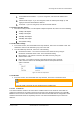
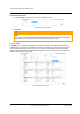
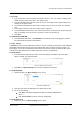
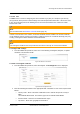
6.3.1.4.6 IP Filter
The IP Filter screen is used for restricting access to the camera by allowing or denying specific IP
addresses. It is possible to filter up to 10 IP addresses. The options are Allow, Deny, or NONE (default).
Figure 59: Network > IP Filter Screen
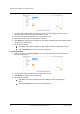
To allow an IP address
1. From the Filter drop-down list, select Allow.
2. Check the Enable checkbox for each IP address for which you want to allow access.
3. Enter the IP address in the Address text box.
4. Click Save.
To deny an IP address
1. From the Filter drop-down list, select Deny.
2. Check the Enable checkbox for each IP address for which you want to deny access.
3. Enter the IP address in the Address text box.
4. Click Save.
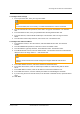
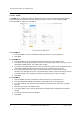
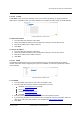
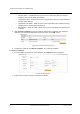
6.3.1.4.7 DDNS
The DDNS (Dynamic DNS) screen is used for network access if you select PPPoE as the default
network connection. Before configuring the system to use DDNS, you must first register with a DDNS
service provider.
Figure 60: Network > DDNS Screen
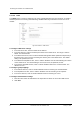
To use DDNS
1. From the Enable drop-down list, select ON. The default is OFF.
2. From the Type drop-down list, select the DDNS service provider:
DynDNS: custom@dyndns.org (default)
No-IP: default@no-ip.com
Two-DNS: default@two-dns.de
FreeDNS: default@freedns.afraid.org
3. Enter the Host Name, User Name, and Password in the respective text box.
4. If you are using FreeDNS, the Hash text box also is displayed. Enter the Hash value, which is a
hash of your user name and password. It is available from http://freedns.afraid.org.
5. Click Save.